Introduction
Everyone who has a home or a business establishment will find surveillance cameras a very important piece of gear. In case of thefts, misplacement and vandalism, nothing is better proof than video proof of the incident. For a long time, such cameras were analogue and connected to a recording/viewing station with a VCR and TV using a composite cable. Hence, they were called closed-circuit television (CCTV) cameras. CCTV cameras, though reliable, were expensive to install due to the wiring and equipment cost. Also every recording station could support only a limited number of cameras, usually 16 or less and remote control was hard to implement. You needed someone to stay in the station at all times. This made CCTV cameras a niche product due to the barrier of entry for middle class homes and small businesses. Soon, IPTV cameras came and removed a lot of limitations. Since the recording was now in digital format, tapes were no longer required. Additional wiring was no longer required as they connected back to a central management hub over existing IP-based networks using Ethernet or WiFi. However, they were not truly autonomous as remote control required connecting to this hub before sending commands to the camera. In 2018, however, due to the rise of better embedded chipsets and IoT capabilities, IP cameras are now autonomous, can handle complex commands and use cases and even advertise themselves over the network so that they can be remotely controlled using an app if a valid user authenticates themselves. On top of that prices are falling, so even middle class homes can afford them now.
We will be reviewing one such surveillance camera today, named the Alfawise JD T8610 Q2 WiFi IP Camera. This camera is available exclusively on Gearbest with free or cheap global shipping. We sincerely thank the Gearbest team for sending us an unit for review. So, let us begin. I hope you all will find this a wonderful read.
About the product
The Alfawise JD T8610 Q2 WiFi IP Camera is a mobile app controlled domestic surveillance camera that can be managed over a WiFi connection without the requirement of an access point. It is in the shape of a LED lightbulb and fits into any electric bulb socket. It works as a LED lightbulb while also capturing video and sound of subjects in its range of sight.
The highlights from the product page on Gearbest are:
- 1.3MP 360 degrees panoramic fisheye lens, monitoring no dead ends
- Two-way audio function, it can do two-way talk online between the IP camera and your mobile phone
- Motion detection function supports alarm record, snapshot and APP push
- Support WiFi connection and AP connection, convenient for remote surveillance without a router
- H.264+ video compression format saves more storage space than the H.264 format
- Support an external TF / Micro SD card storage, up to 64GB ( not included )
- Built with 3 x 1W white light, which can be remotely controlled on / off by mobile APP
- Support the Android and iOS system devices, such as mobile phones, tablets and computers
- High-quality lamp body design and standard E27 lamp holder
Now that we’re familiar with the product, let’s move over to unboxing it.
Unboxing and Installation
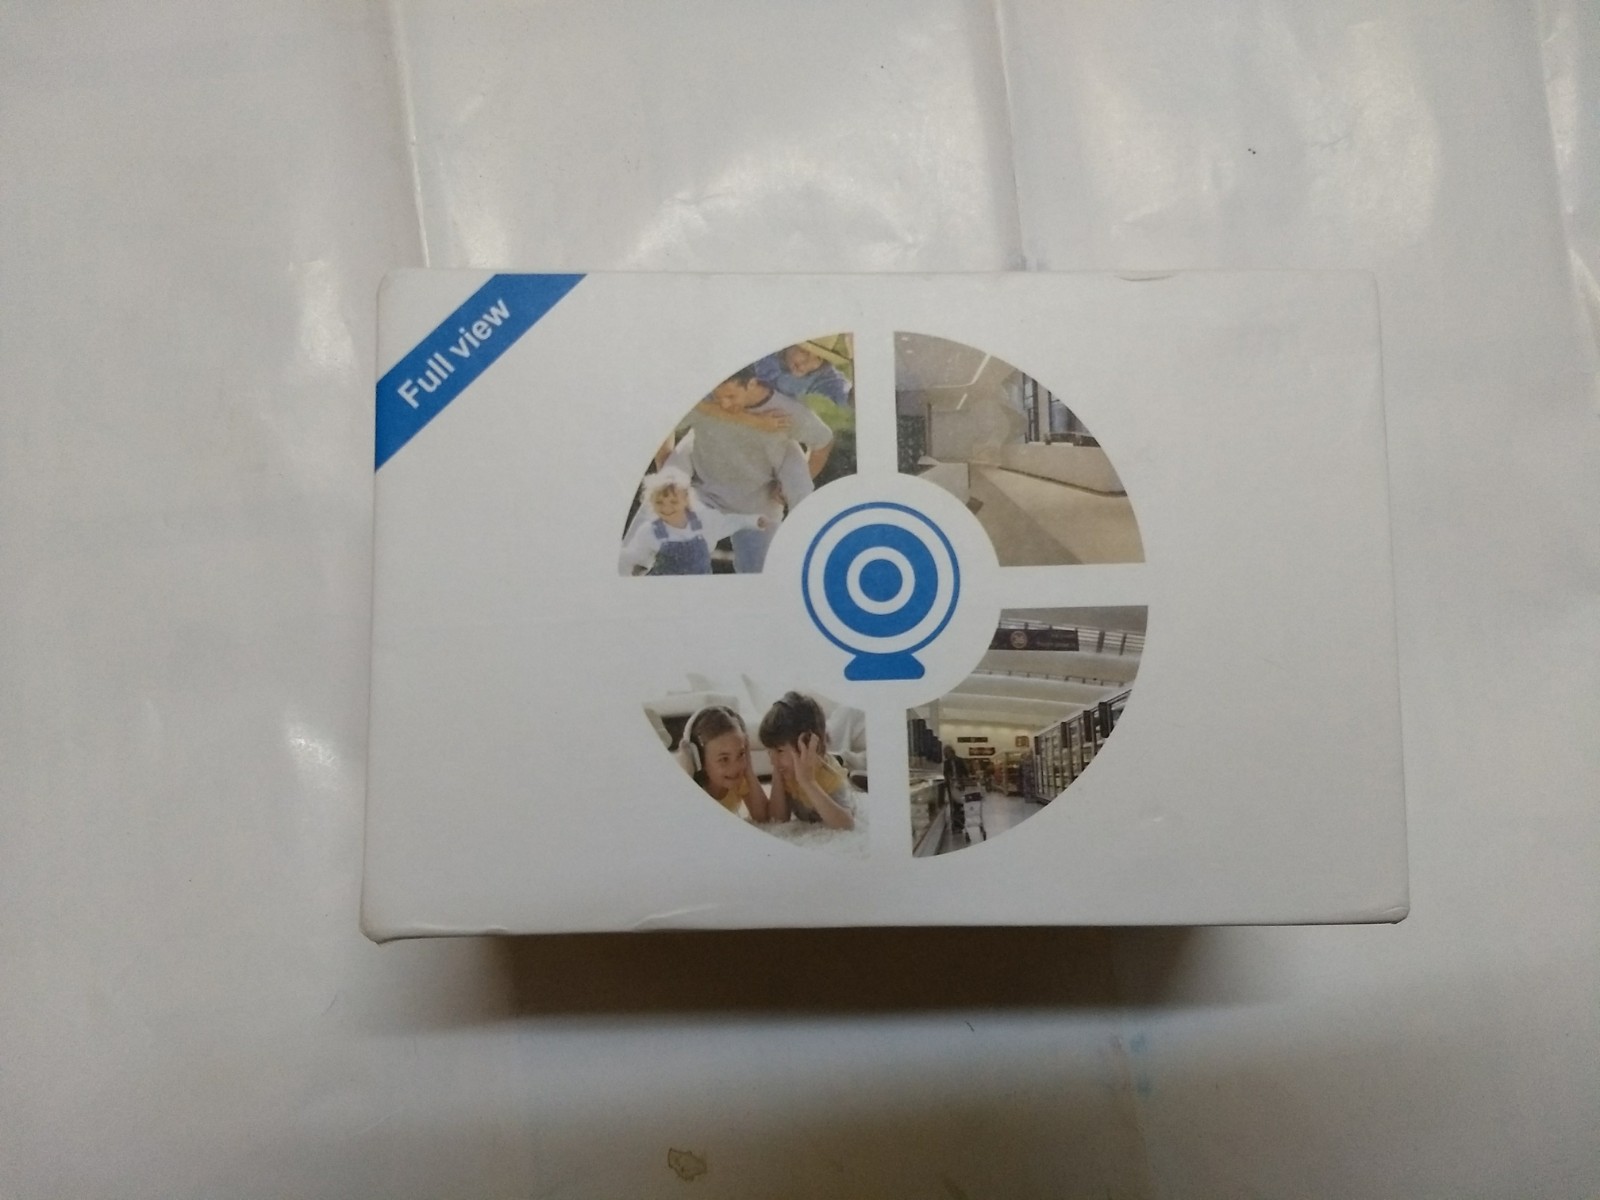
The Alfawise JD T8610 Q2 WiFi IP Camera comes in an illustrated box. On the top side is a featured image.
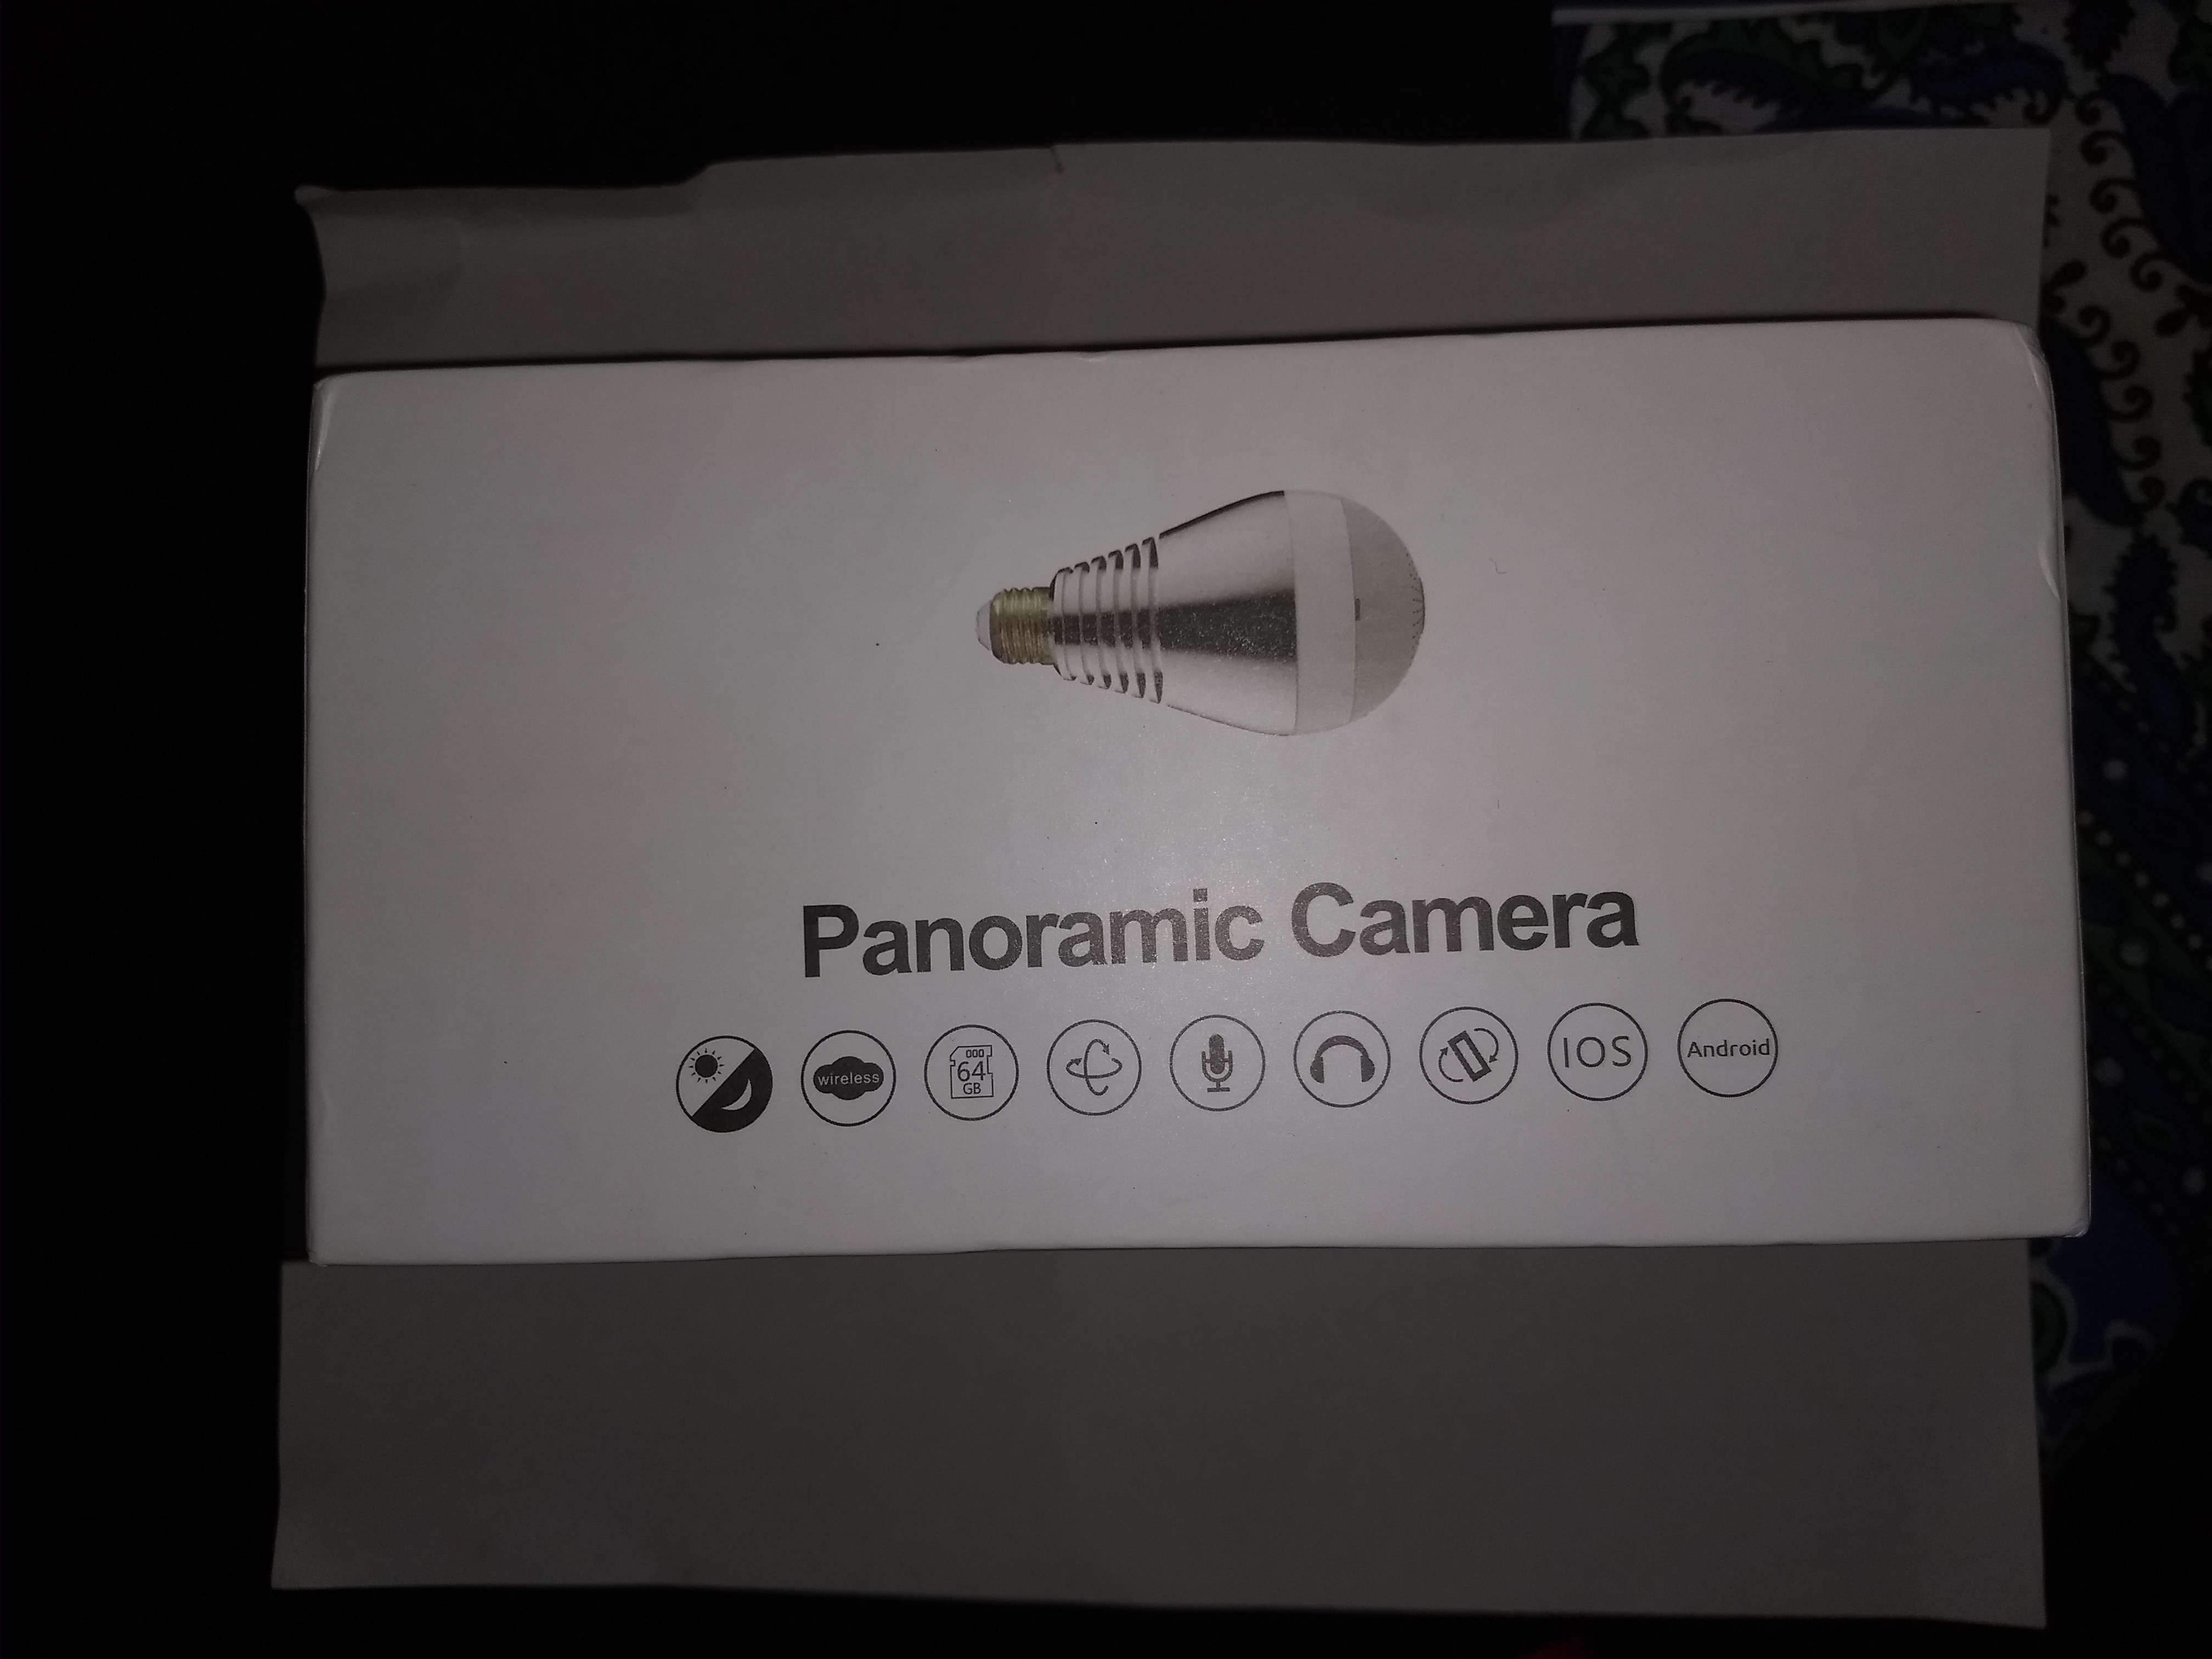
On the longer sides, there is an image of the device plus regulatory logos.
On one shorter side, there is product information sticker.

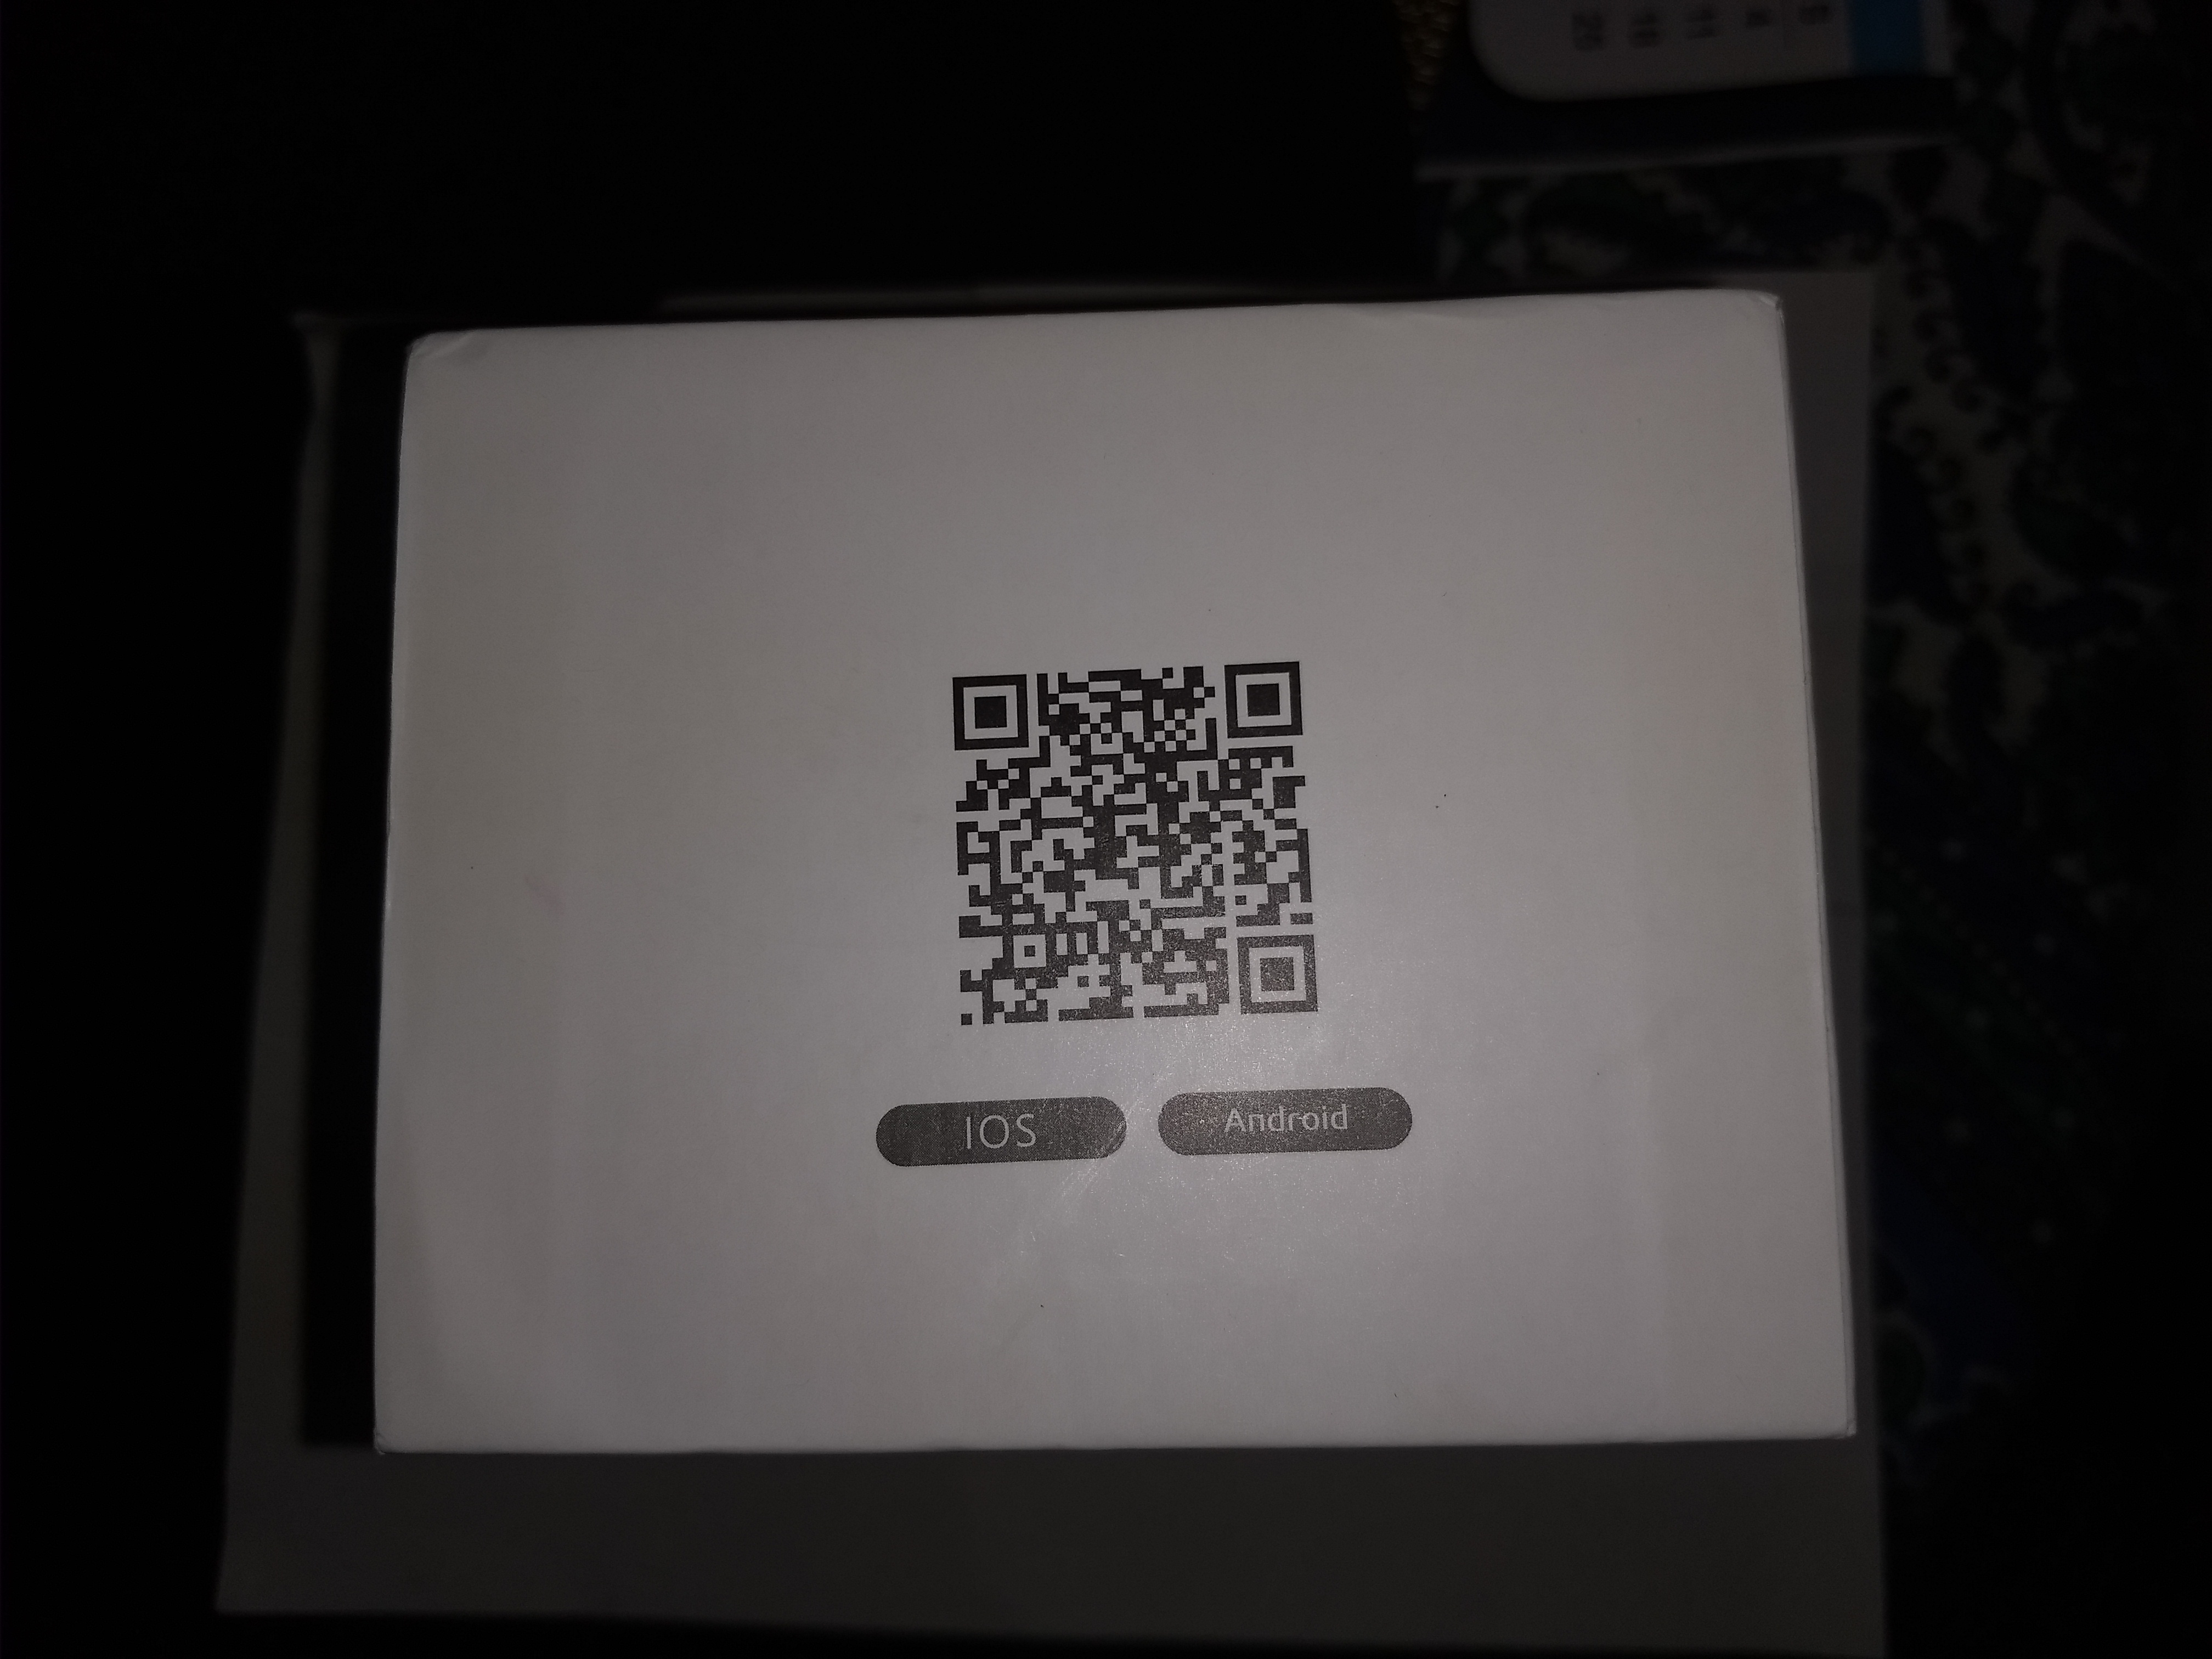
On the other shorter side, there is a QR code for downloading the iOS or Android app.
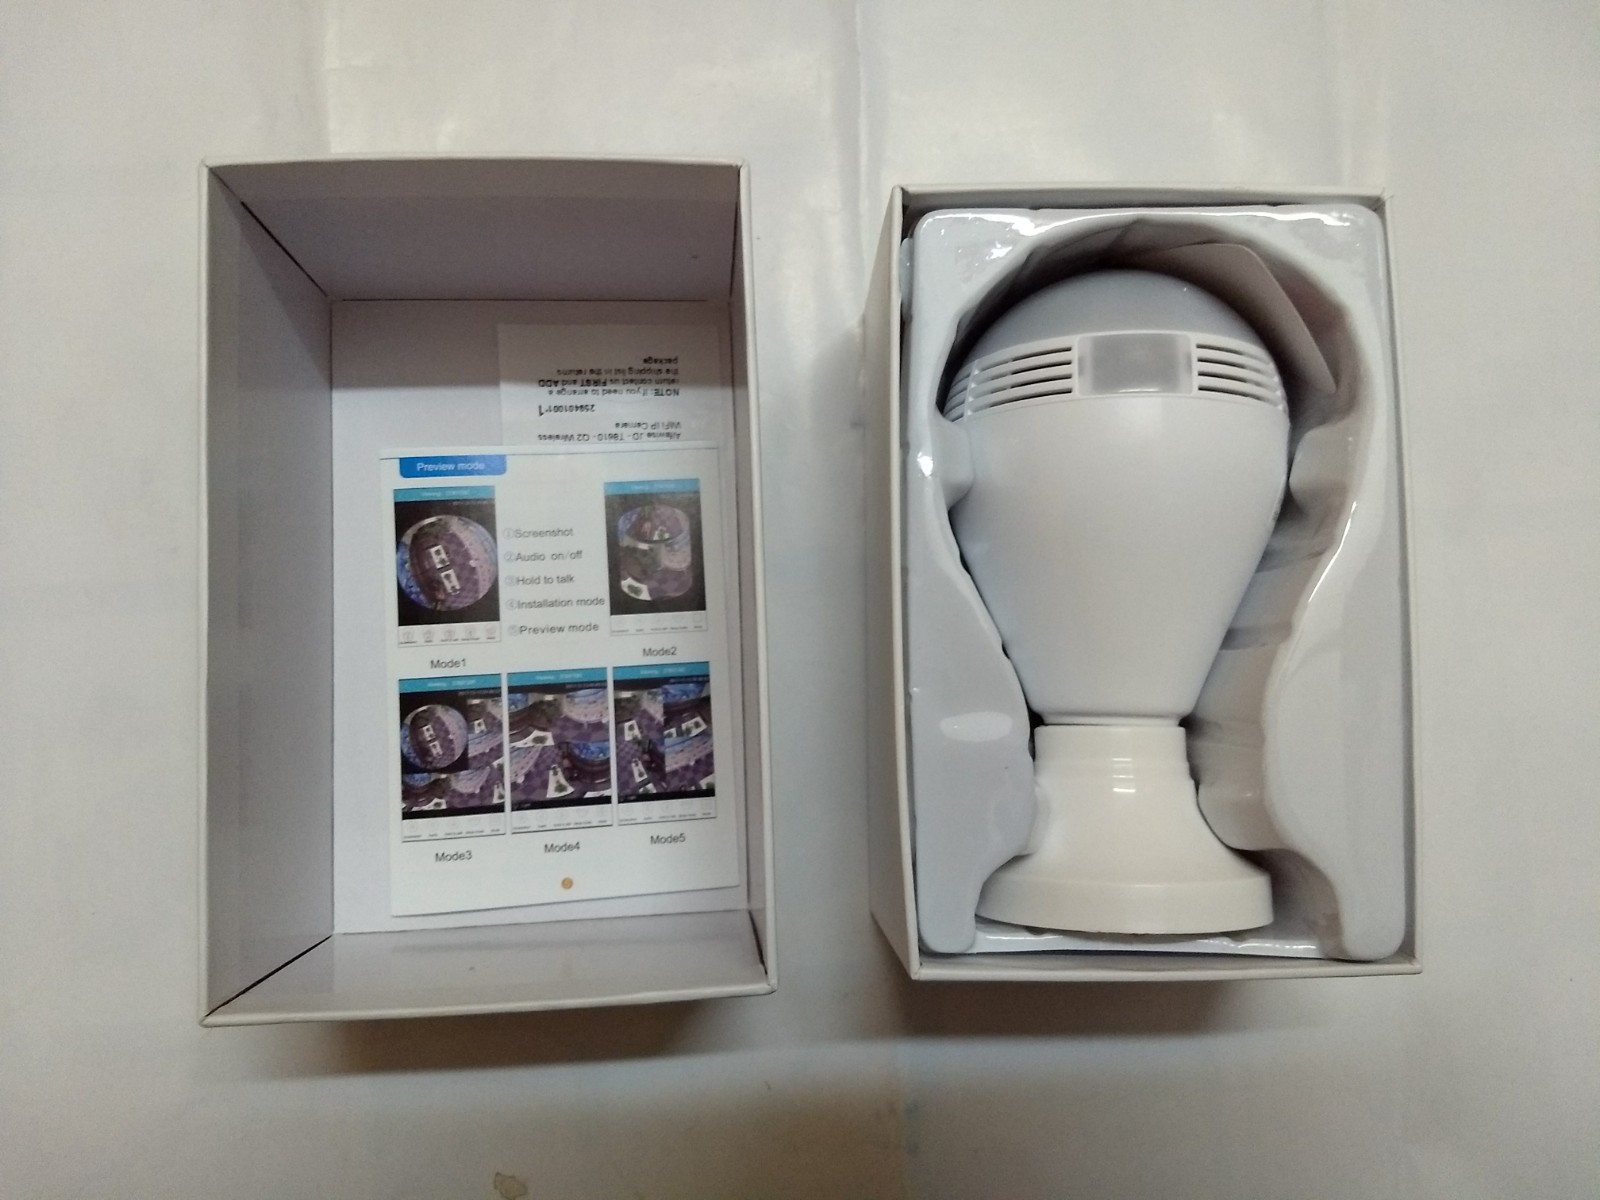
Sliding away the top cover from the box, we can see the bulb camera with a E27 screw holder in a plastic mold packing. On top of that there is a user guide and a Gearbest receipt.
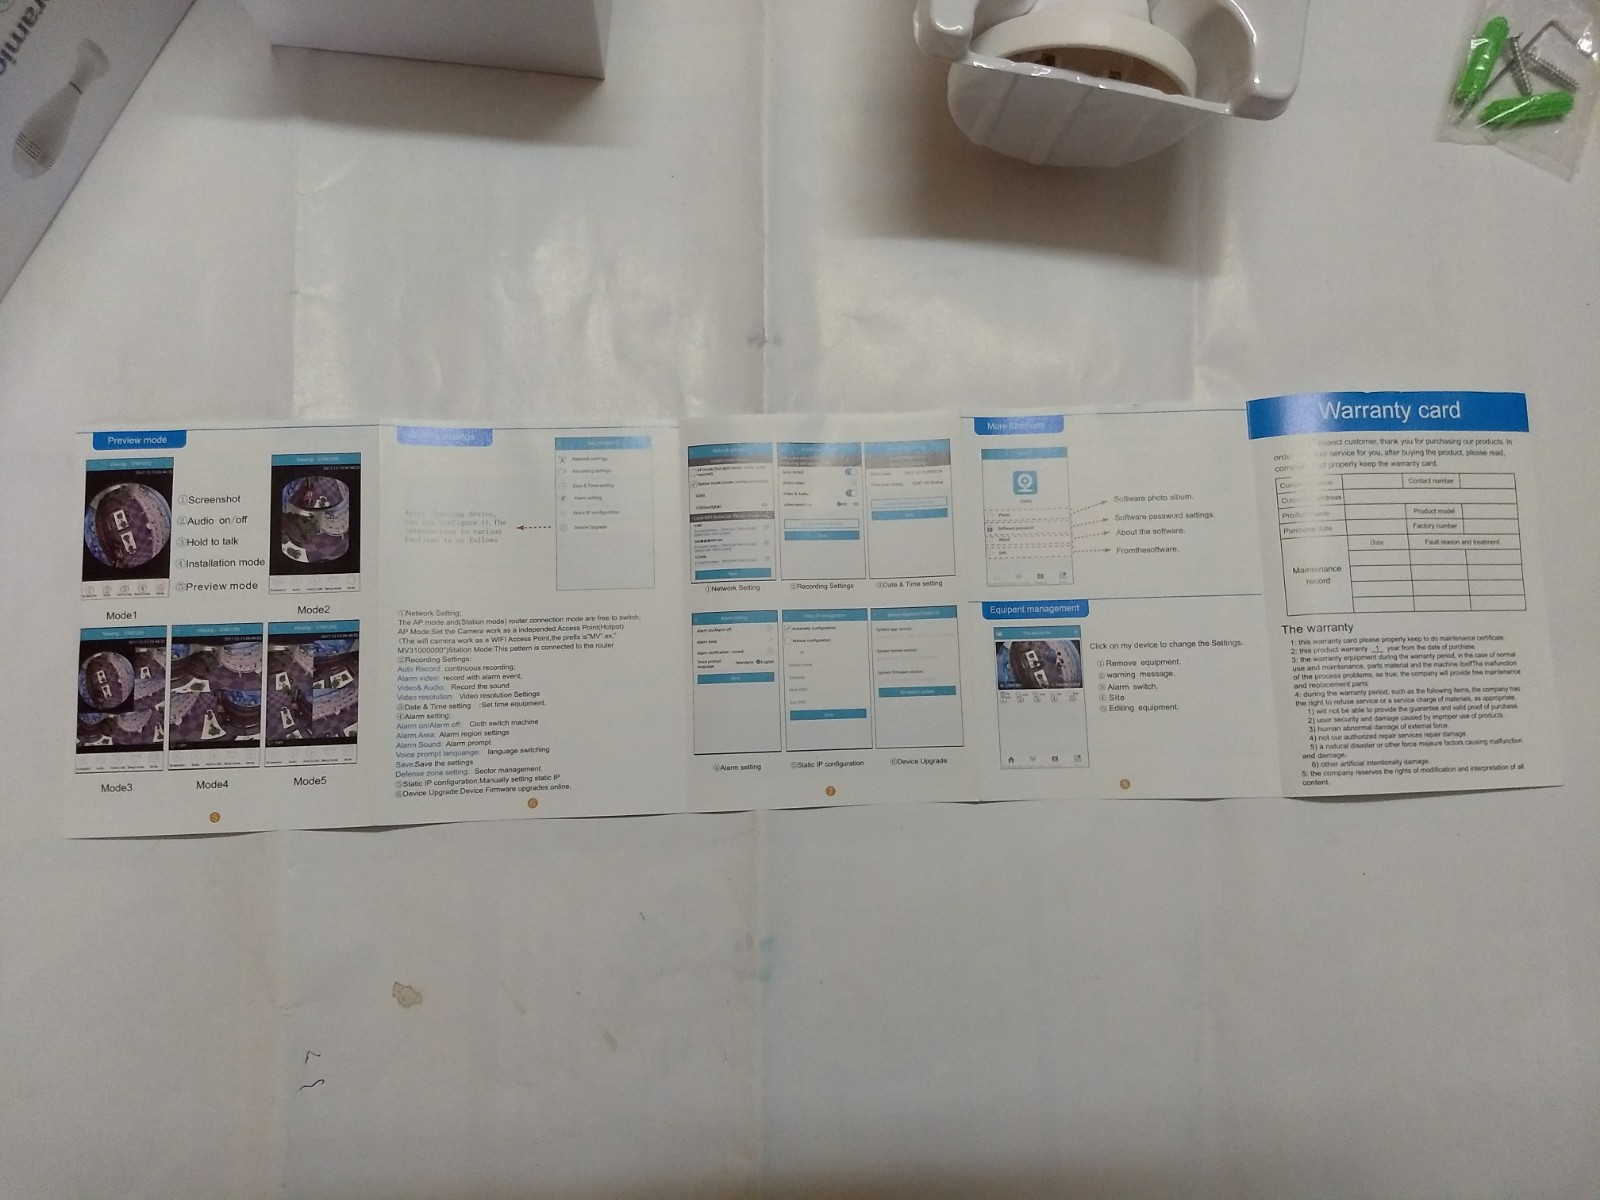
Taking out the user manual and unraveling it, we get to see this sight.
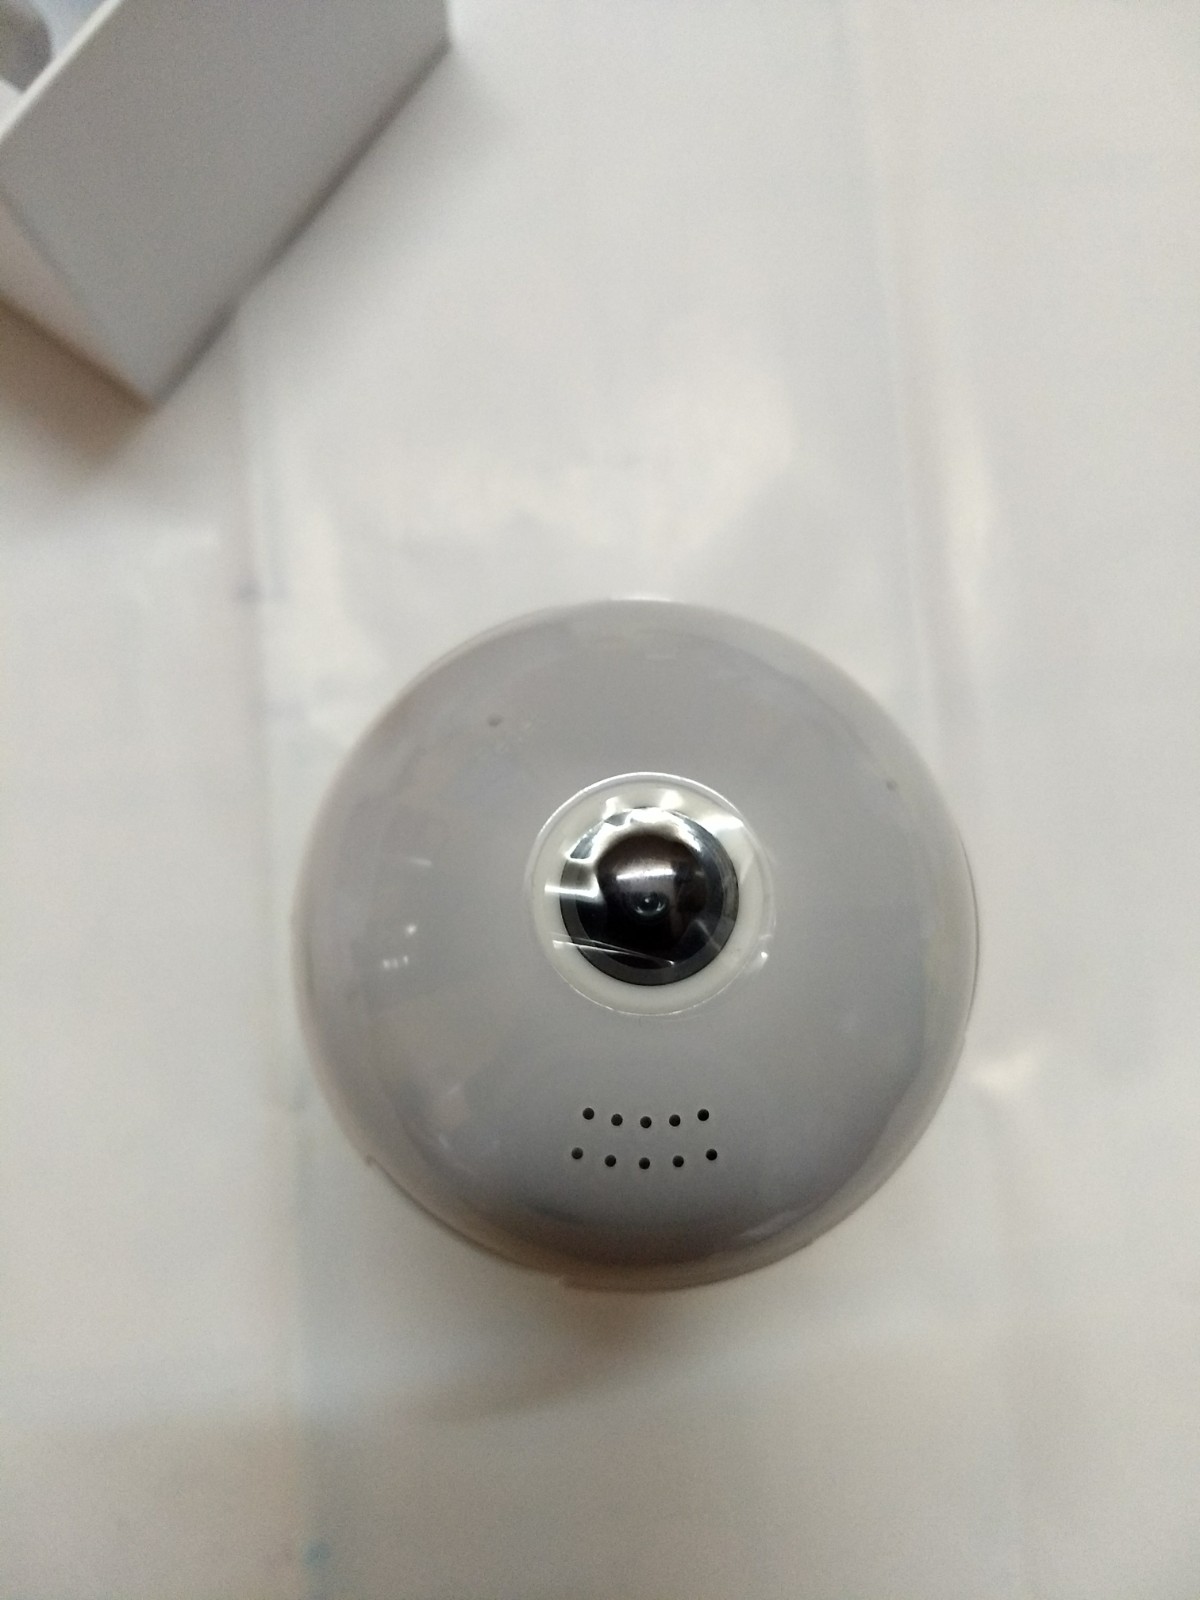
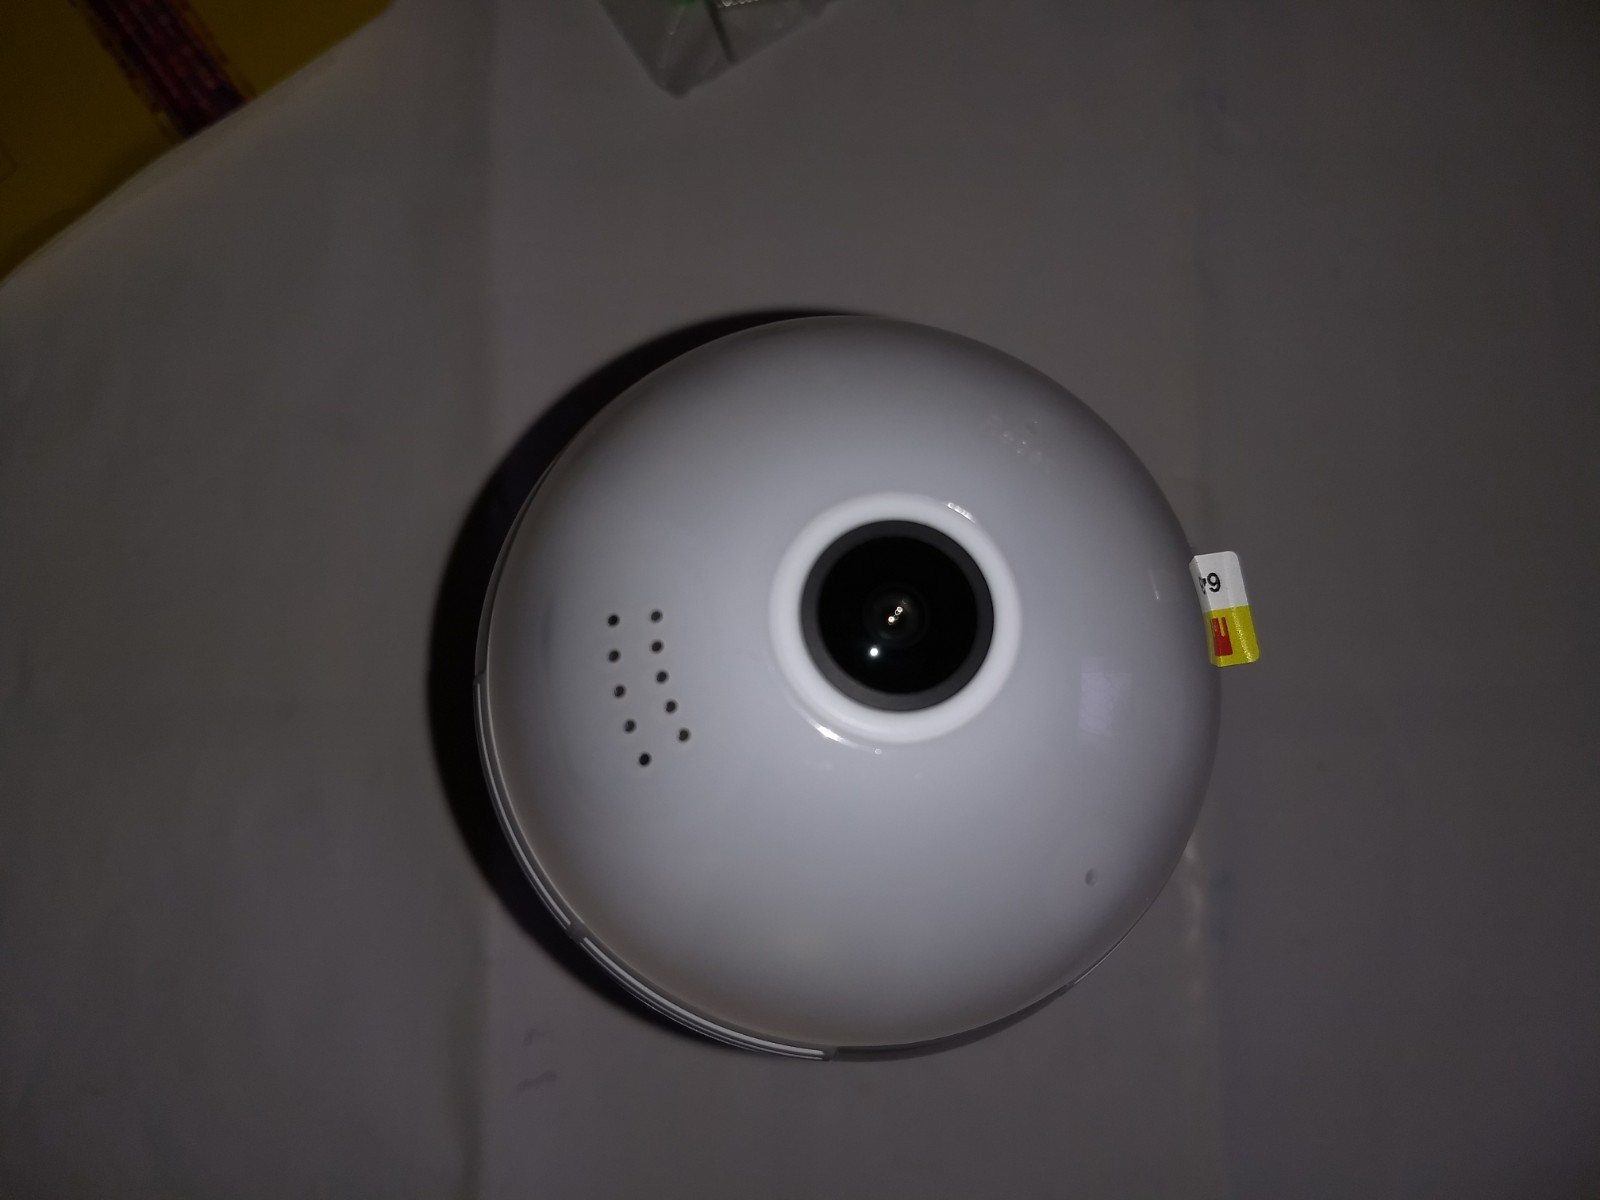
Now, let us move our focus to the bulb camera. The top of the bulb camera looks as shown in the below picture. The dots at the bottom of the lens is the opening to the wide angle microphone.
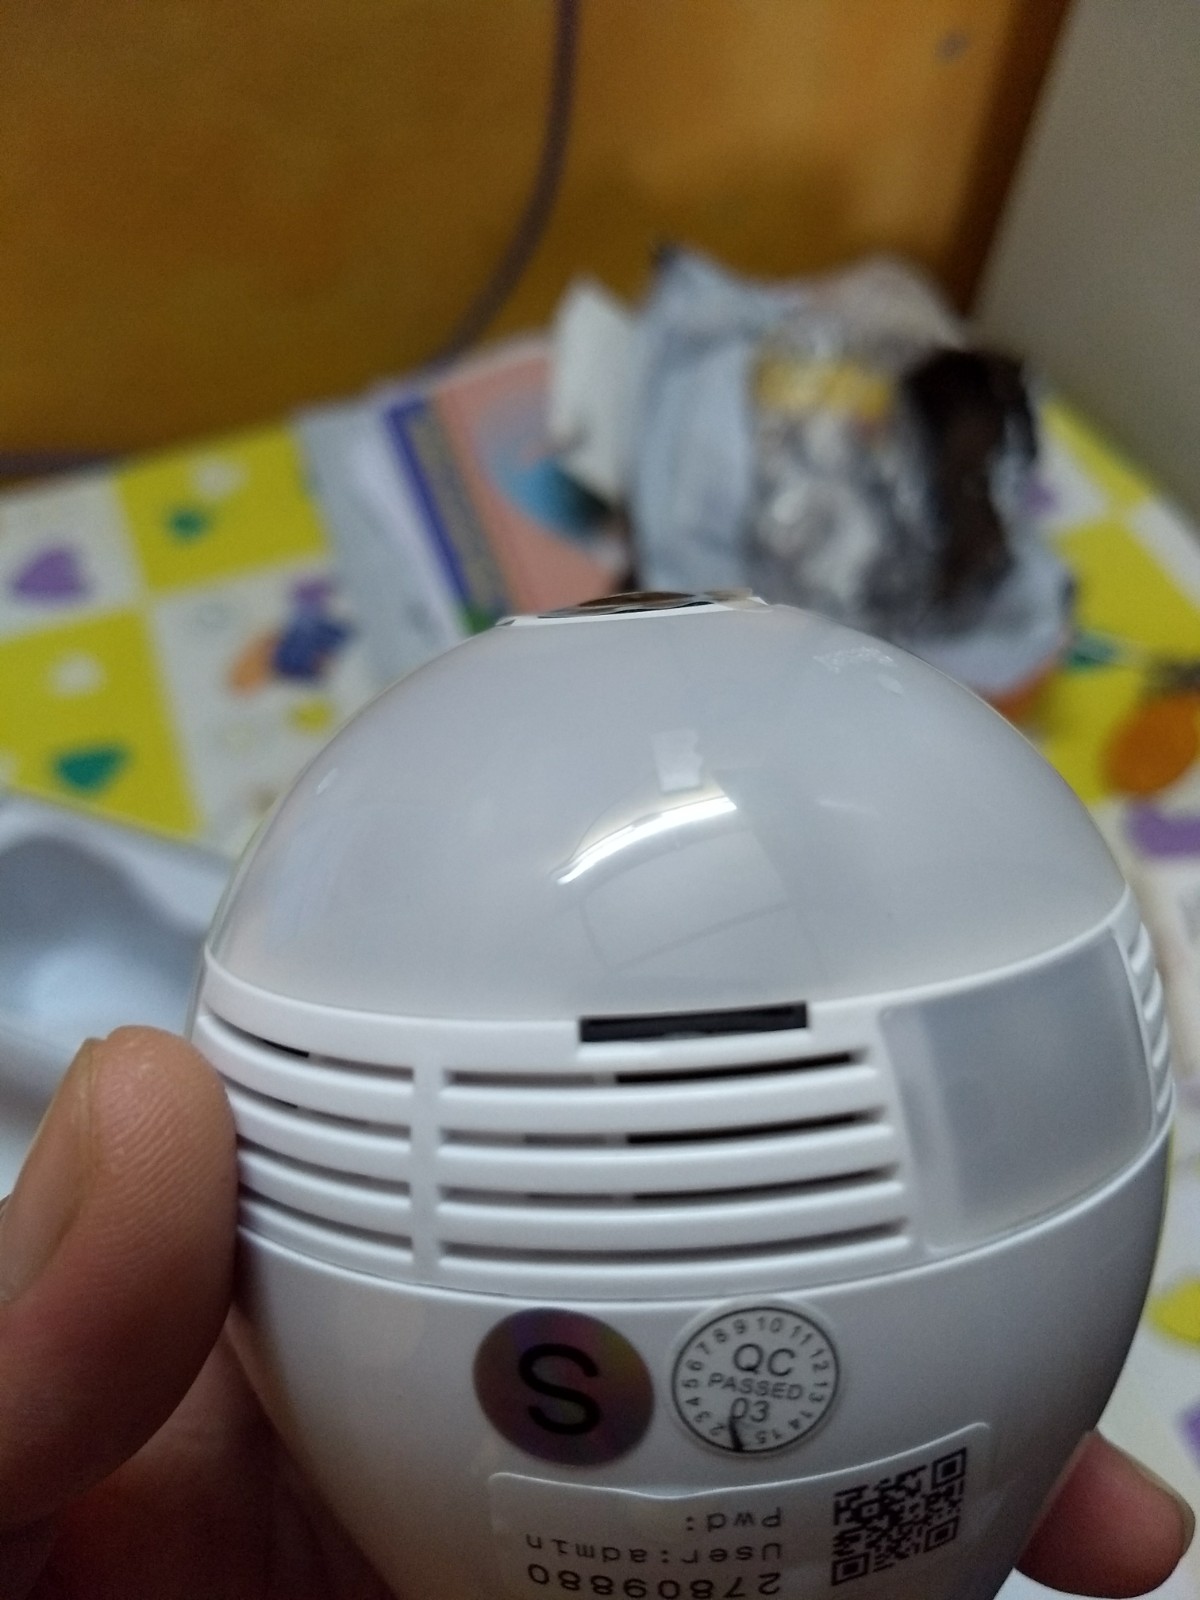
Turning the bulb to the side, we see vents for cooling and a slot for a micro-SD card.
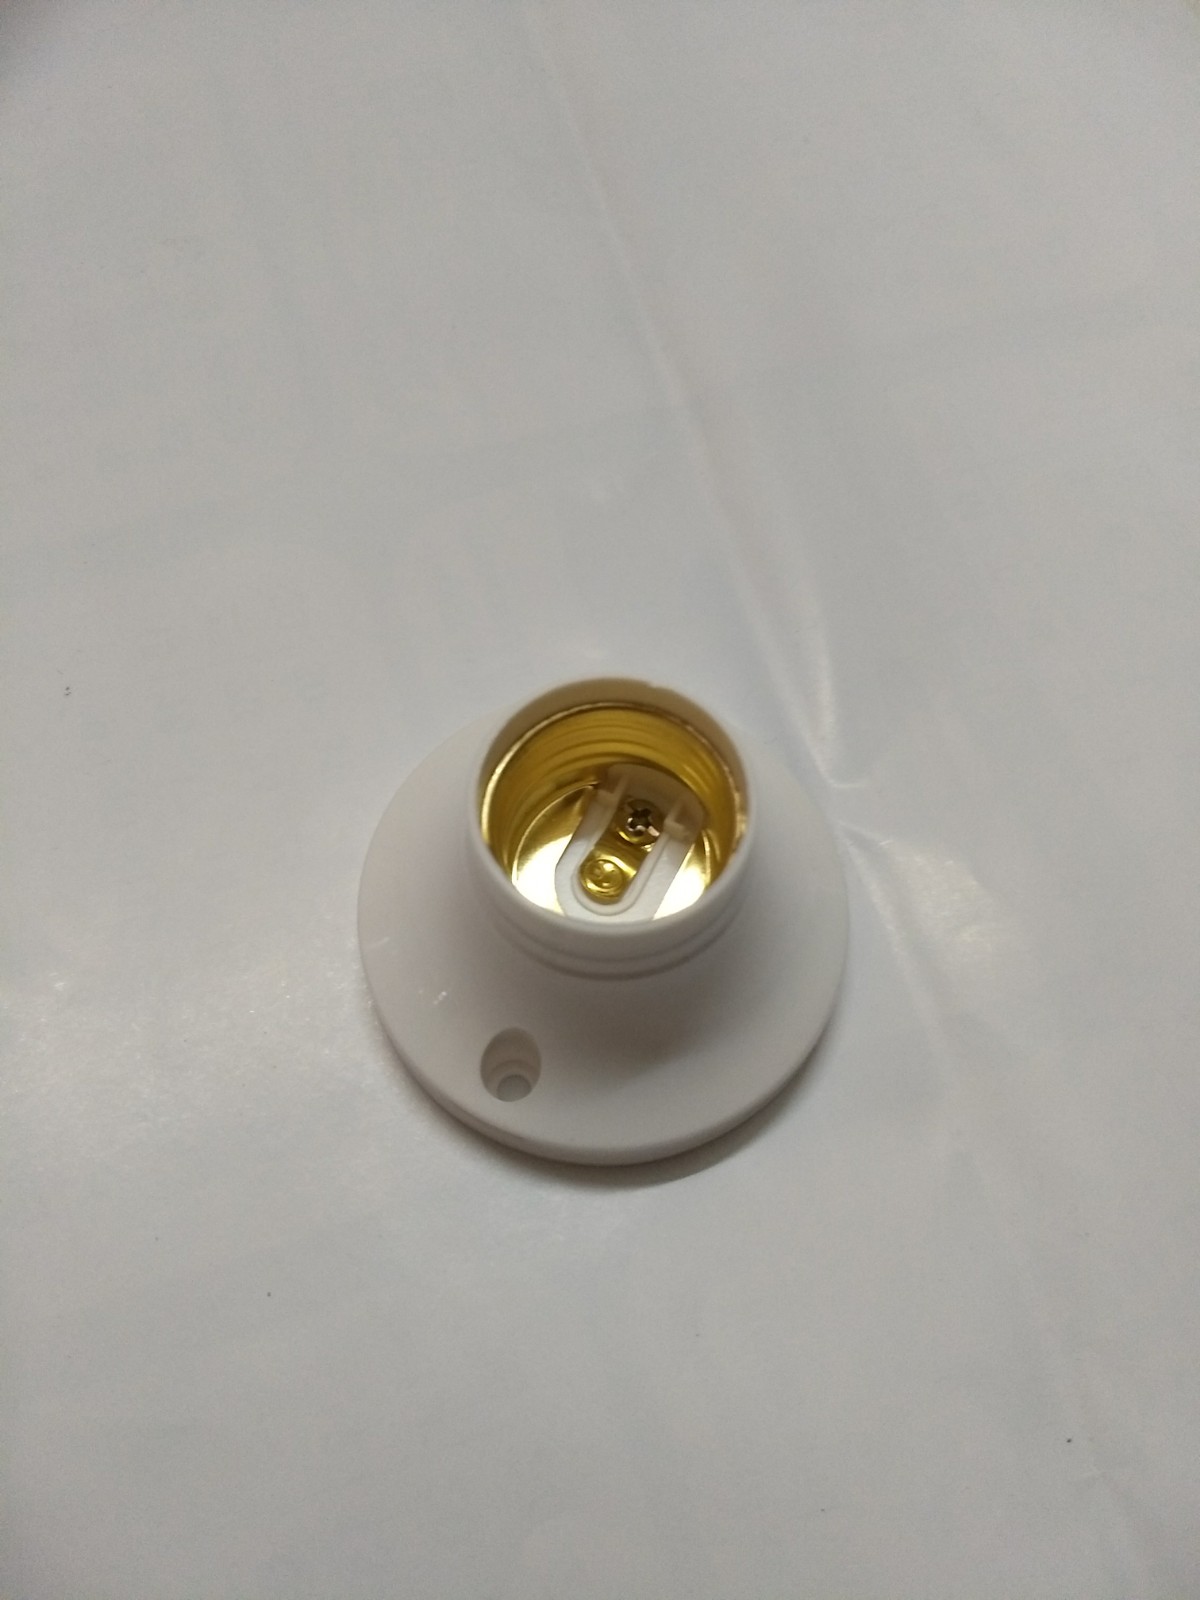
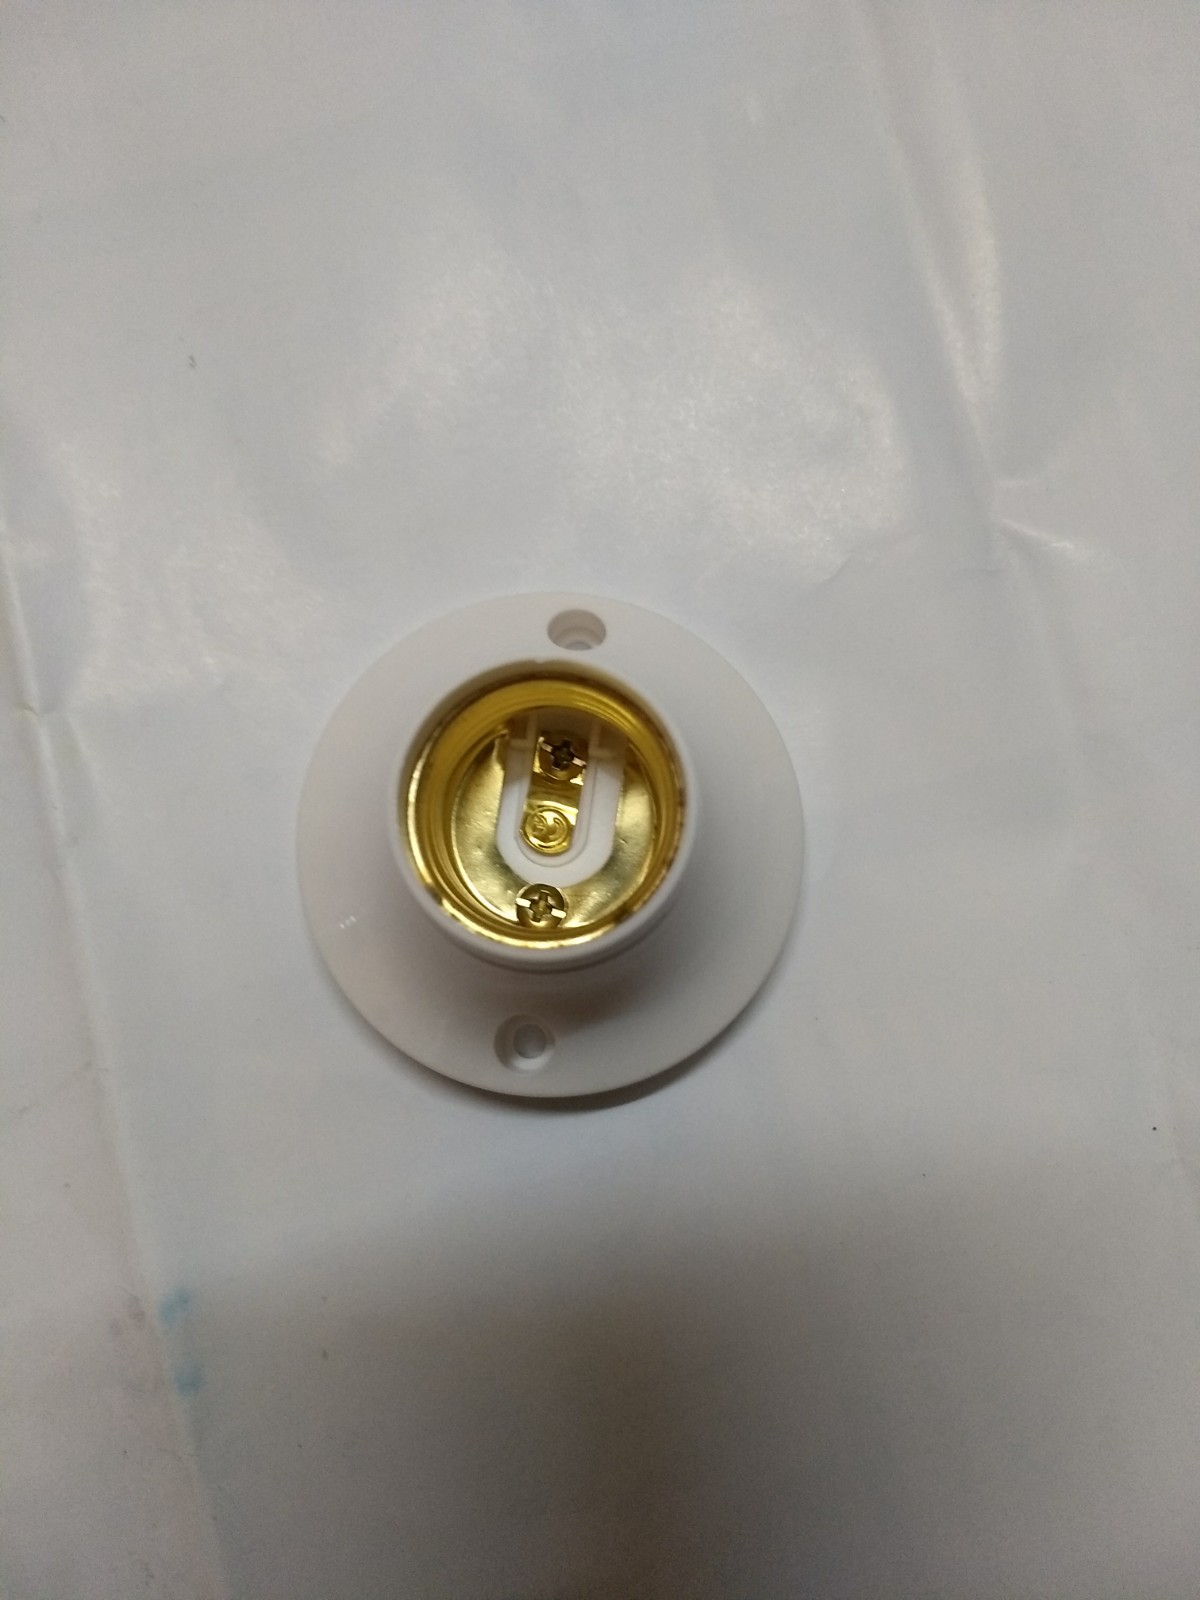
We keep the bulb aside and look at the holder. It is a standard E27 screw holder for most lightbulbs.
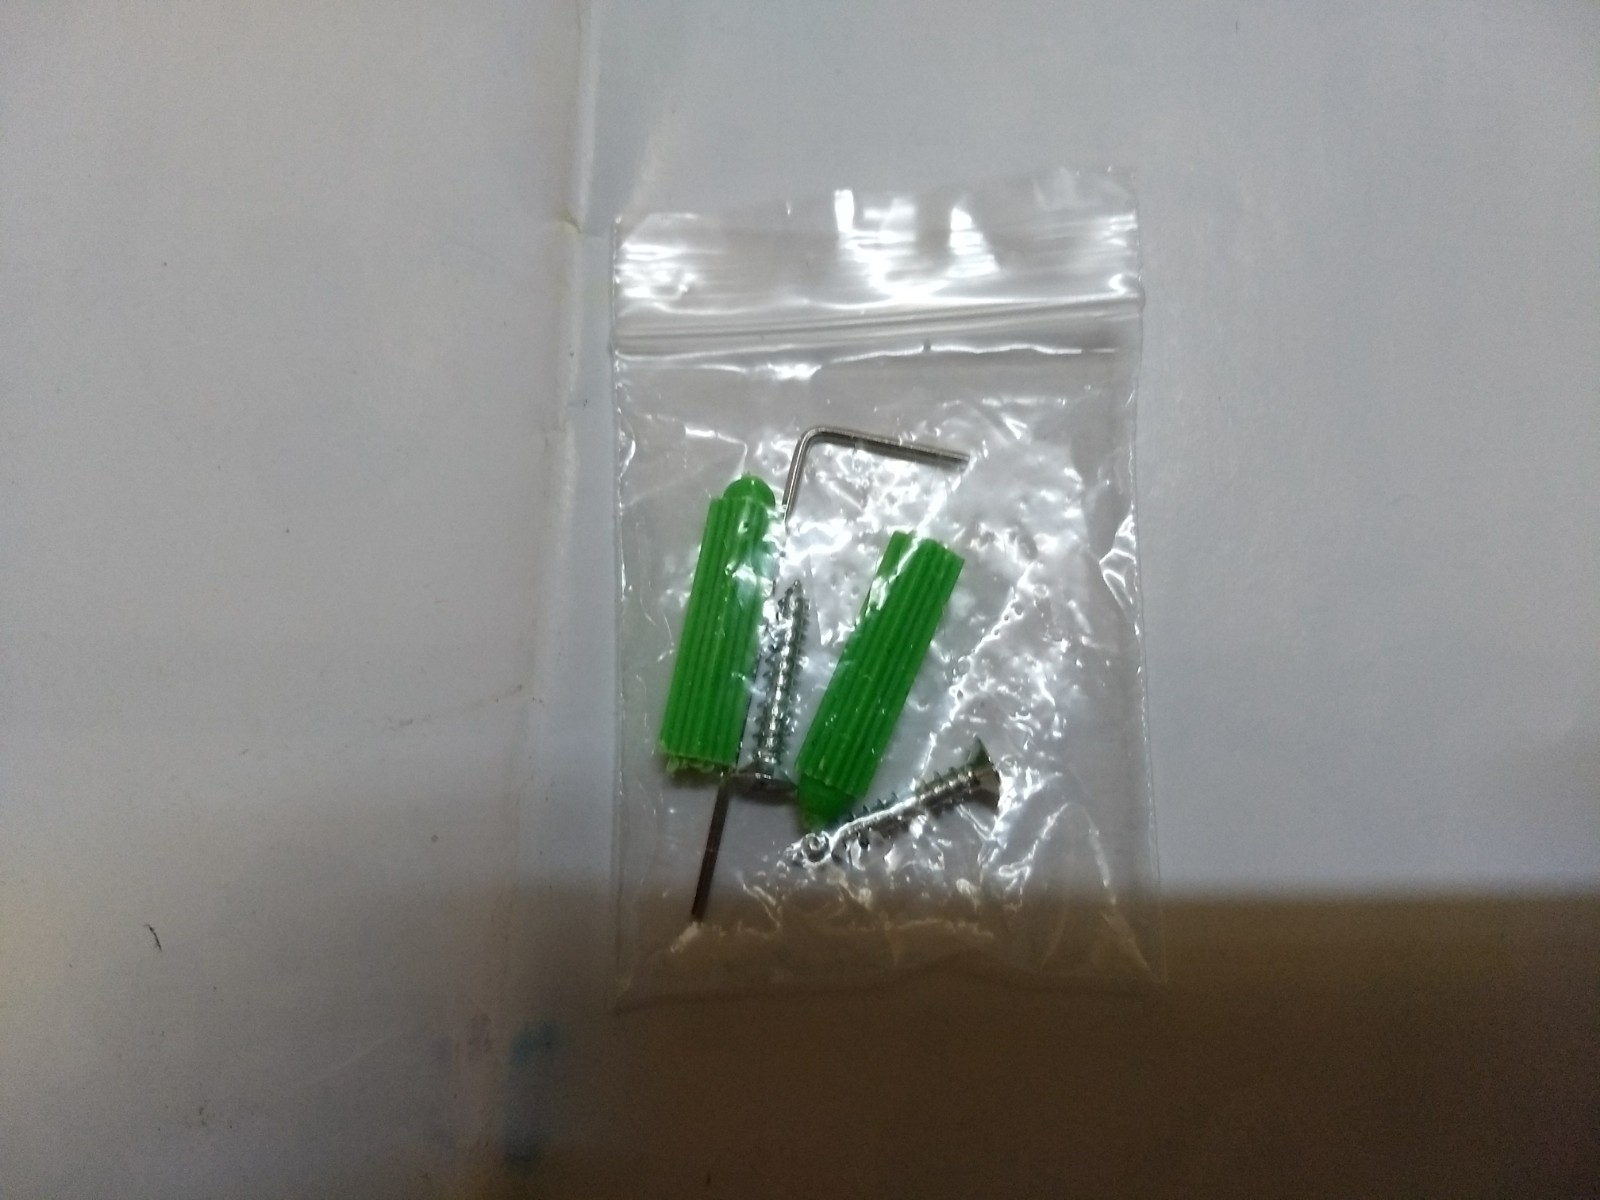
Taking out the mold packaging, we find screws and wall brackets at the bottom. I have taken it out for everyone to see.
Now that we have unboxed the Alfawise JD T8610 Q2 WiFi IP Camera, let’s take it out of the box, remove the plastic films and install it.
Installation
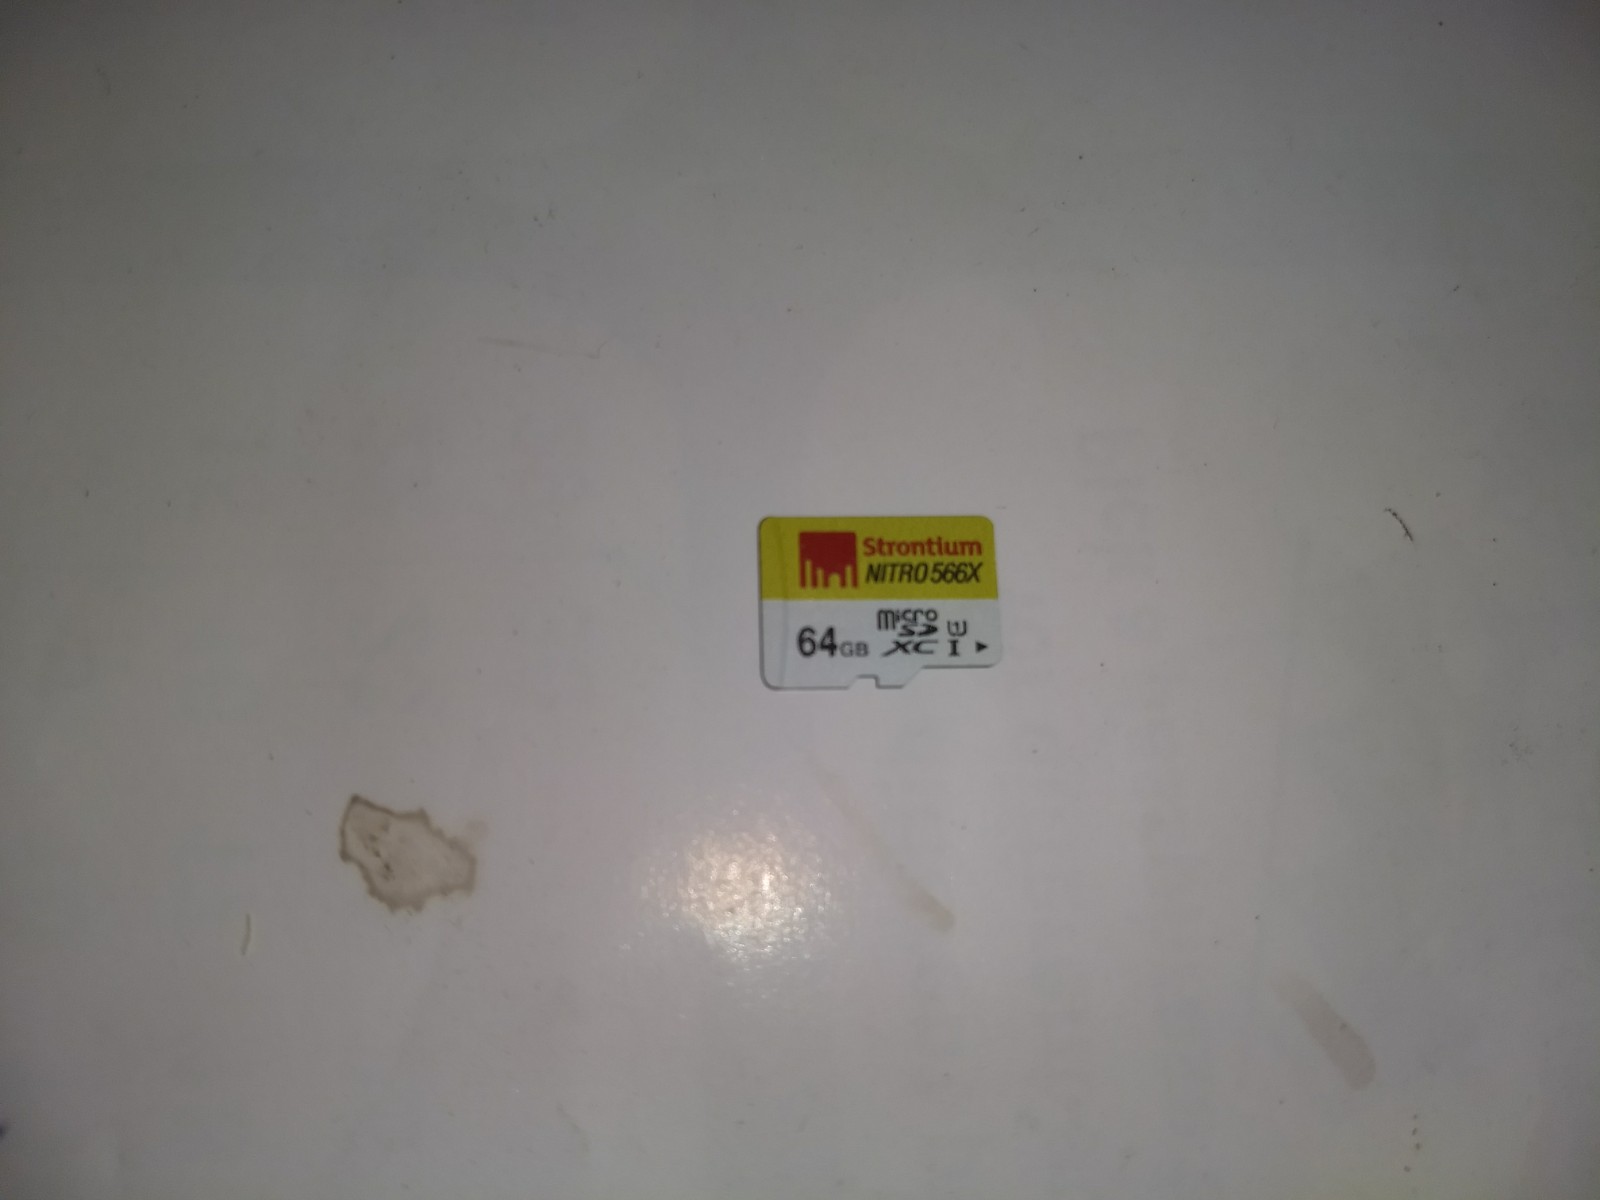
The first step for installation is to put a micro-SD card into the camera’s card slot so that it can store recorded videos. I am using a Strontium Nitro 64GB UHS-I micro-SD card for this purpose.

After the micro-SD card is placed into the slot, you need to drill holes into the wall, put in the wall brackets into the holes, connect electrical wires to the bulb holder and then screw the bulb holder in. If you have an existing bulb socket, then you can simply replace the holder, reusing the brackets and screws. Finally twist the bulb camera all the way into the holder.
After the installation, the bulb camera looks like this.
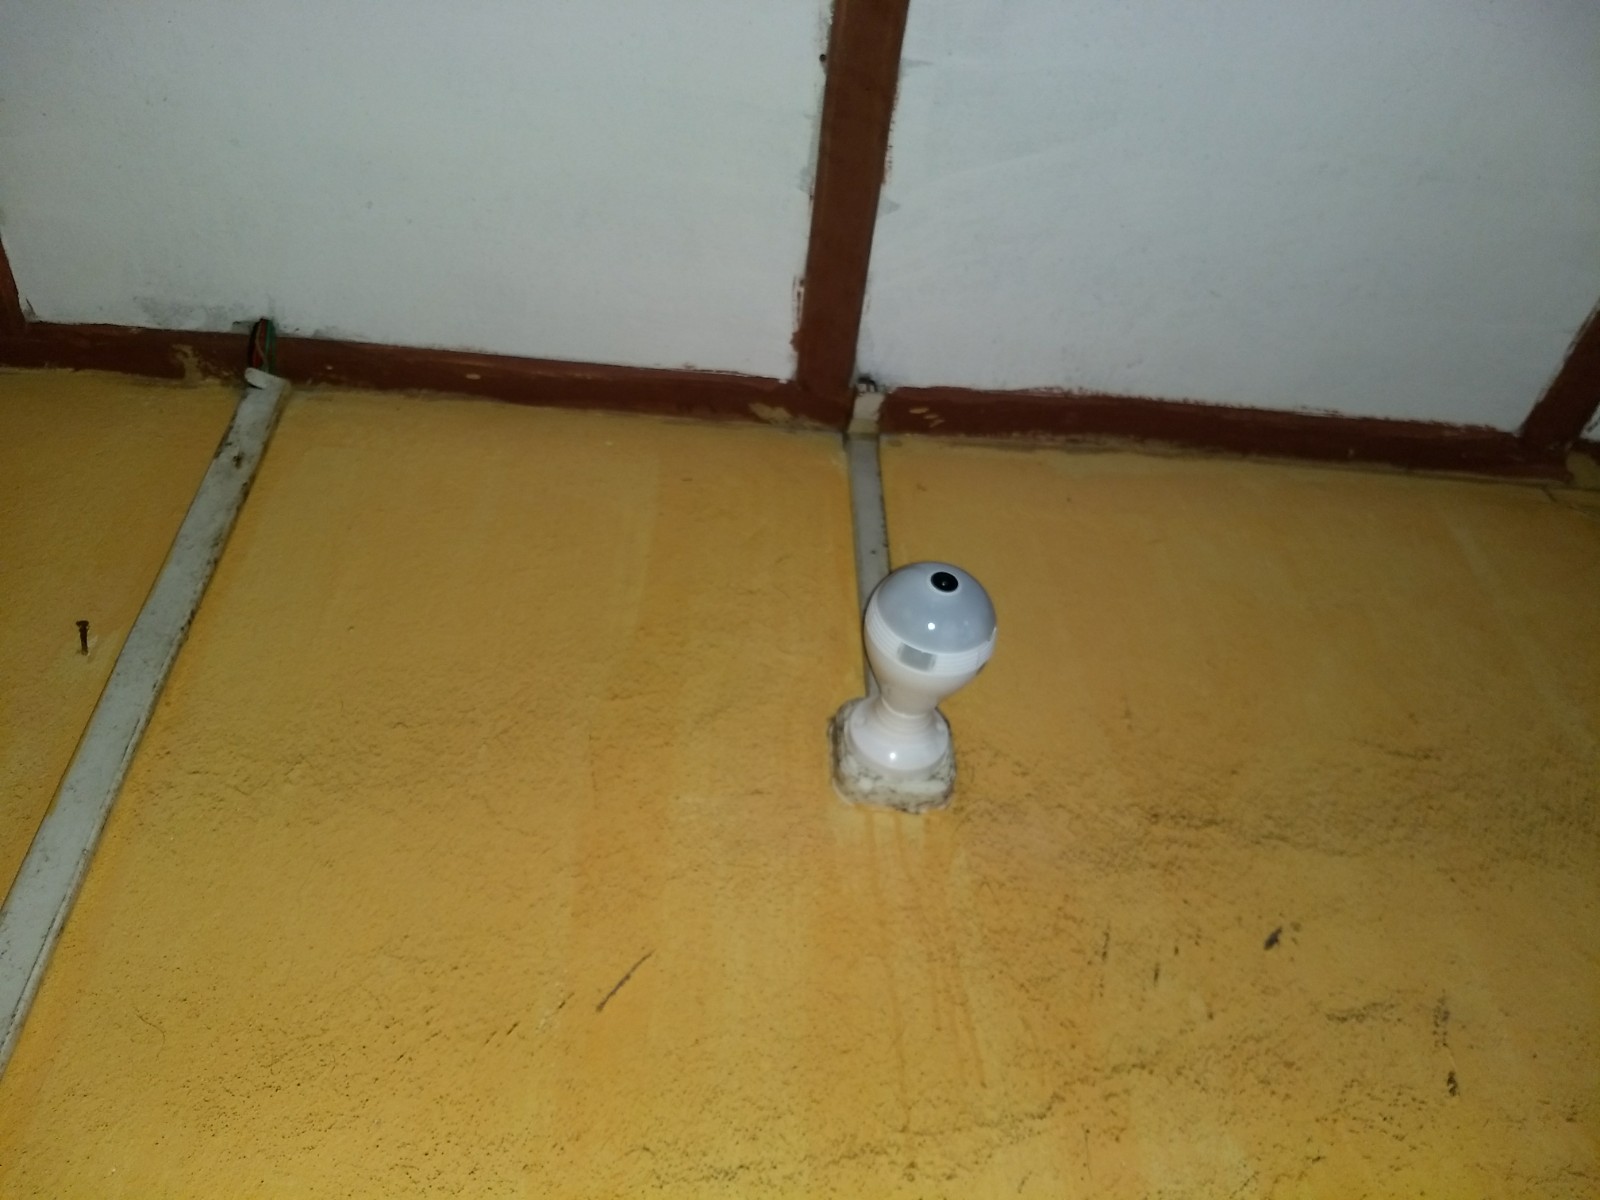
The bulb camera is now installed. Let’s power it on and start using.
Usage
To start using the camera, you need to download the iOS or Android app by scanning the QR code on the side of the box packaging. I have an Android phone so I was taken to the Google Play page for the app.
Once you download and run the app, you will be taken to an add device screen. Before we can add a device, however, we need to connect our phone to WiFi access point announced by the device. So, tap the home button, connect to the correct WiFi network. It is of the form MVabcdxyzw, where abcdxyzw is the device serial number.
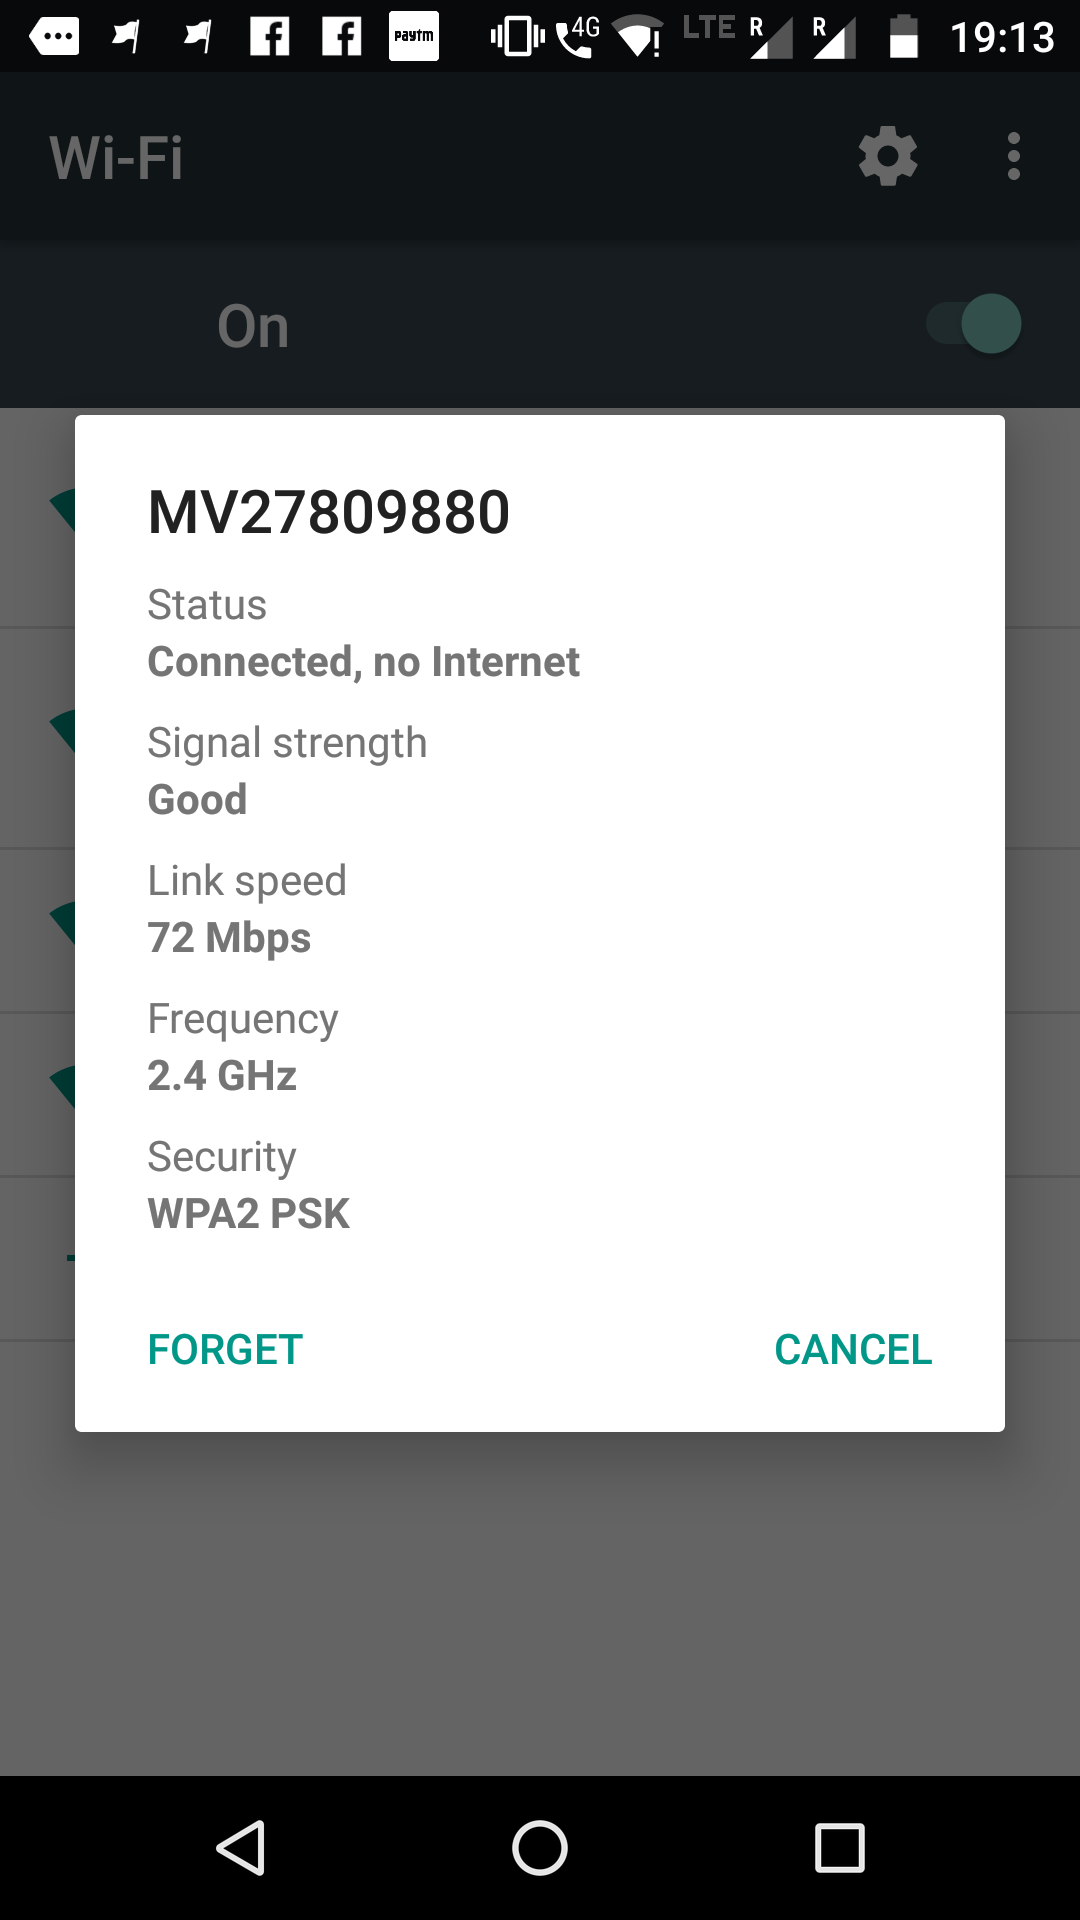
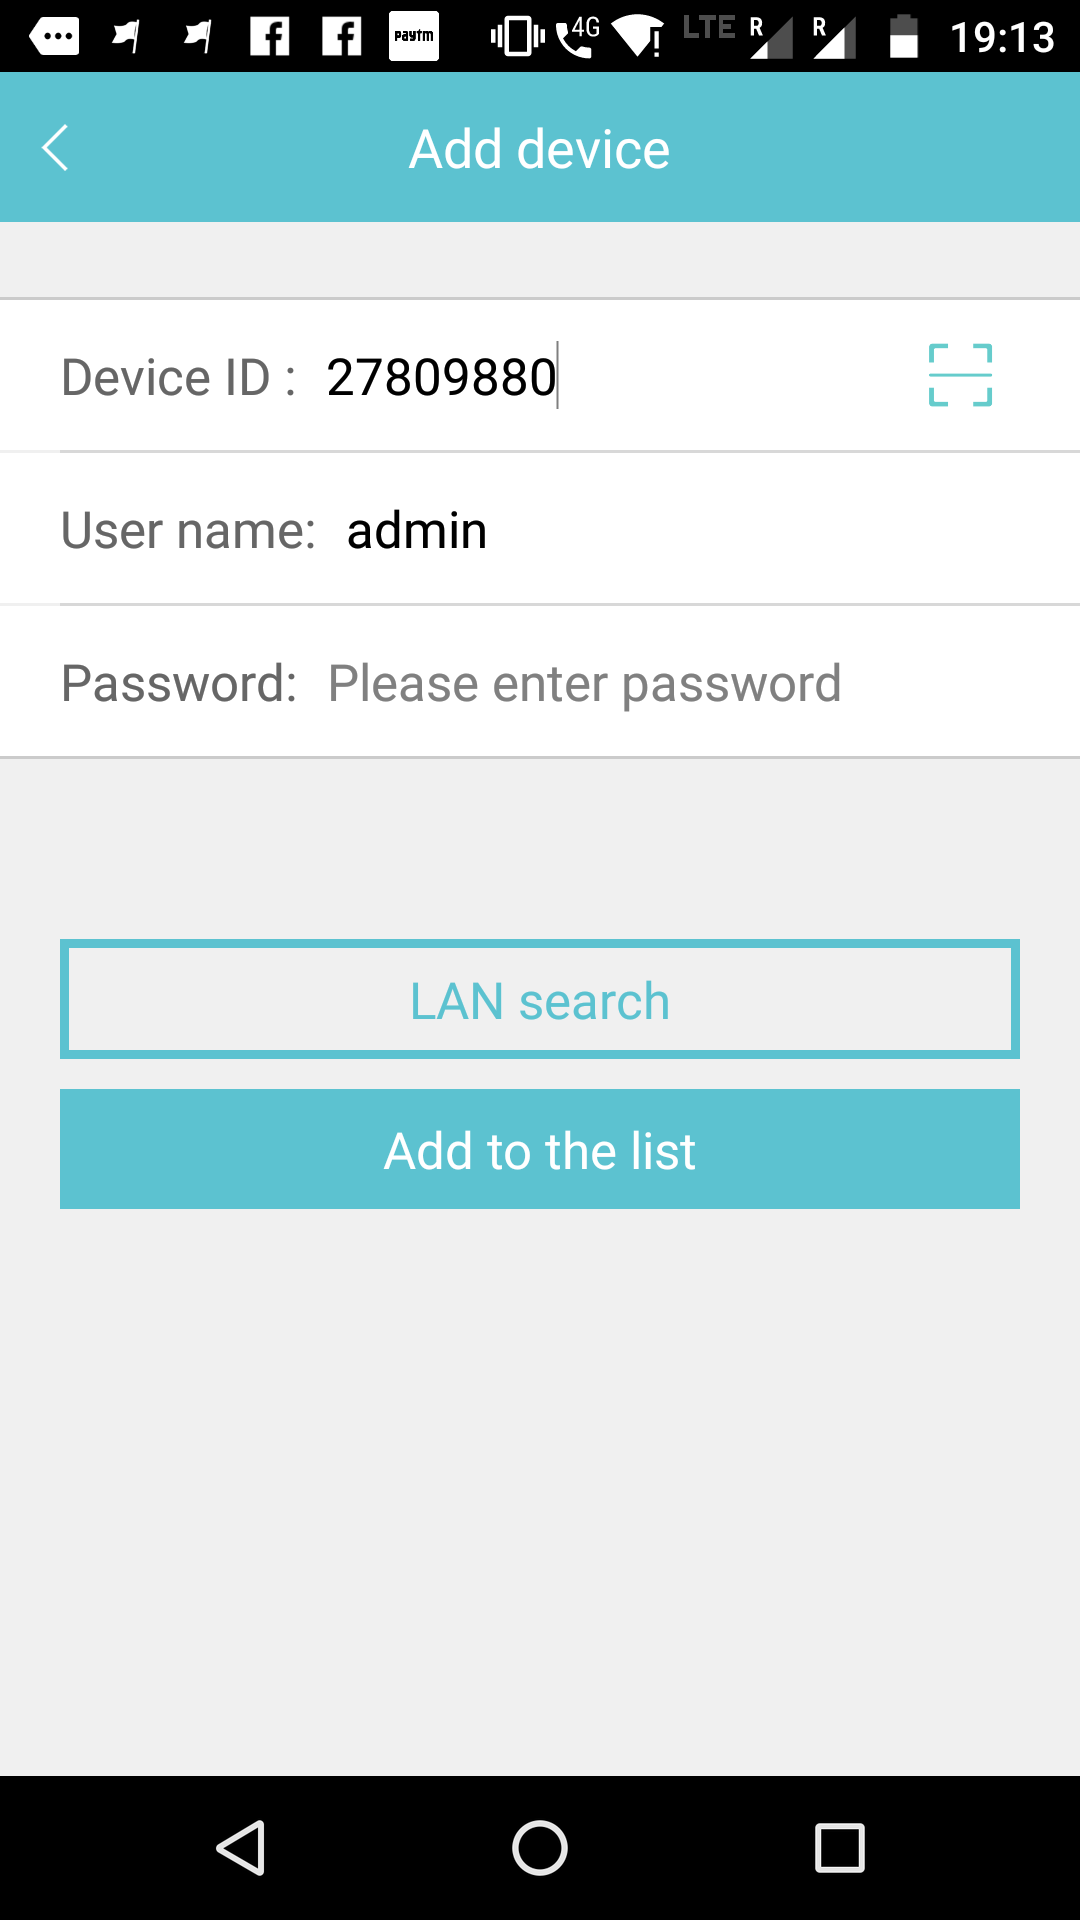
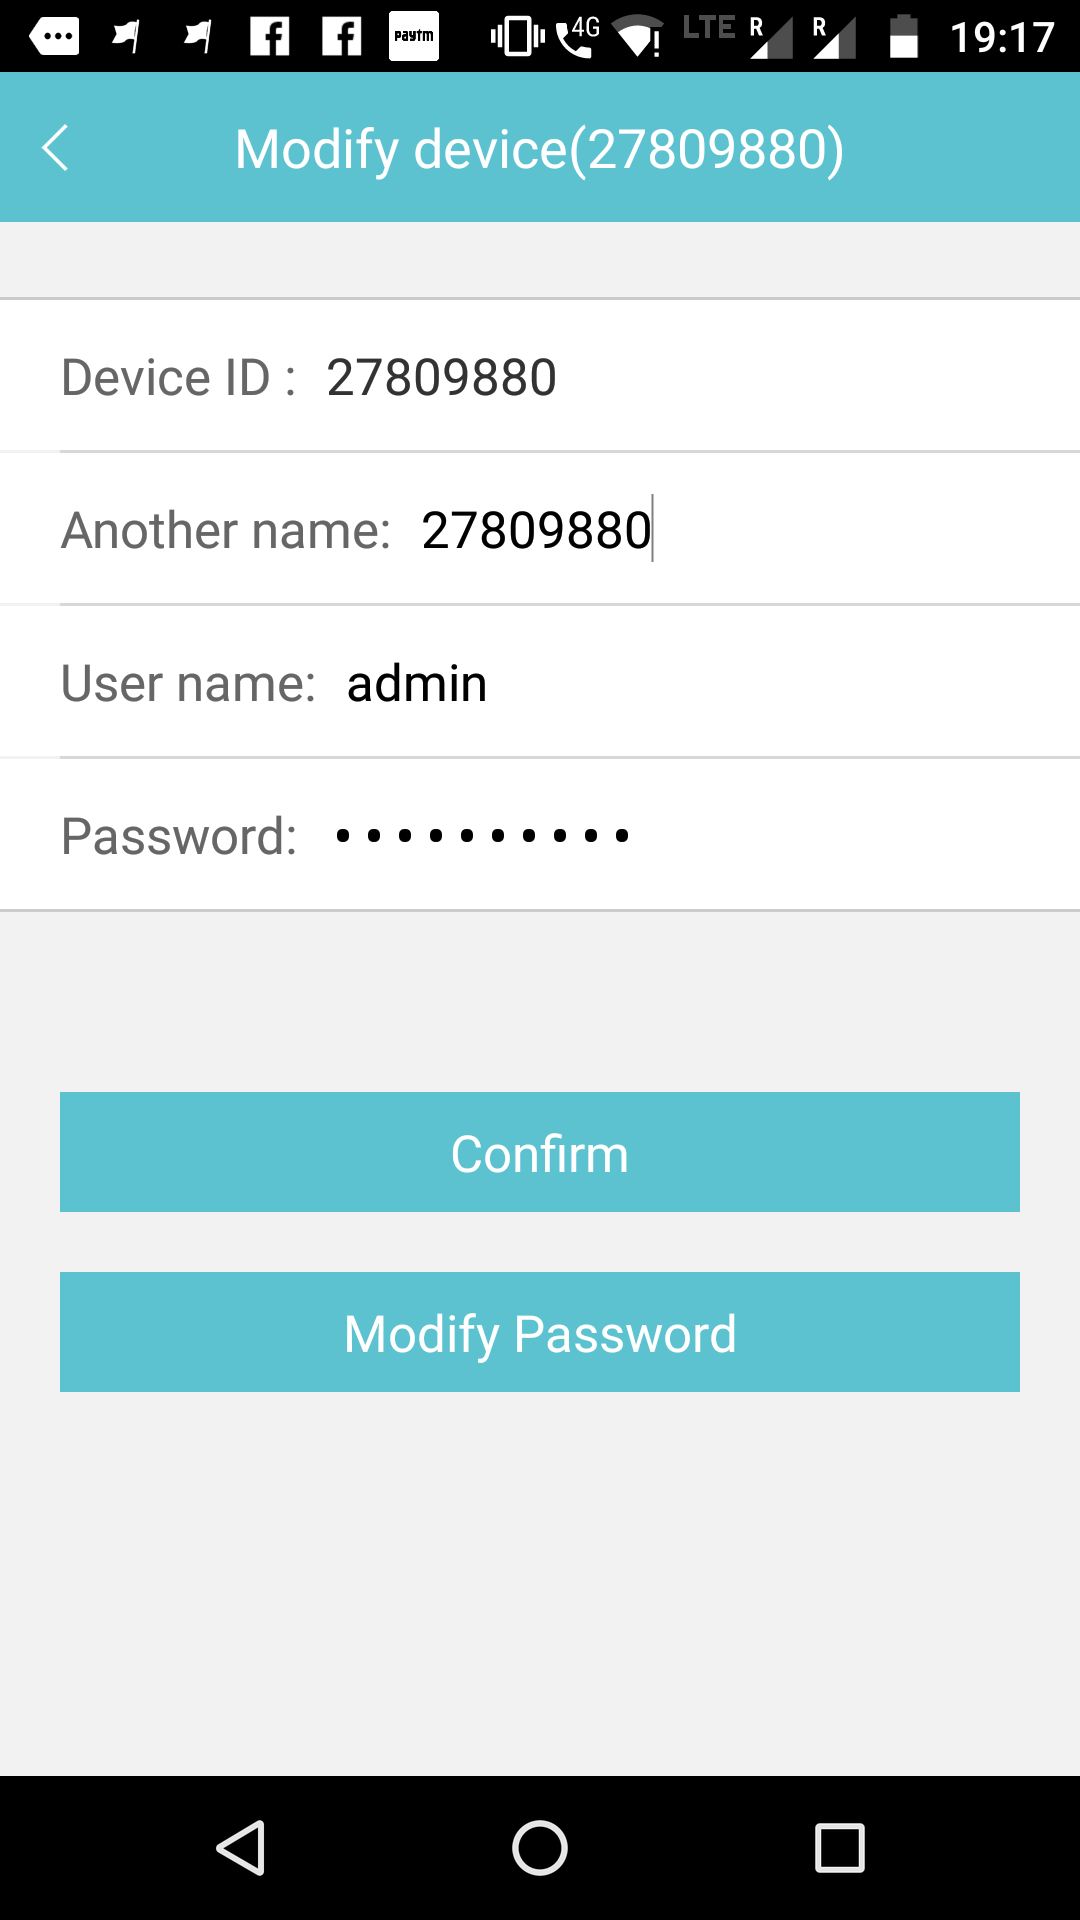
Once connected, tap the preview button and go back to the camera management app. For the first time, when you install the camera, the Device ID is the serial number part (abcdxyzw) of the WiFi network name, the default user name is ‘admin’ and the default password is empty. Then tap ‘Add to the list’.
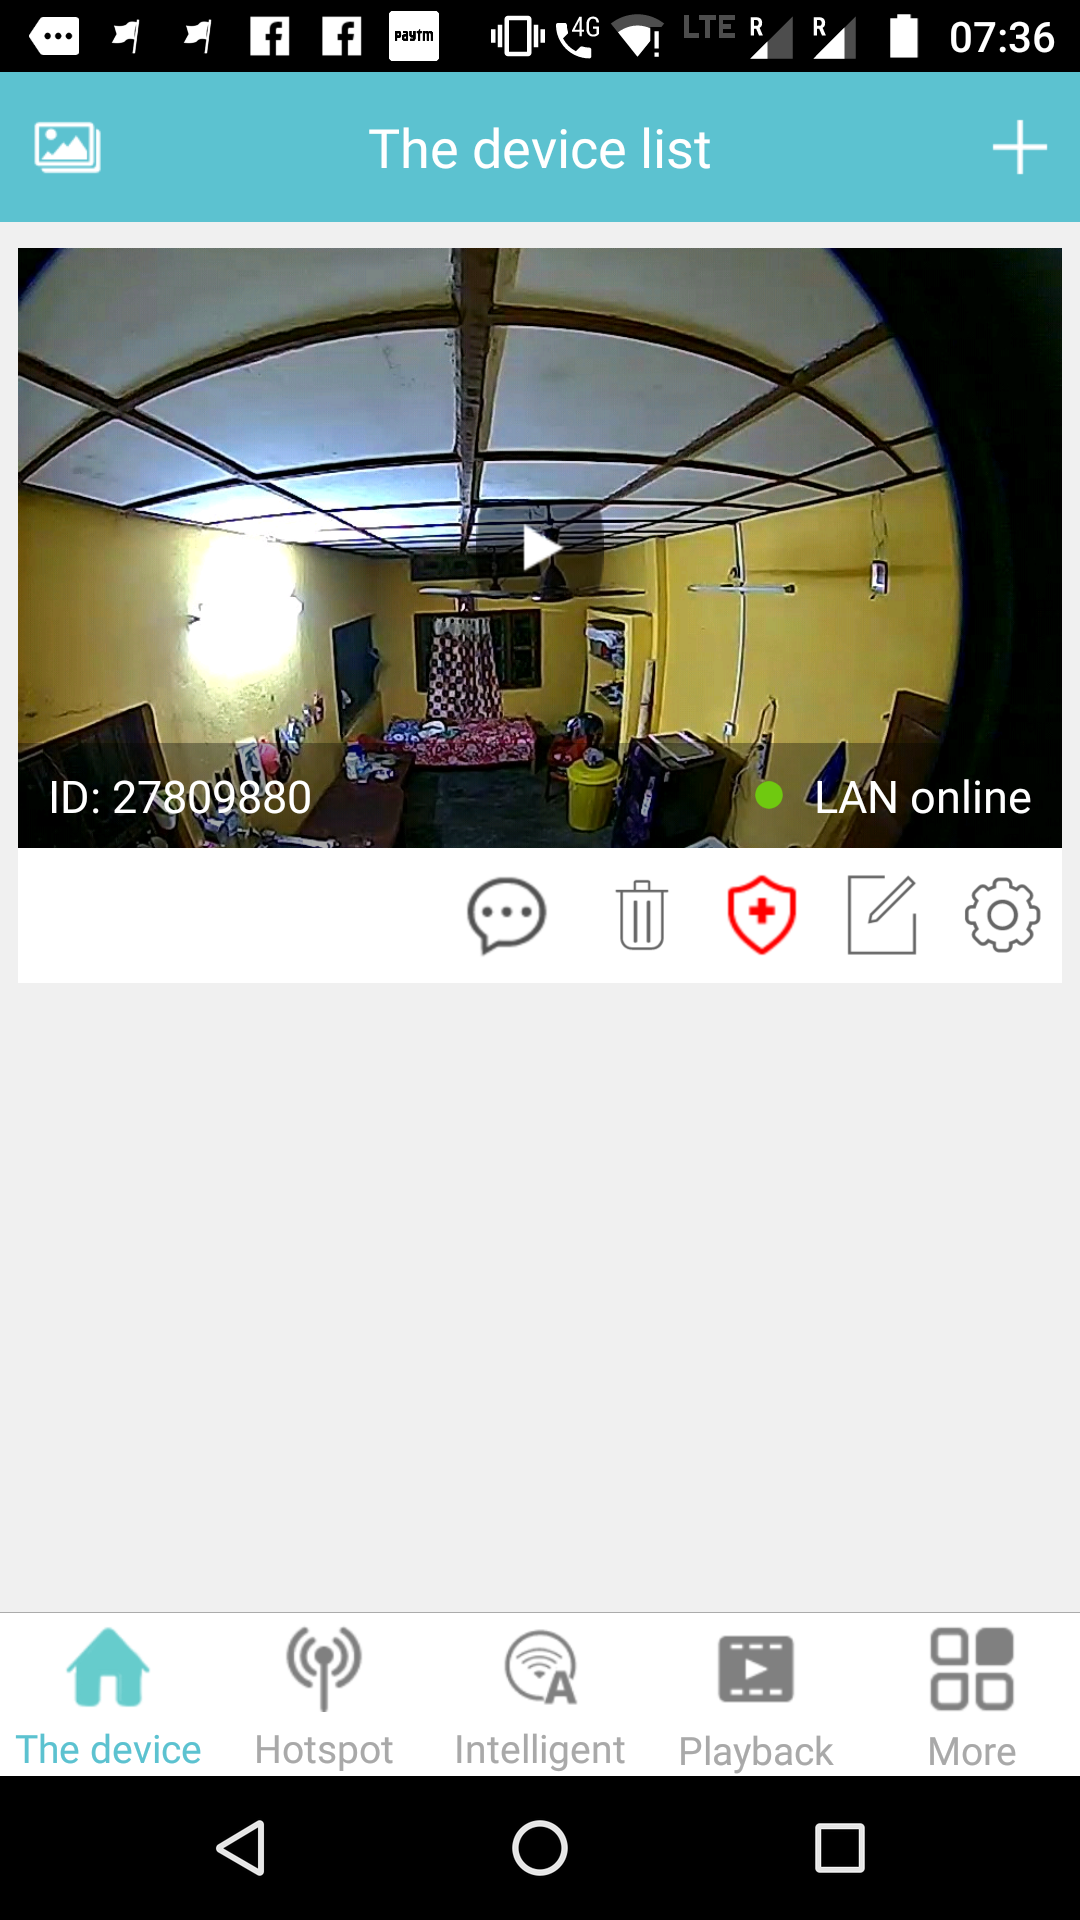
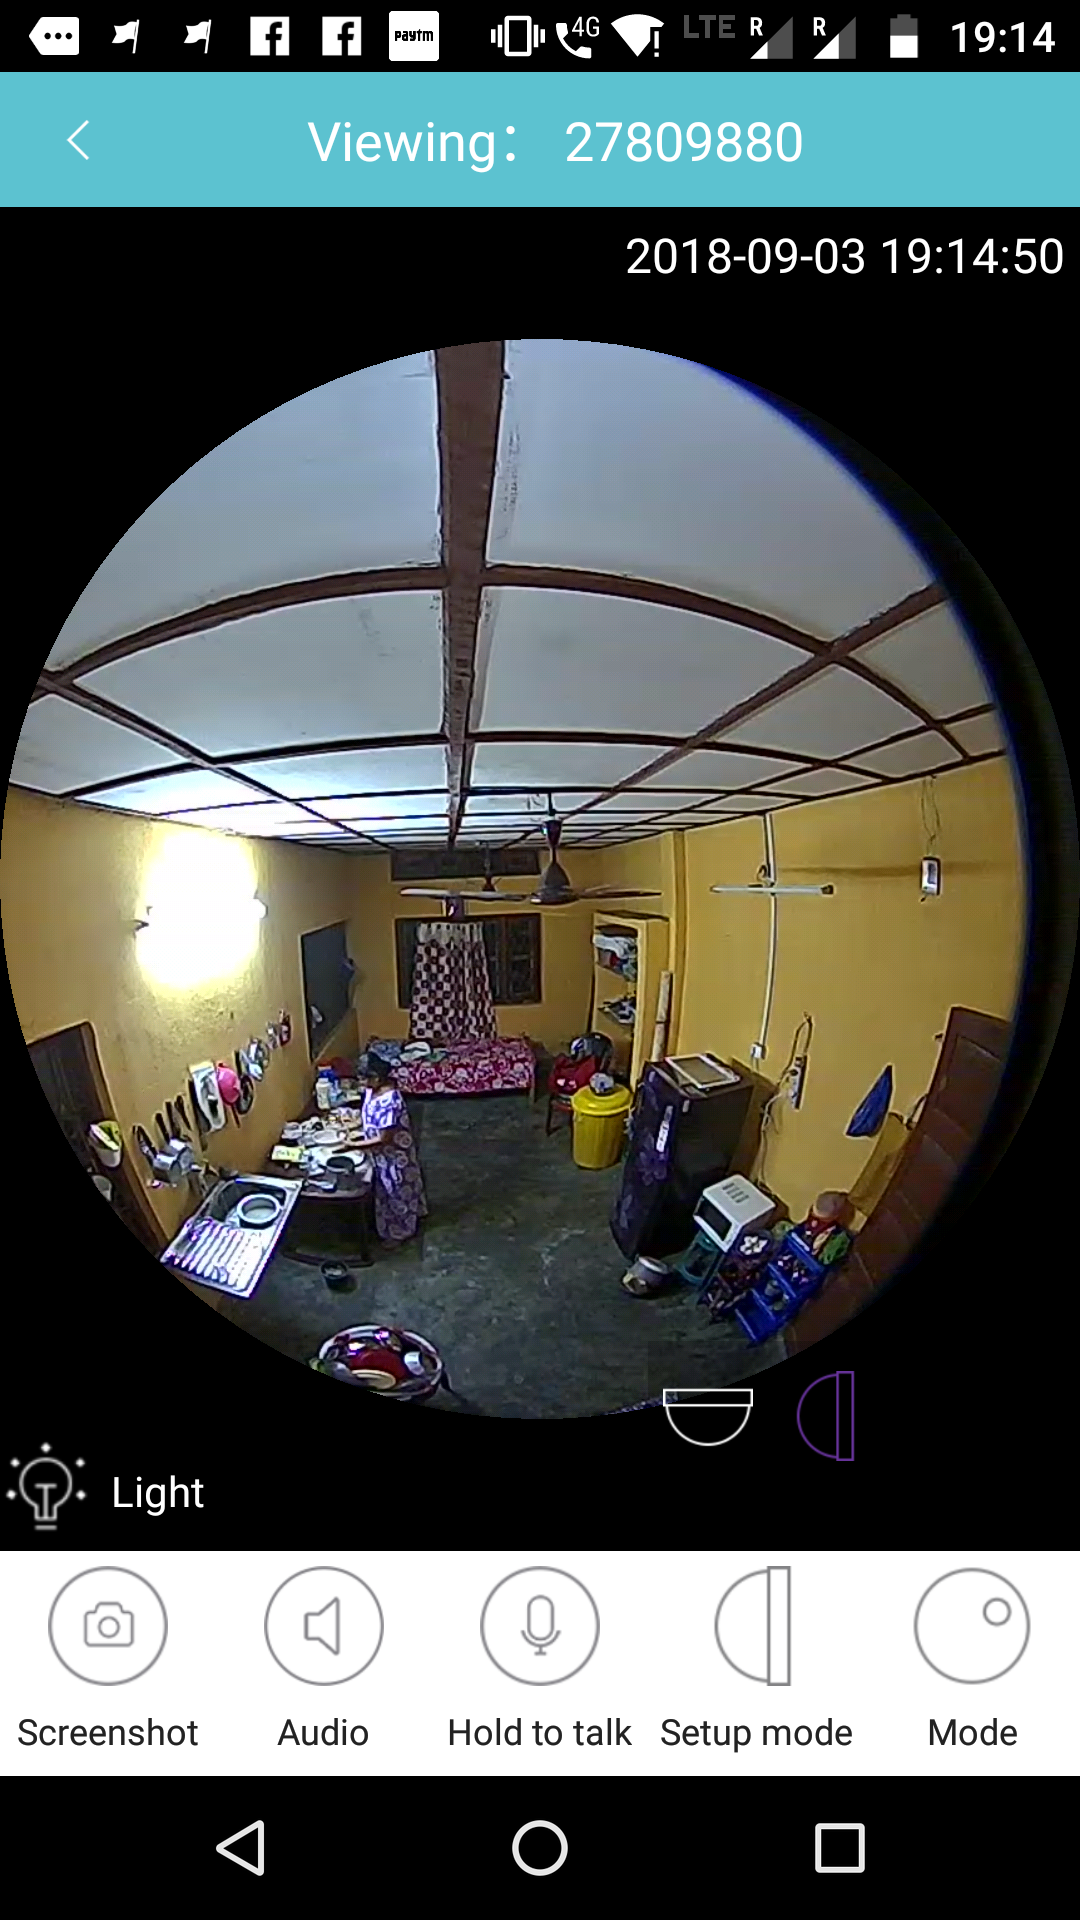
After you add the camera, you will be taken to the home screen of the app, where you will see the camera preview along with a few buttons.
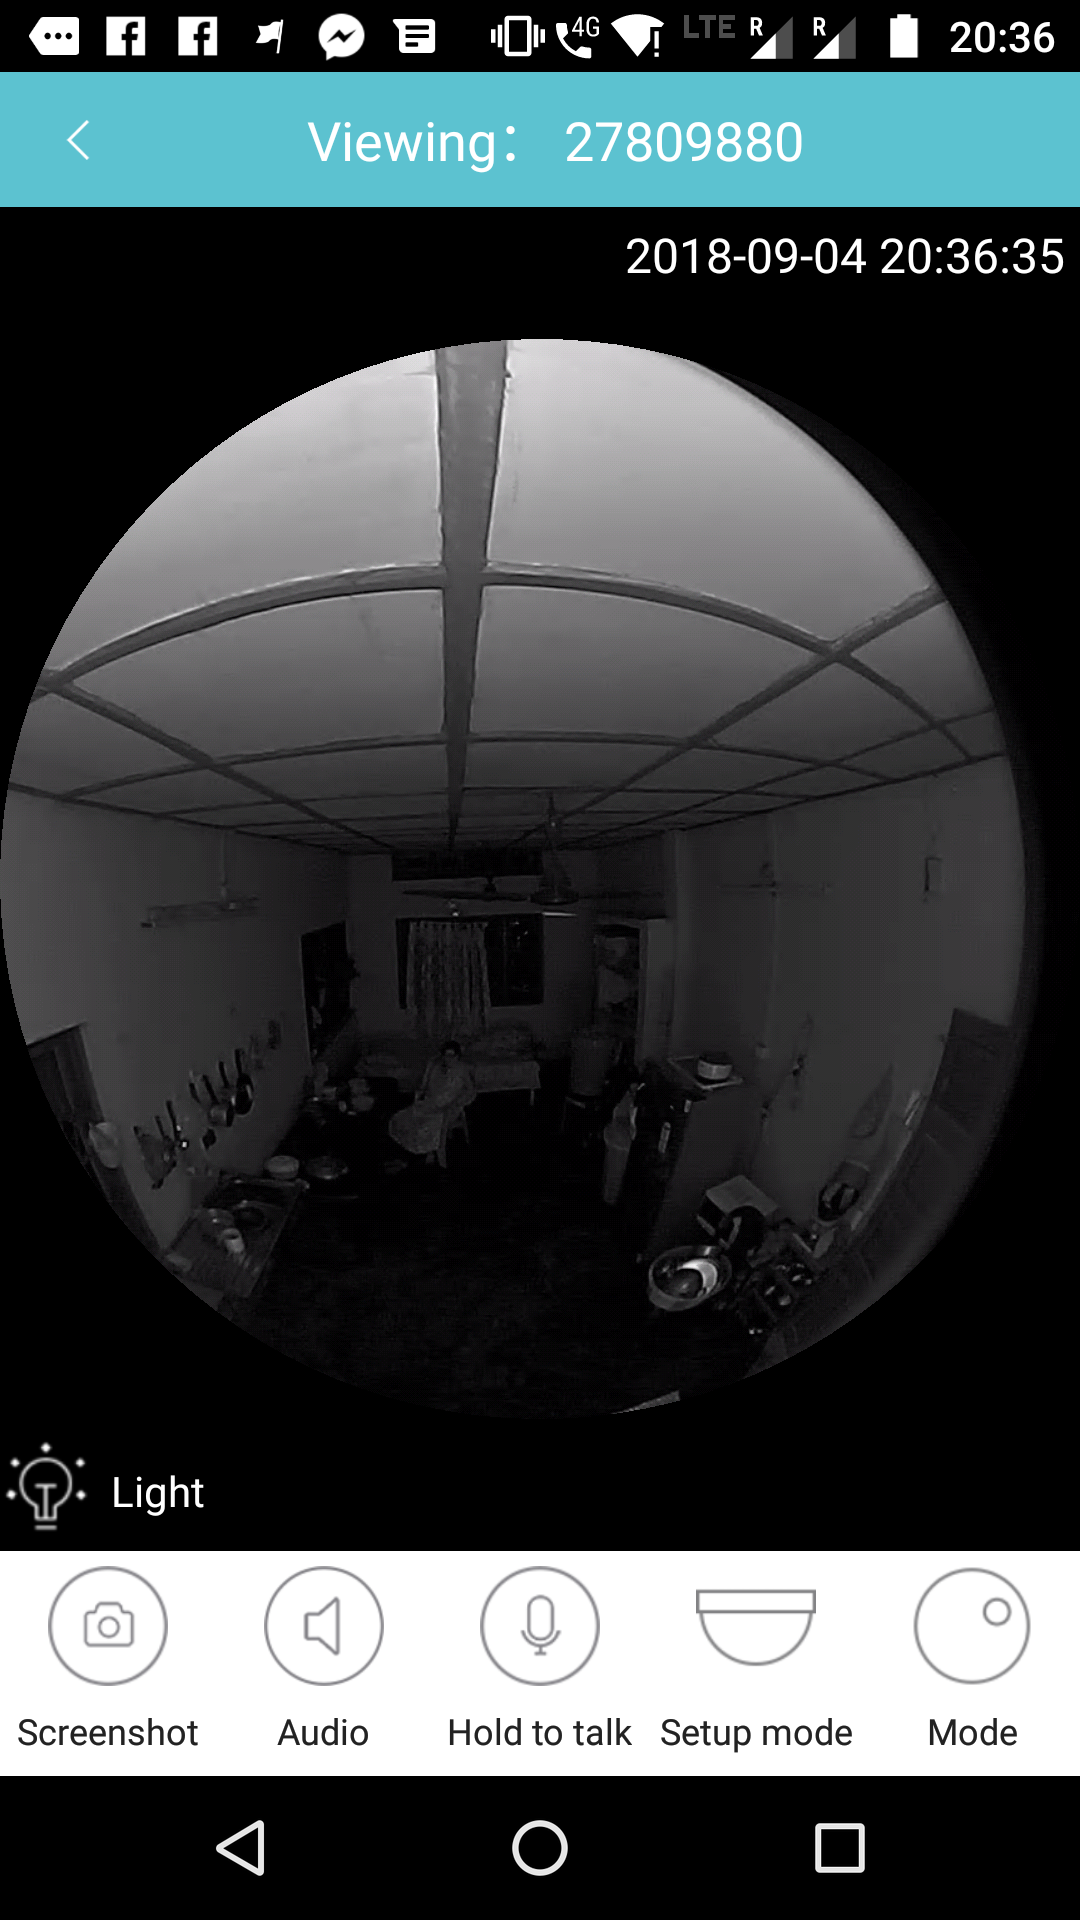
If we tap the play button in the middle of the preview window, then we are taken to a screen where we get the live video and audio feed from the camera. The “Audio” button mutes and unmutes the audio feed coming from the camera’s microphone.

The live feed has multiple views. You can configure it as a wall camera or an overhead camera. Here I have configured as a wall camera using “Setup Mode” button.
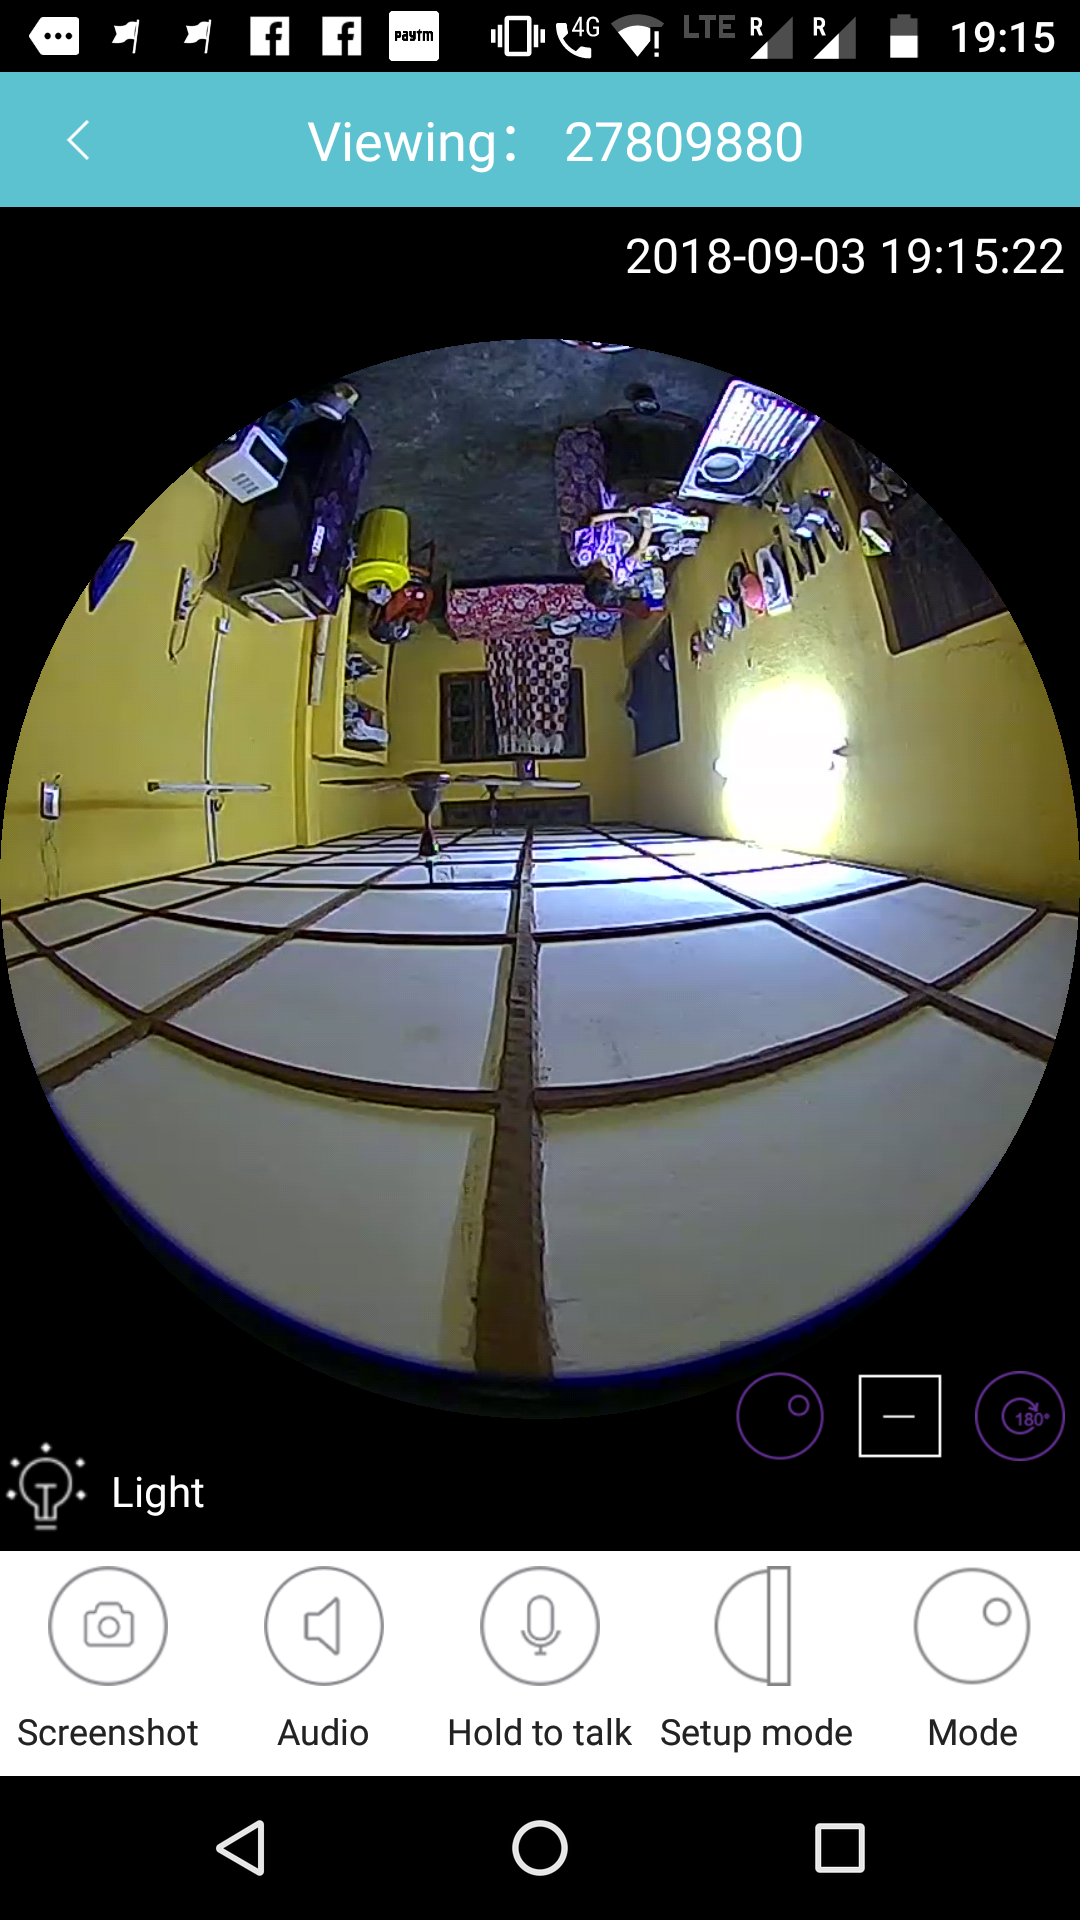
Now, the “Mode” button has several options. You can make the image rotate by 180º by tapping the 180 button. You can rotate the view by scrolling left or right on the screen and zoom in and out by scrolling up and down. You can also set the viewing screen to square instead of circle by tapping the square button.

There is also a “Hold to talk button” that works like an announcement system. If you press and hold it and speak to the phone, the app transmits the audio to the camera which in turn plays it out of the loudspeaker.
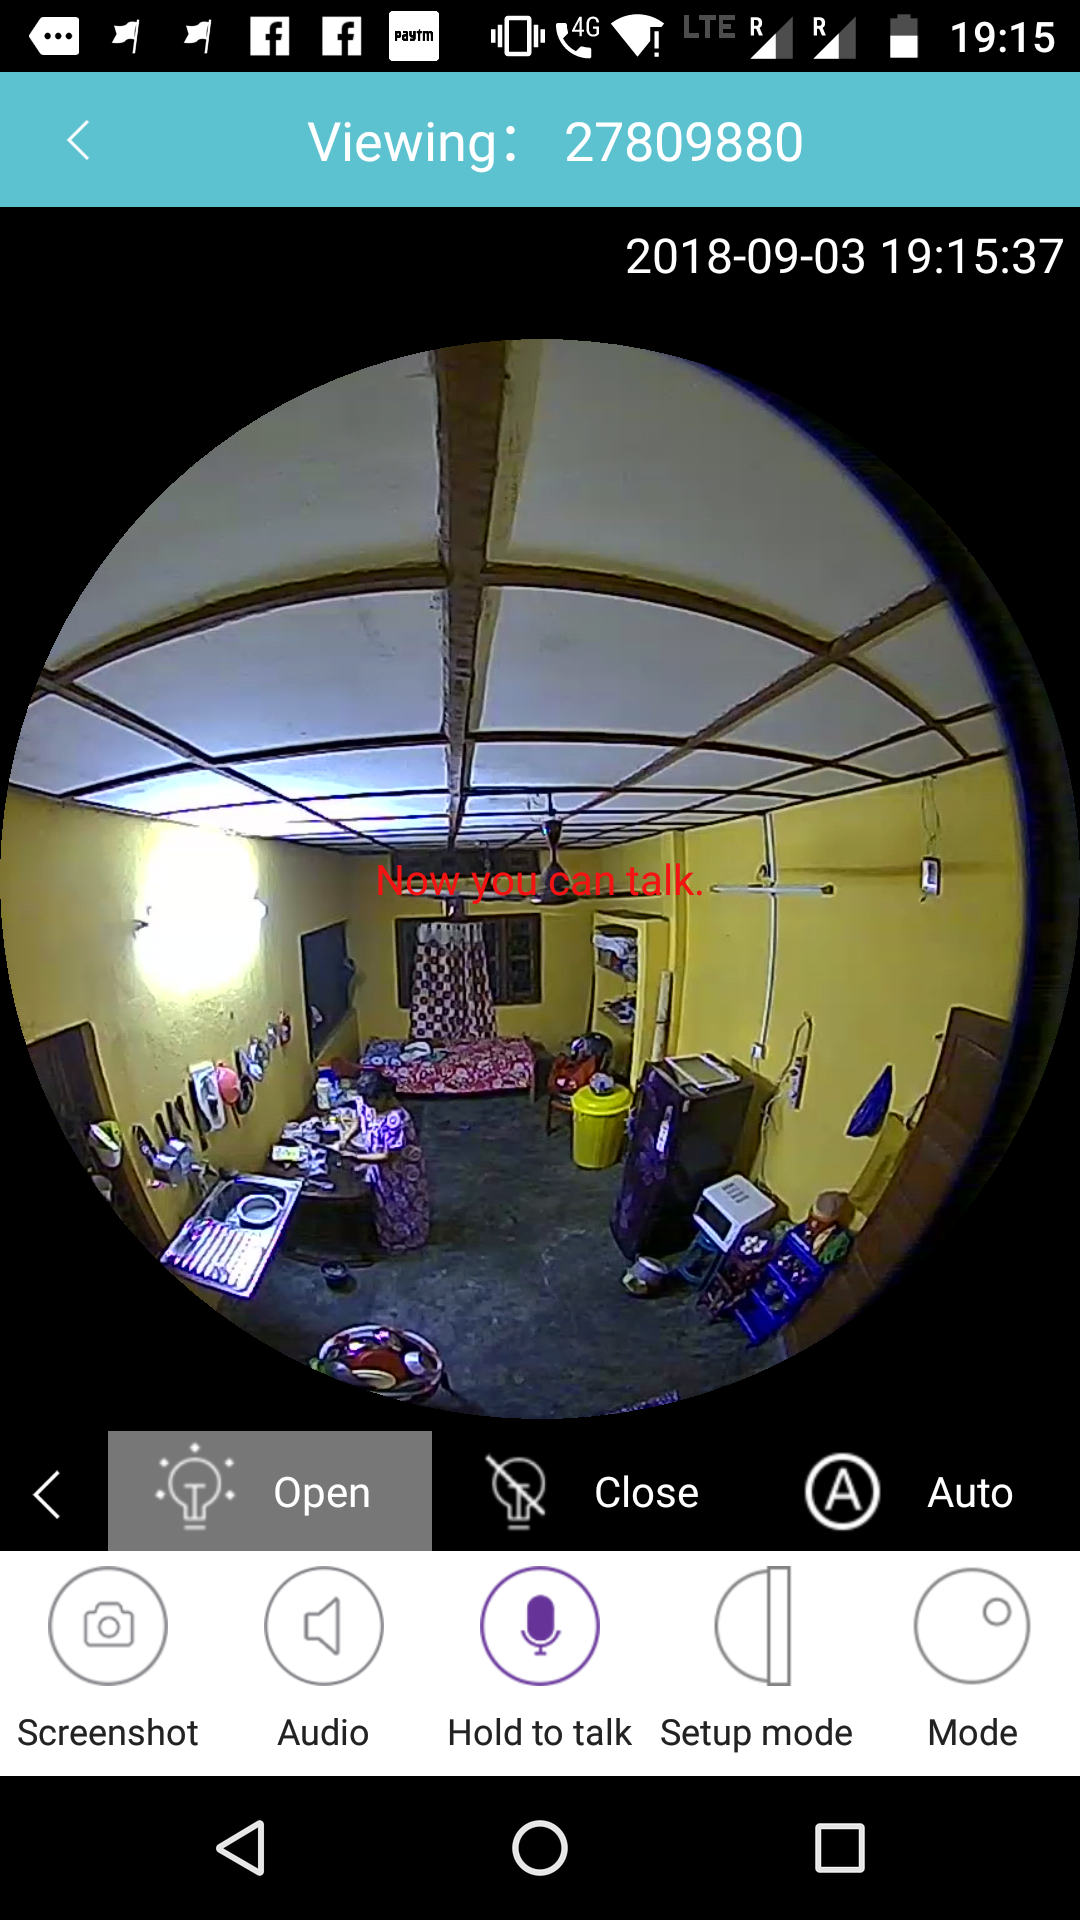
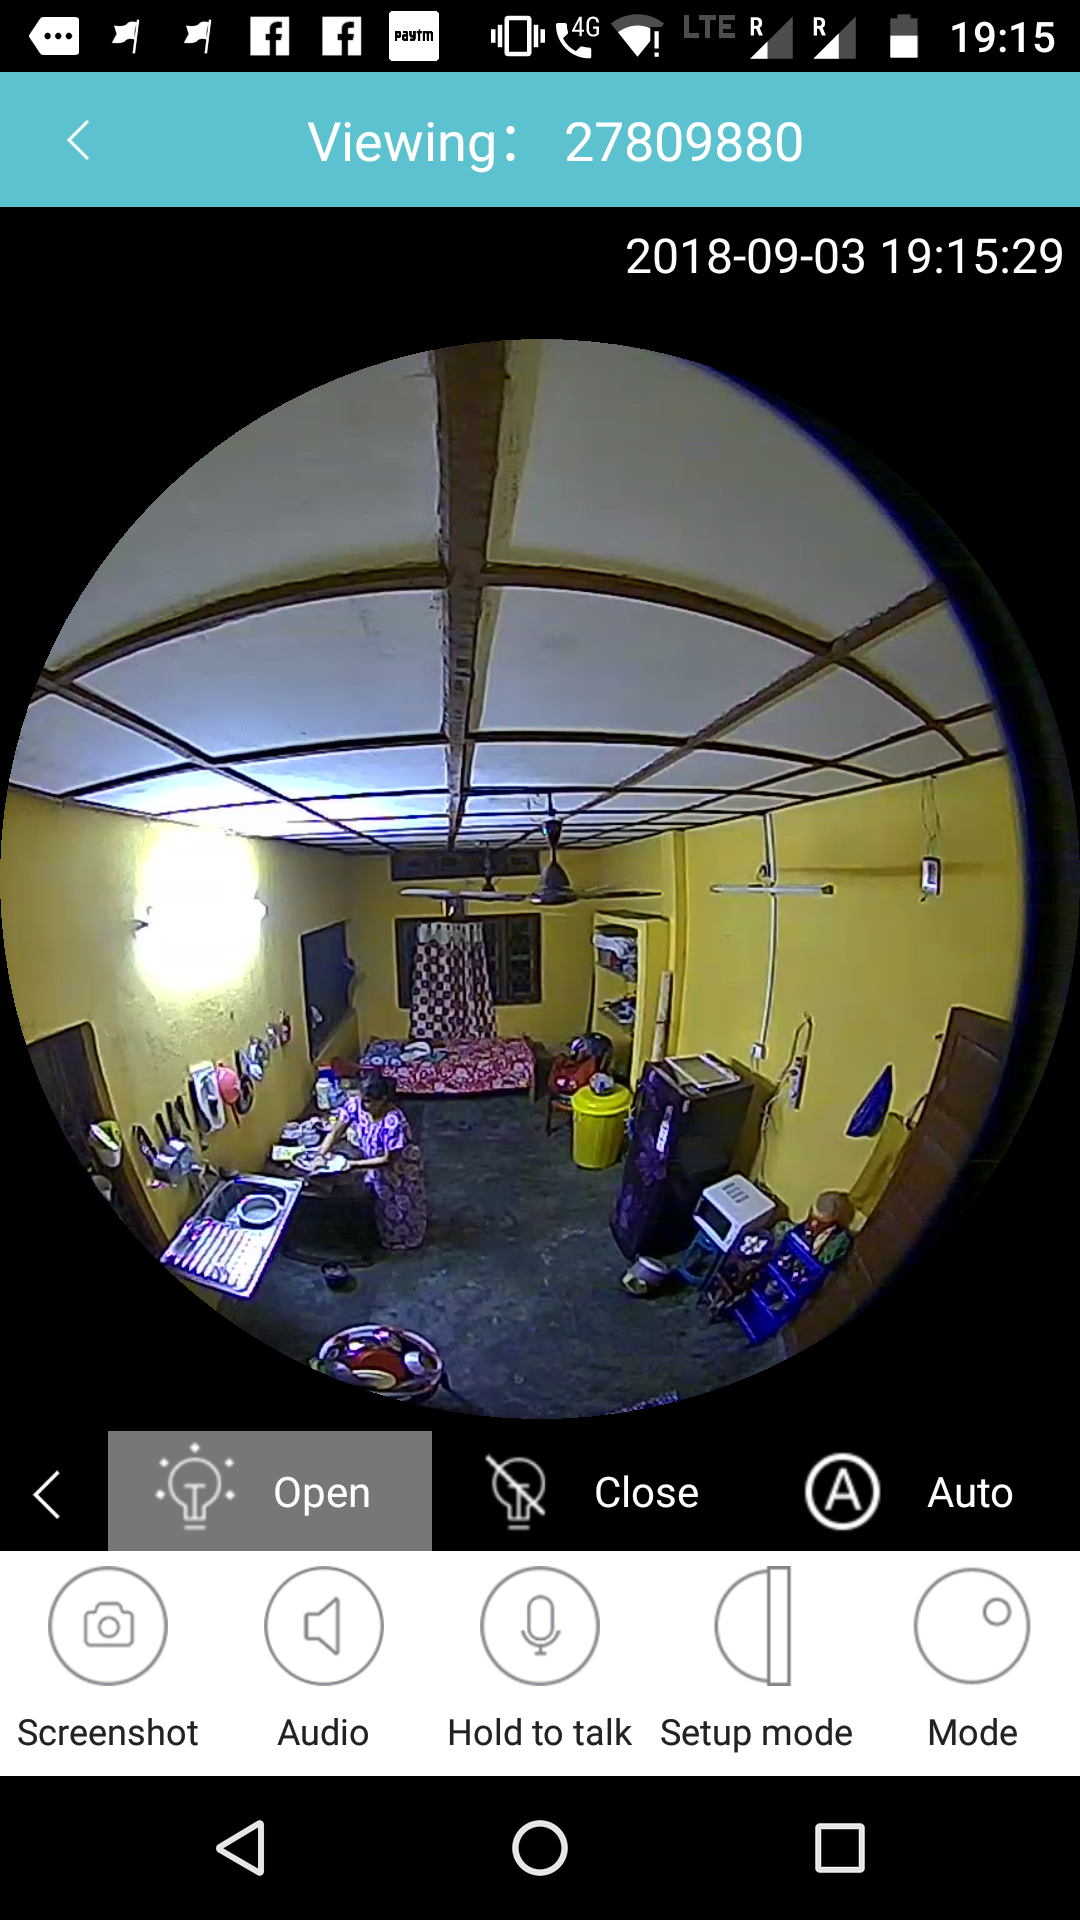
Finally, there is a “Light” button that turns the LED lamps in the bulb camera on and off.
The screenshot button takes photographs from the current screen and saves them on the phone which can be later viewed from the pictures section.
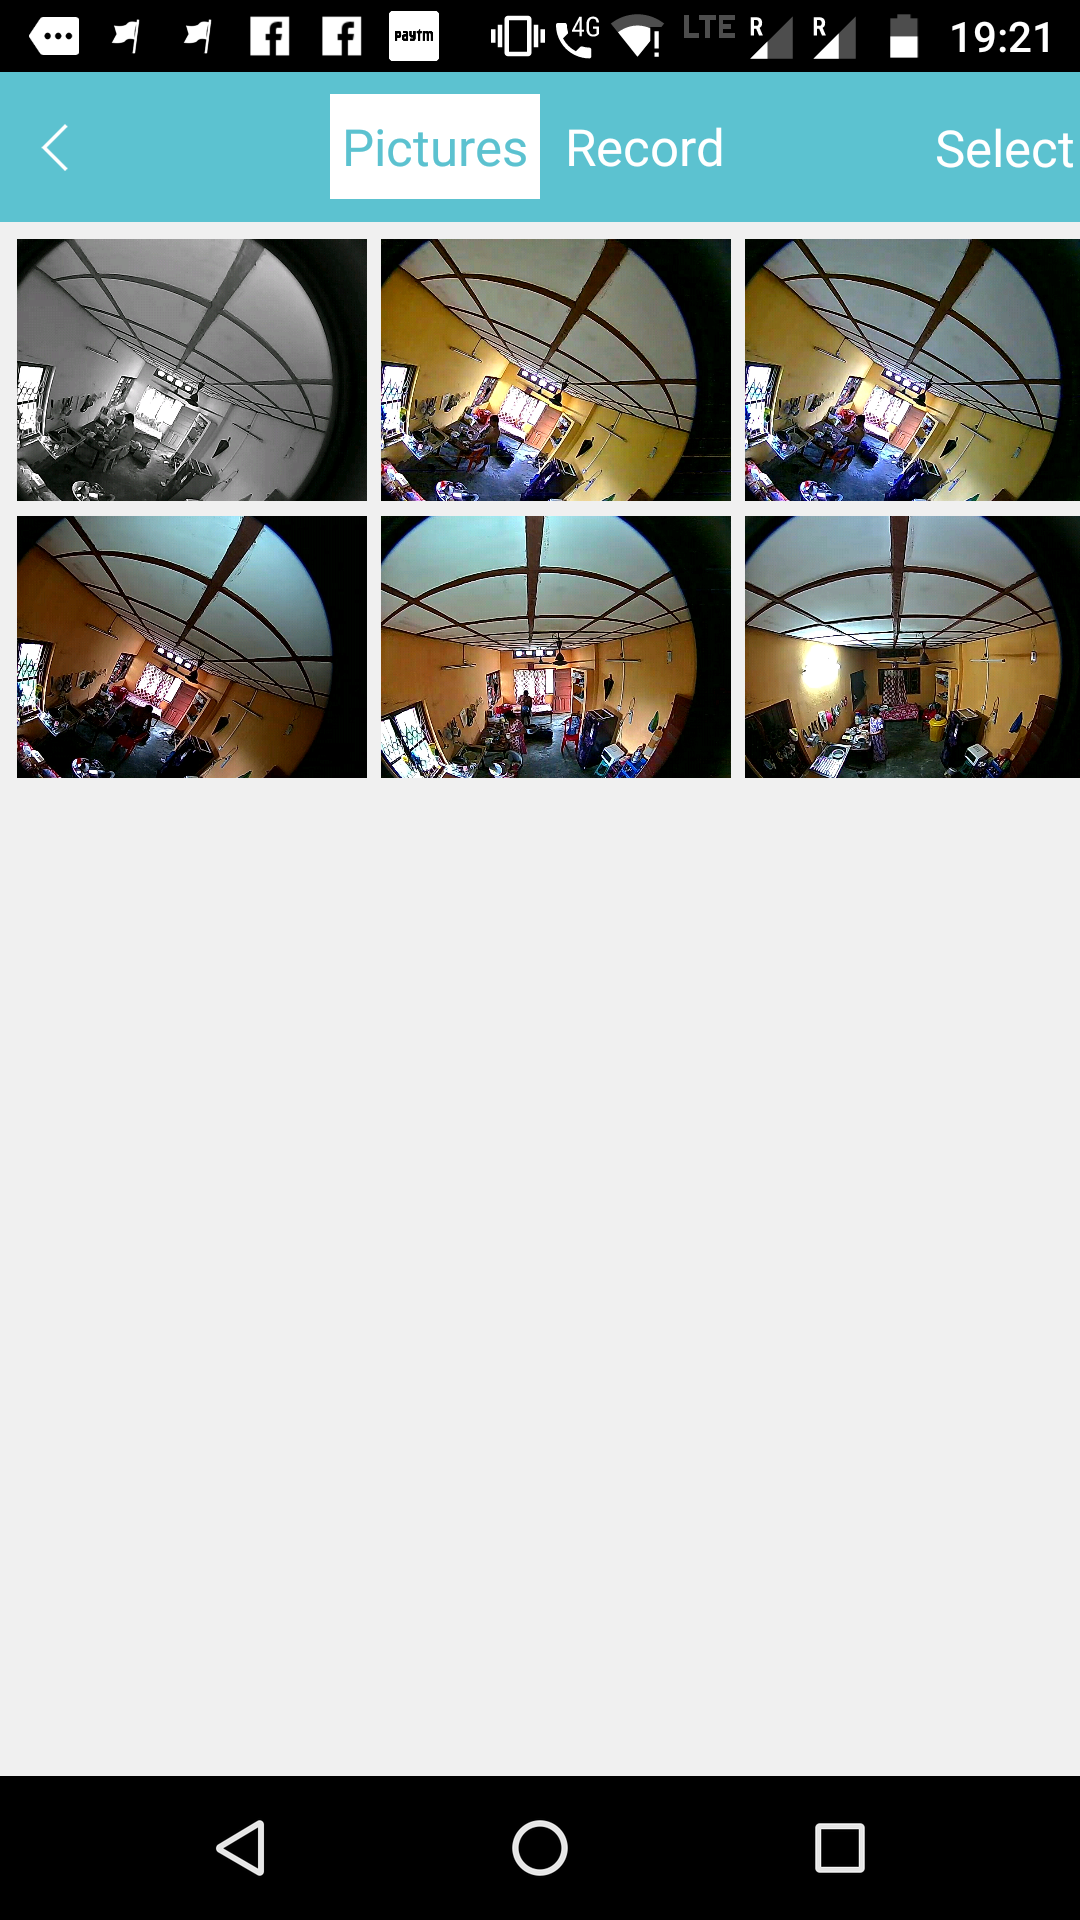
The camera also works is the dark, thanks to its infrared thermal sensor that enables night vision.
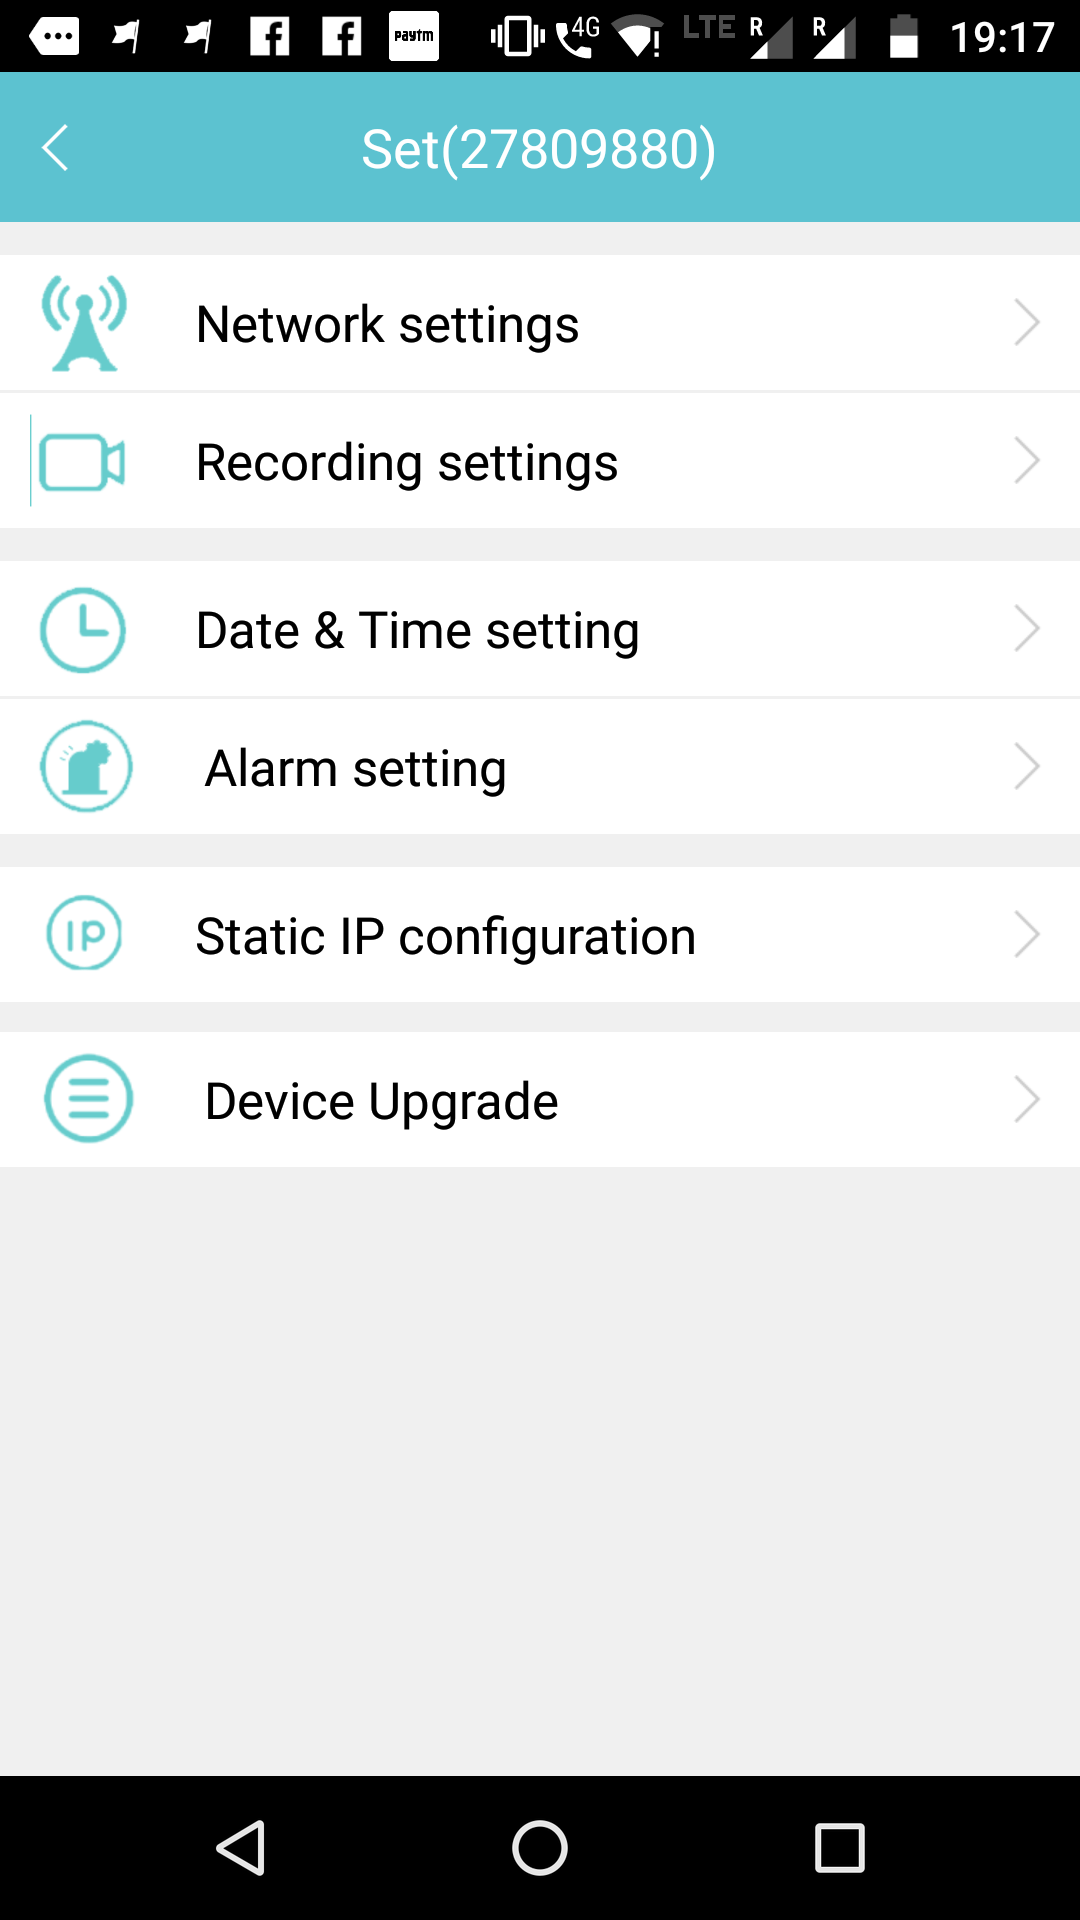
Now that we have covered the live surveillance features of this bulb camera, let’s move on to its configuration settings. The configuration screen in given below. There are 6 settings namely ‘Network settings’, ‘Recording settings’, ‘Date and time setting’, ‘Alarm setting’, ‘Static IP configuration’ and ‘Device upgrade’.
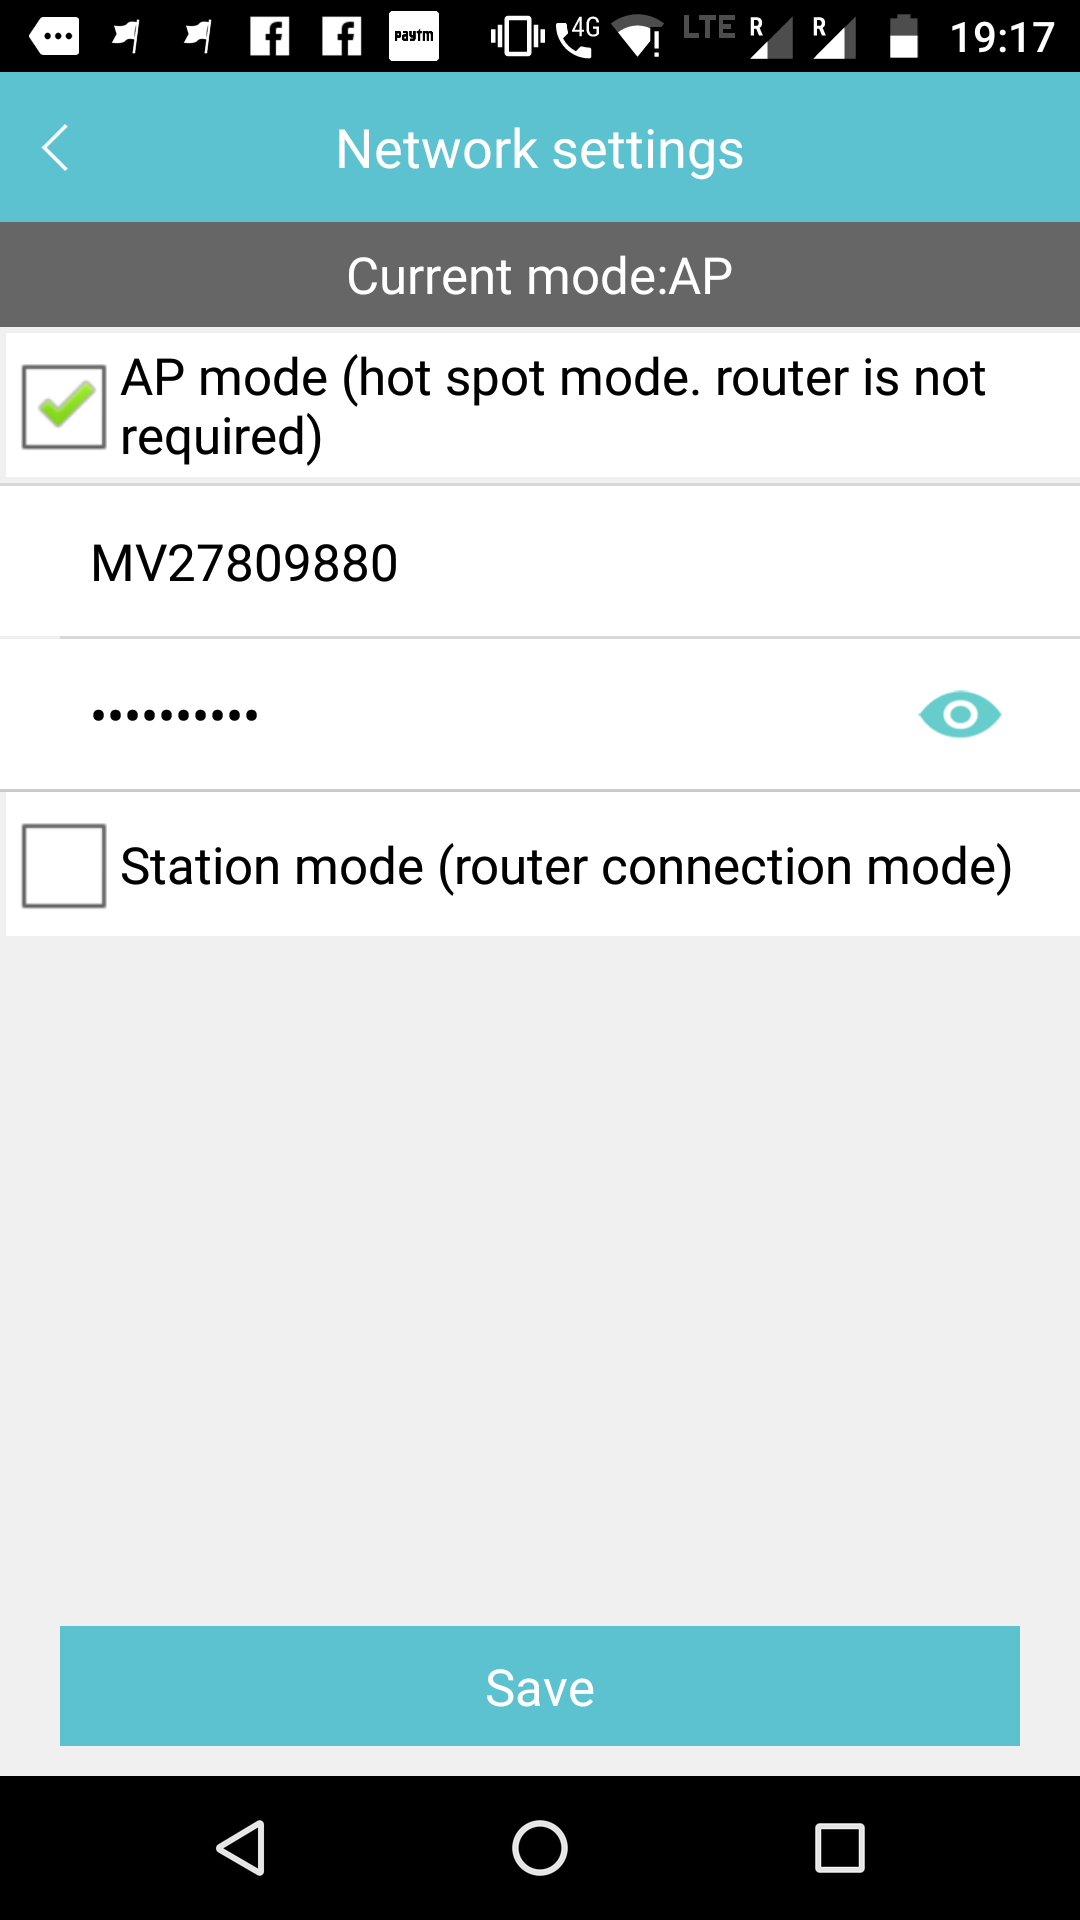
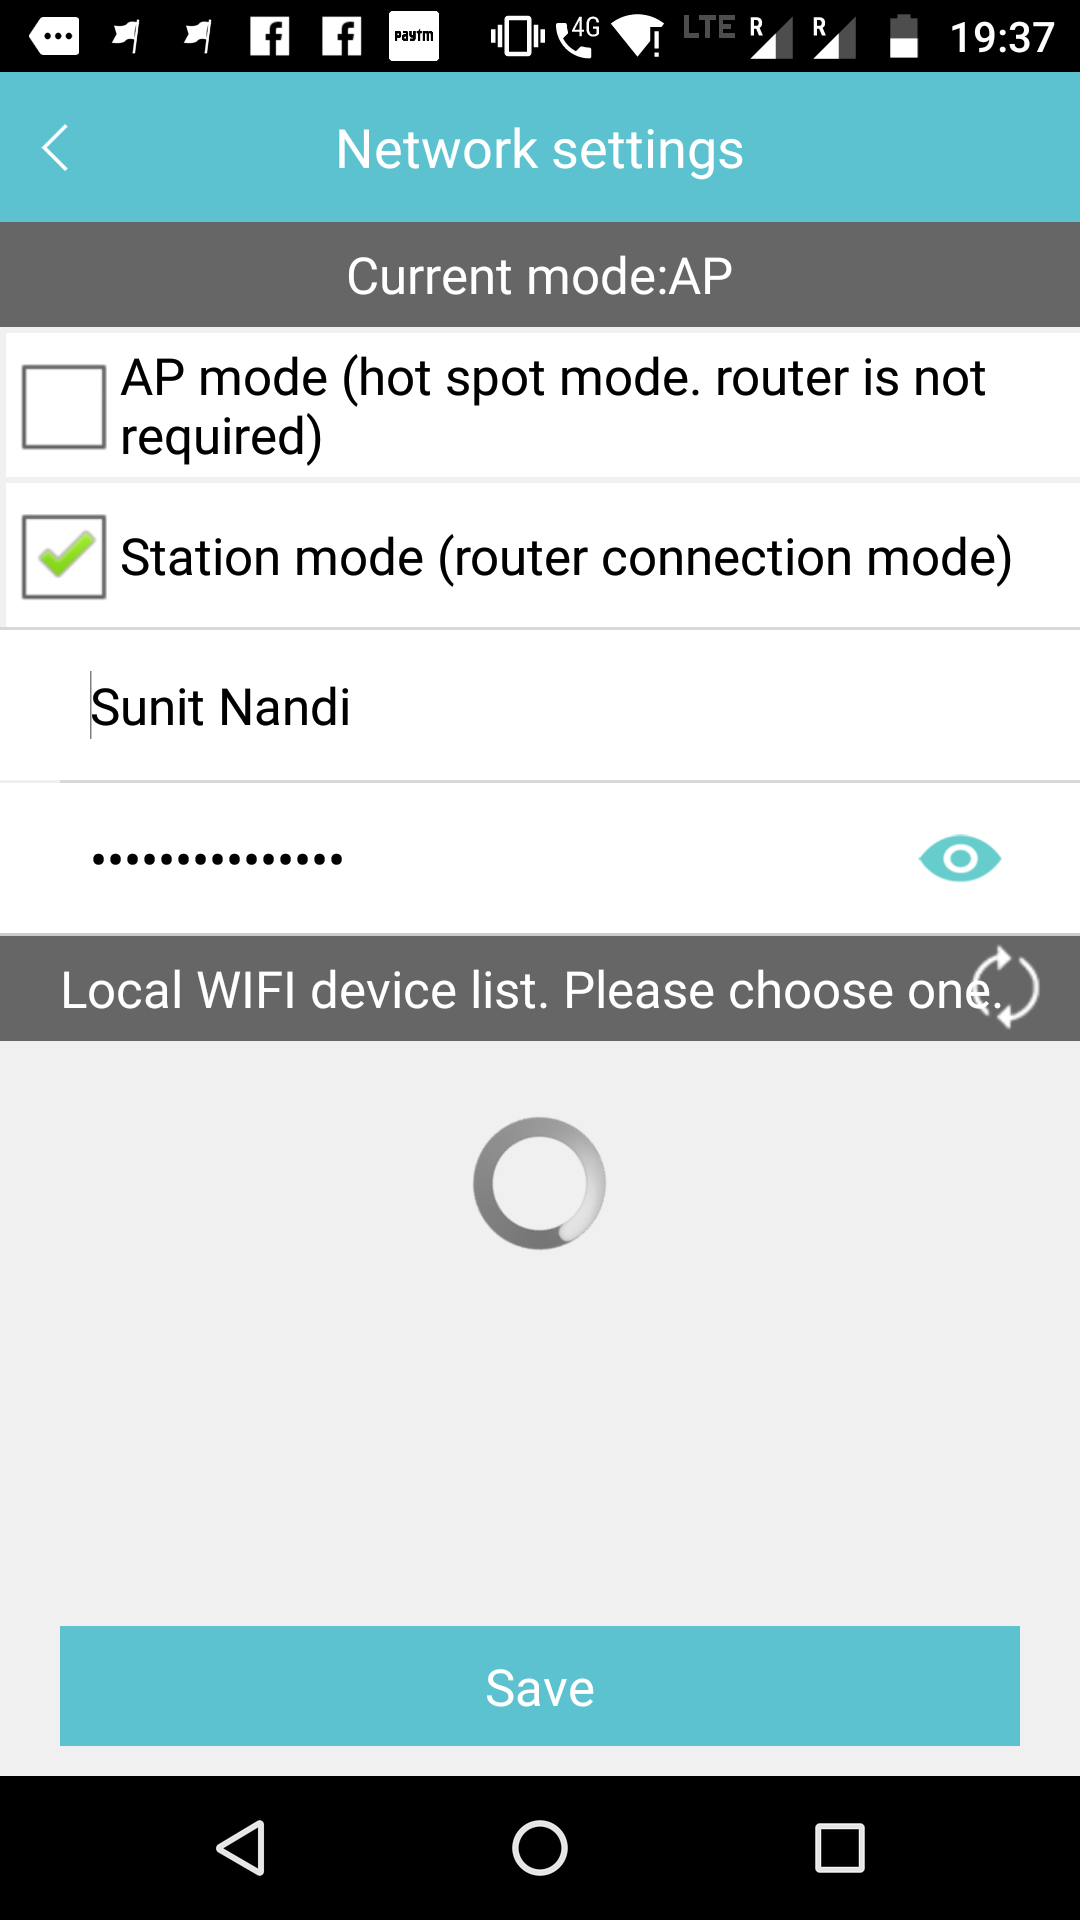
Let us first start with the ‘Network settings’. The Alfawise JD T8610 Q2 bulb camera can run it two modes. The first one is in AP mode, where it acts as an WiFi access point. Any mobile device has to first connect to its advertised WiFi network name and then open the app. The second one is station mode, where the bulb camera becomes a part of an existing WiFi network in your home. If your camera is in station mode, your phone has to be connected to the home network.
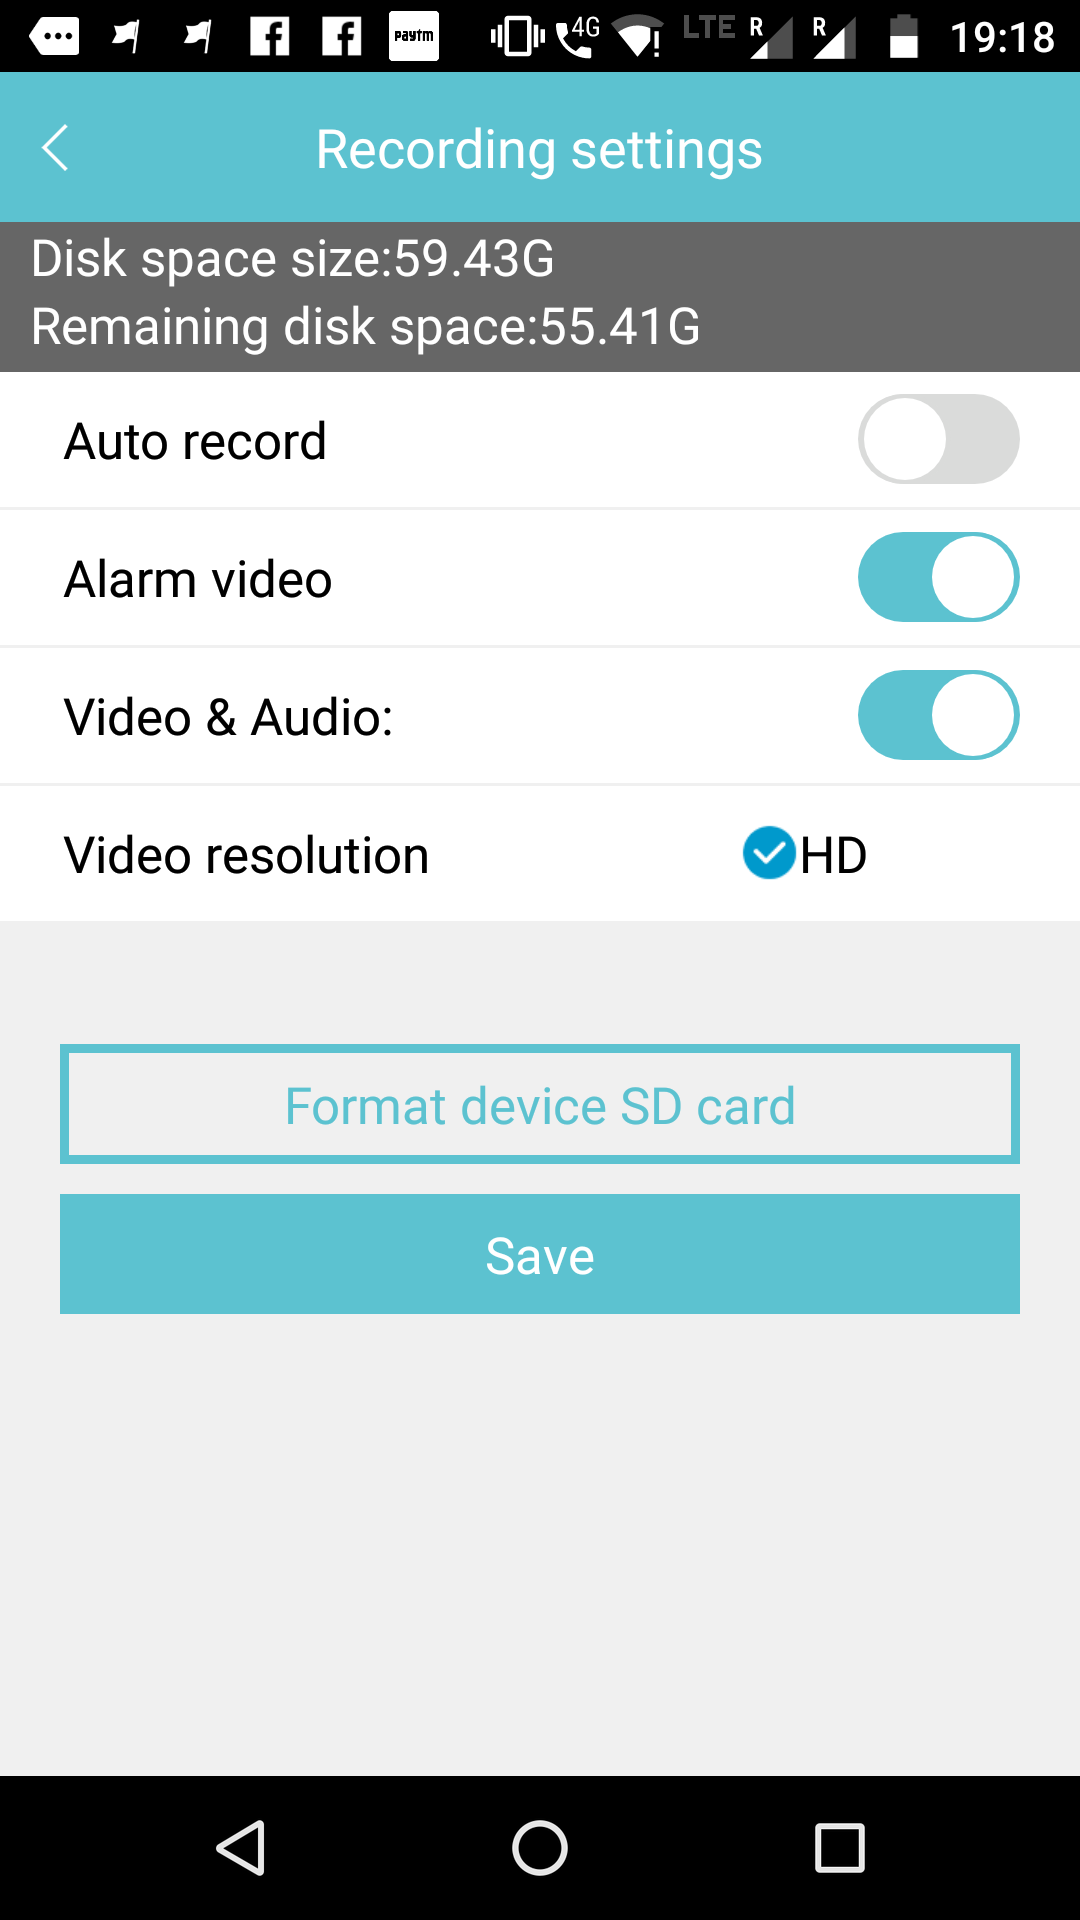
Then we move to ‘Recording settings’. At the top, you get the size and remaining space on the memory card displayed. The first option is ‘Auto record’ which toggles continuous recording on or off. The second option ‘Alarm video’ when enabled, makes the camera start recording as soon as its imaging and thermal sensors can sense movement in its field of view. I recommend turning this on instead of ‘Auto record’ as it will save you a lot of space on your memory card. The option ‘Video & audio’ when enabled, also records sound from the microphone along with the video feed. The ‘Video resolution’ field is simply a dummy. It is set to HD and there is no way to change it.
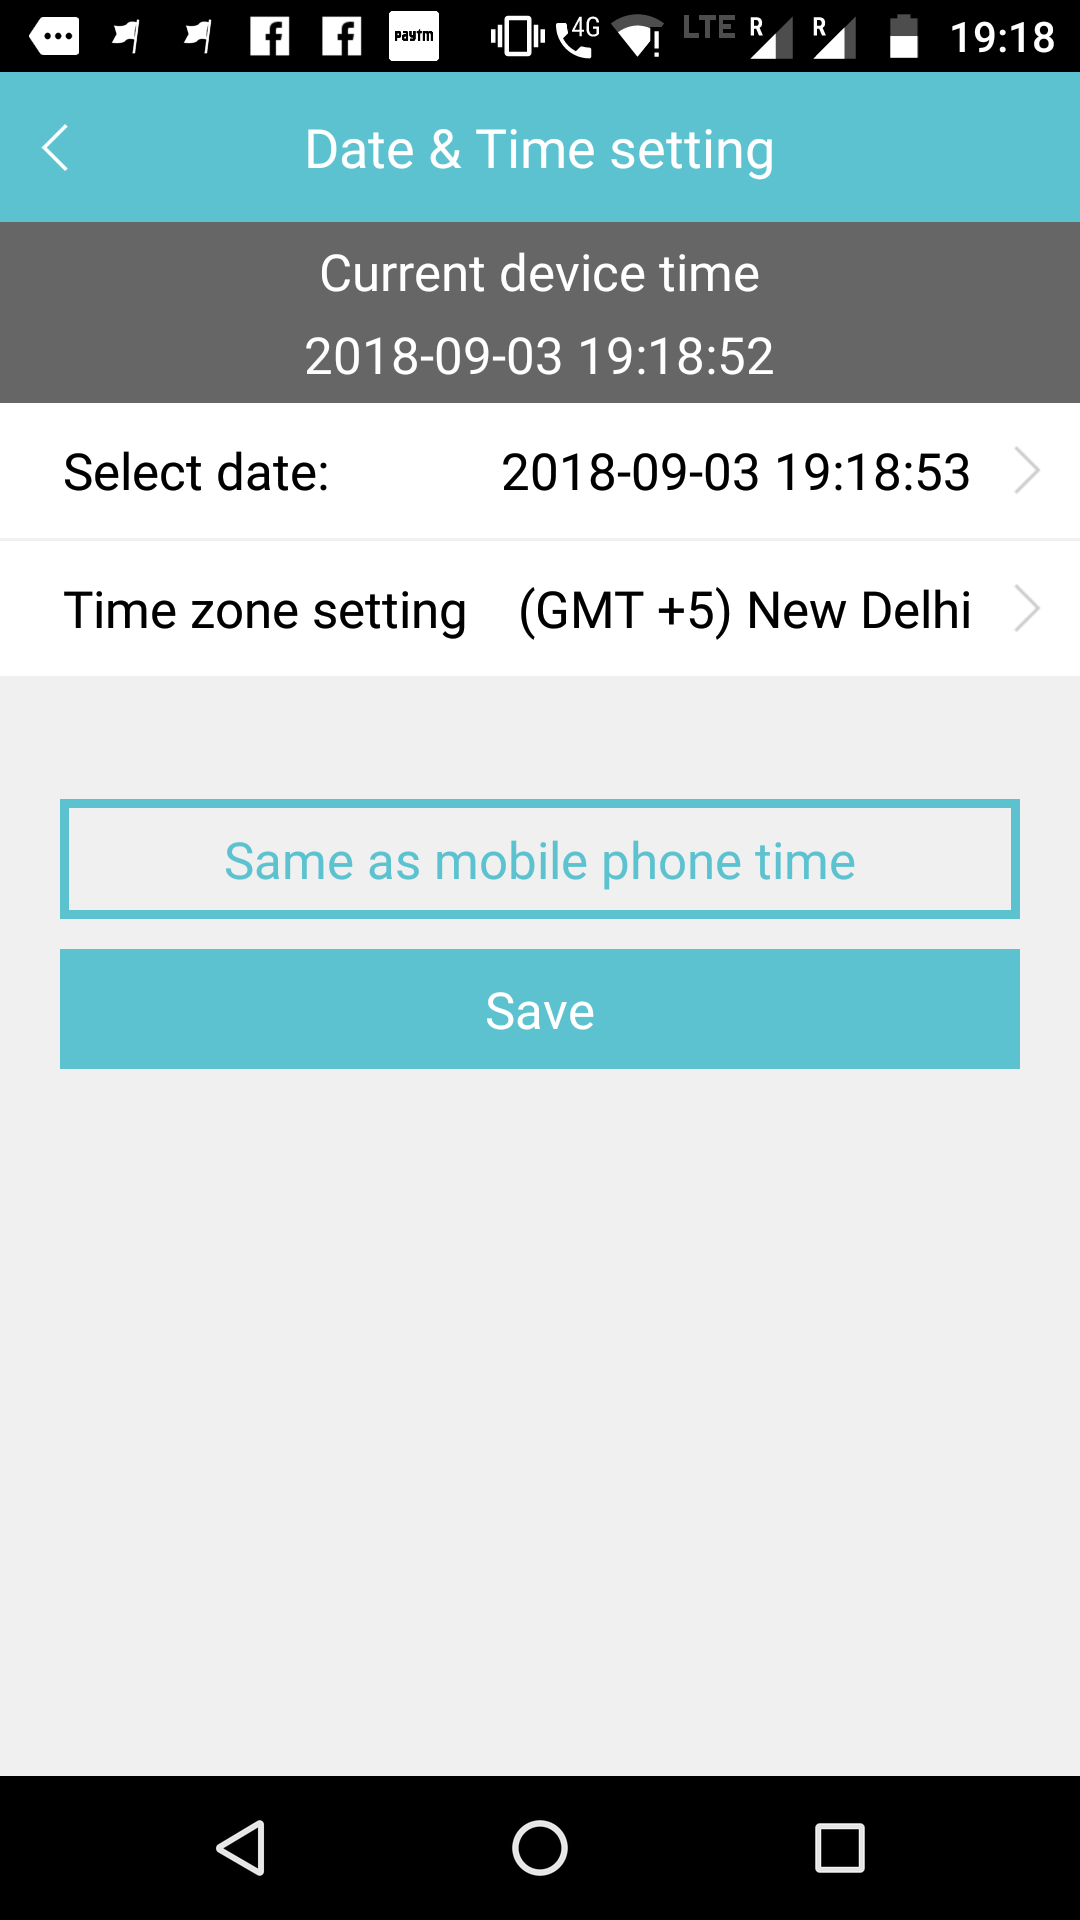
Now we come to ‘Date and time setting’. Here we can set the current device time and timezone. There is also an option to export date settings from the smartphone to the camera.
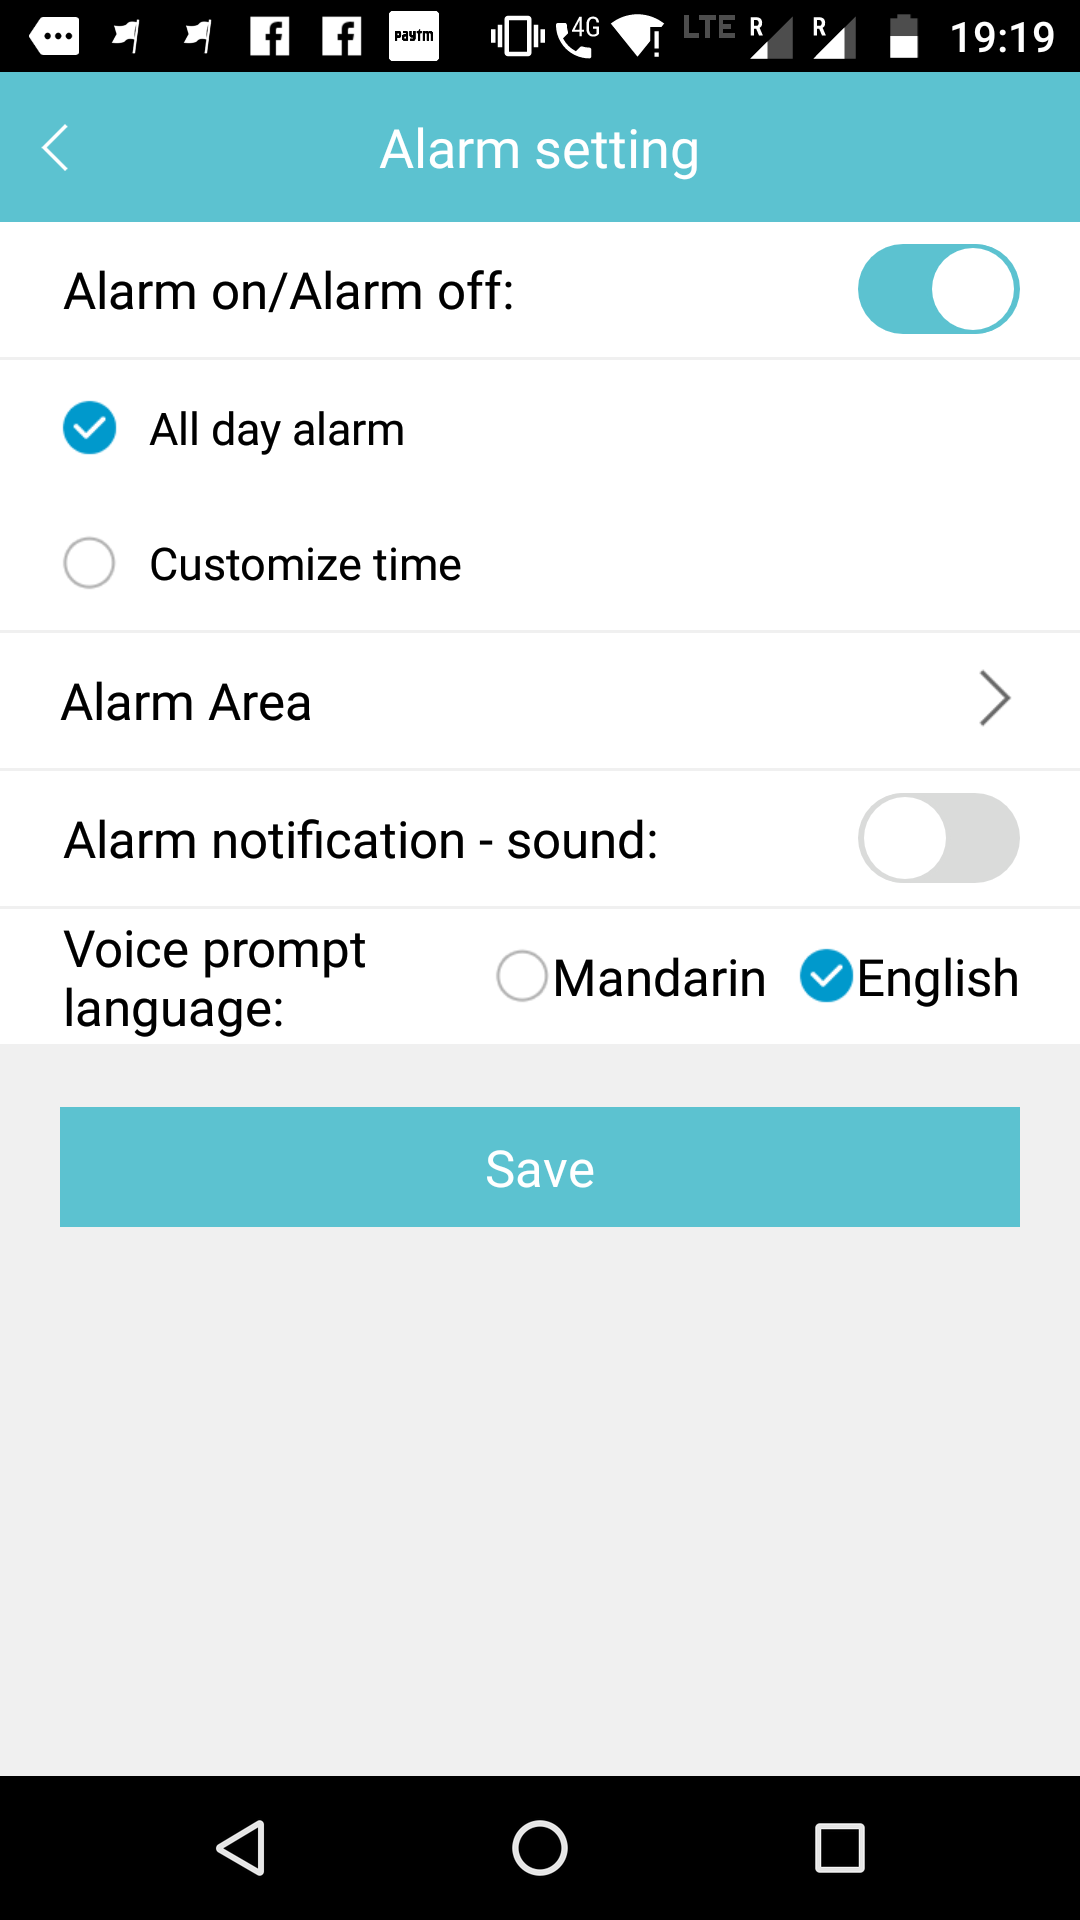
The next in the list is ‘Alarm setting’. This setting triggers the start of camera recording if any movement is detected. You can turn the feature on and off. You can also choose to keep it enabled for all day or for certain hours of the day. The ‘Alarm notification sound’ setting makes the camera sound a loud alarm when movement is detected. It is a handy tool for business establishments to guard an area. When the alarm goes off, nearby people are informed that an intruder has entered.
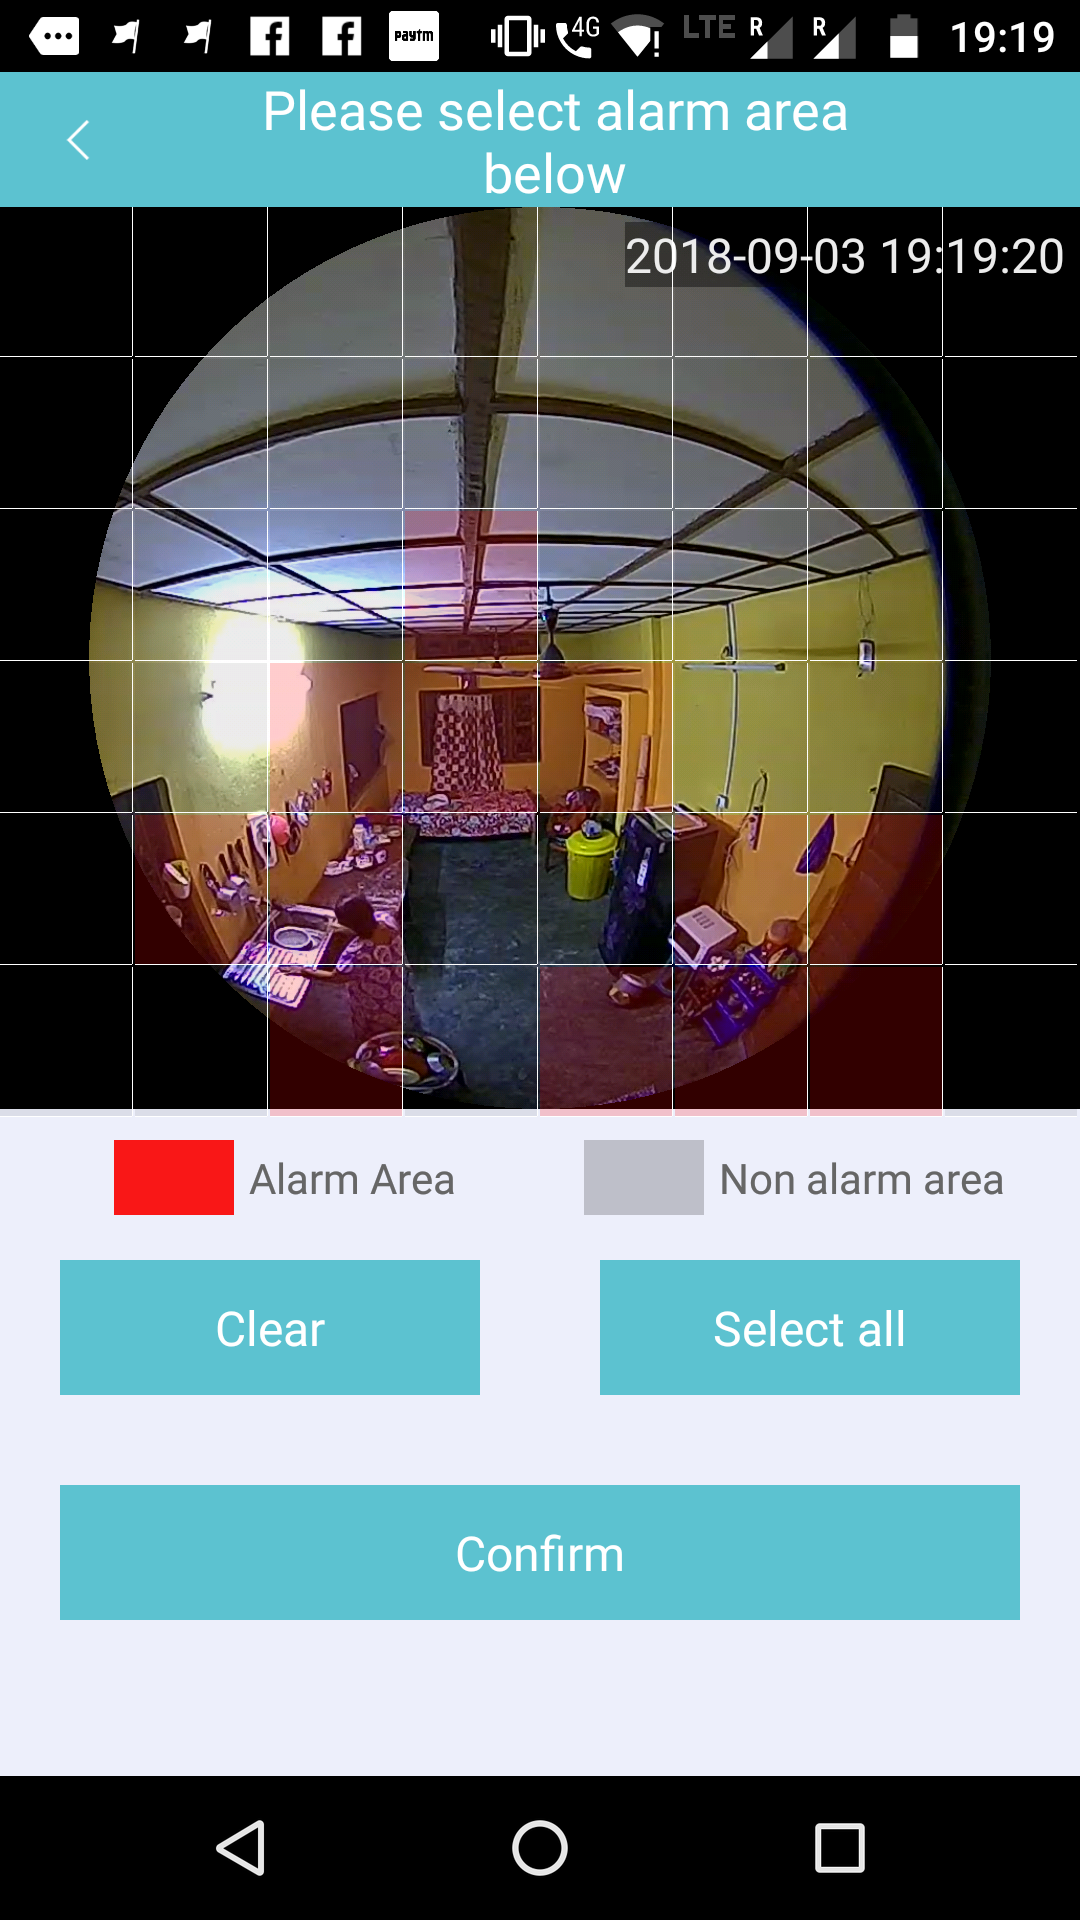
Now let us go into the ‘Alarm area’ section. Here the camera view is assigned into square grids. You can select the grids where the camera will continuously monitor for movement to start sounding the alarm and start recording.
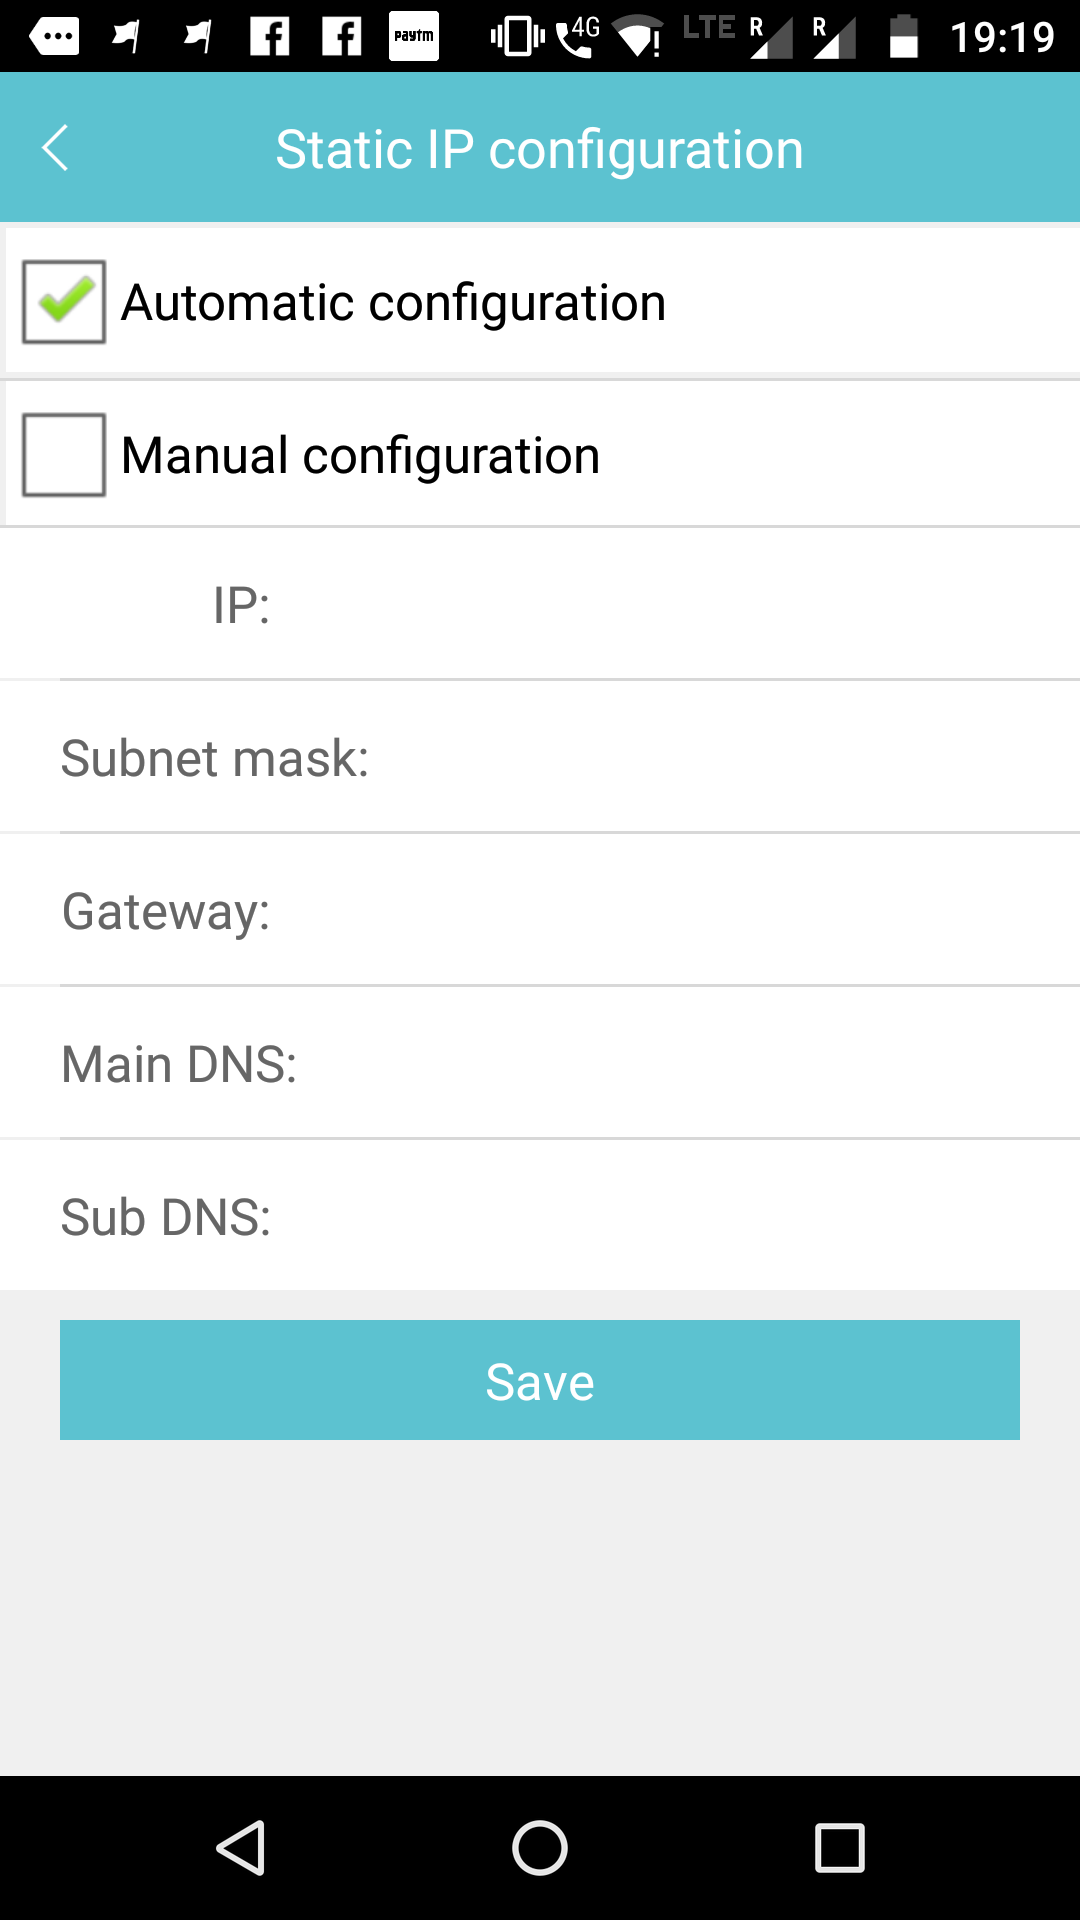
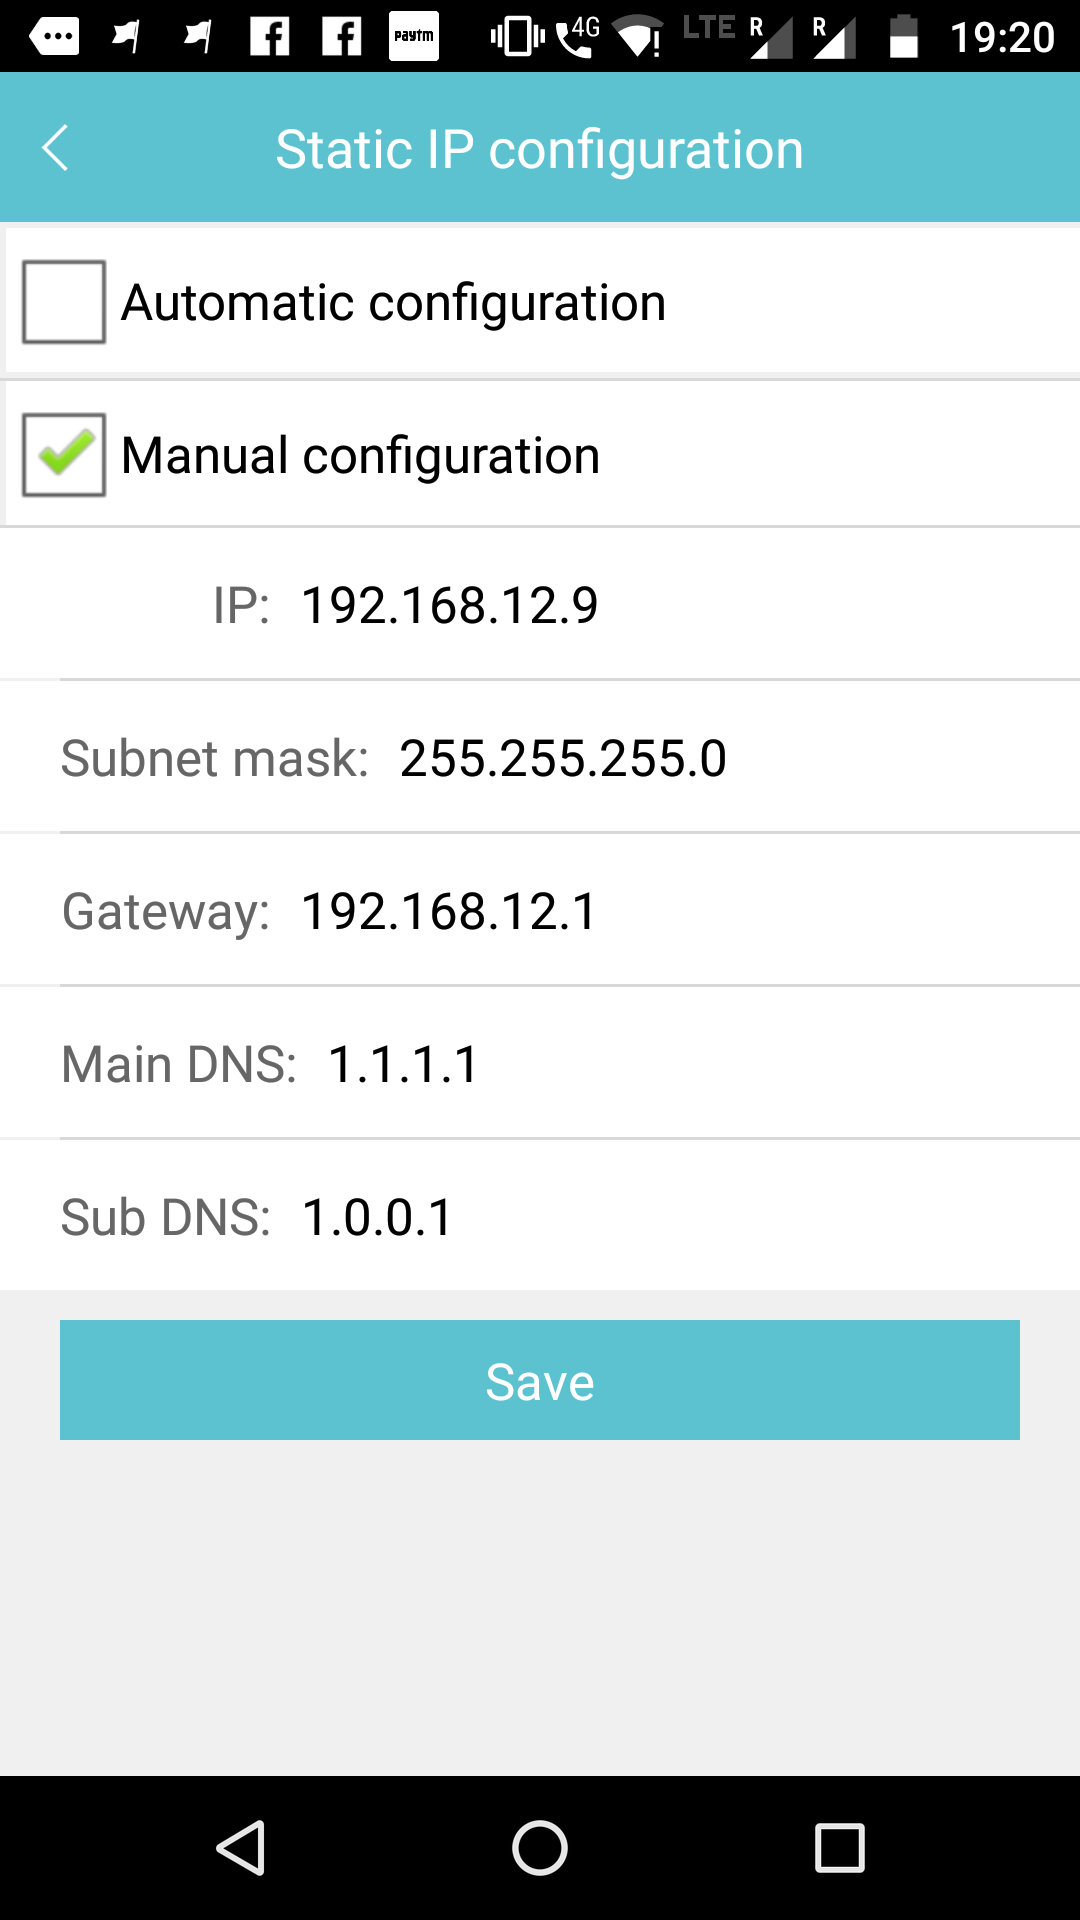
Now, let’s come to the ‘Static IP configuration’ setting. This setting works if the camera is set to WiFi station mode. Here you can choose if the camera obtains its IP address via DHCP or it is statically assigned. If it is assigned statically, you can input the IP address, subnet mask, gateway and DNS here.
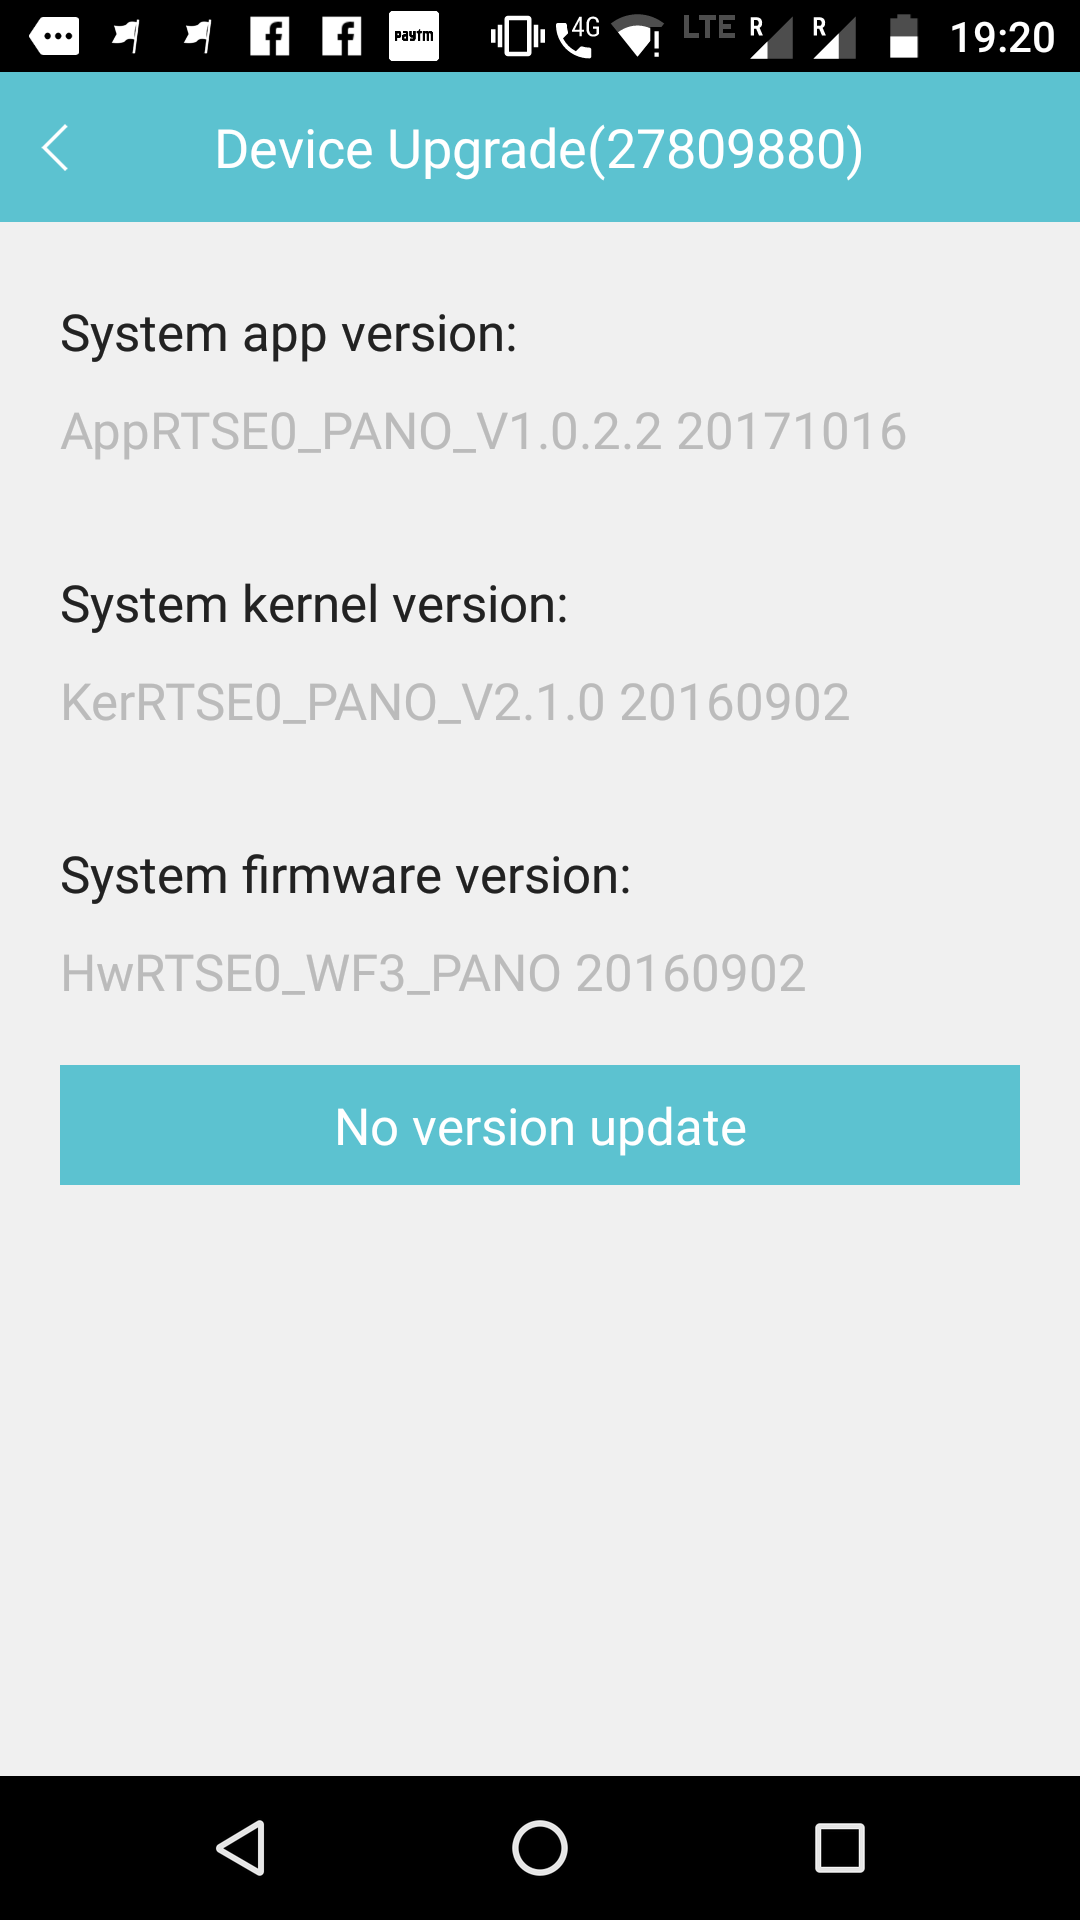
Finally, we have the ‘Device upgrade’ setting which displays the firmware version the camera is running as well as the option to update it to the newest version if available.
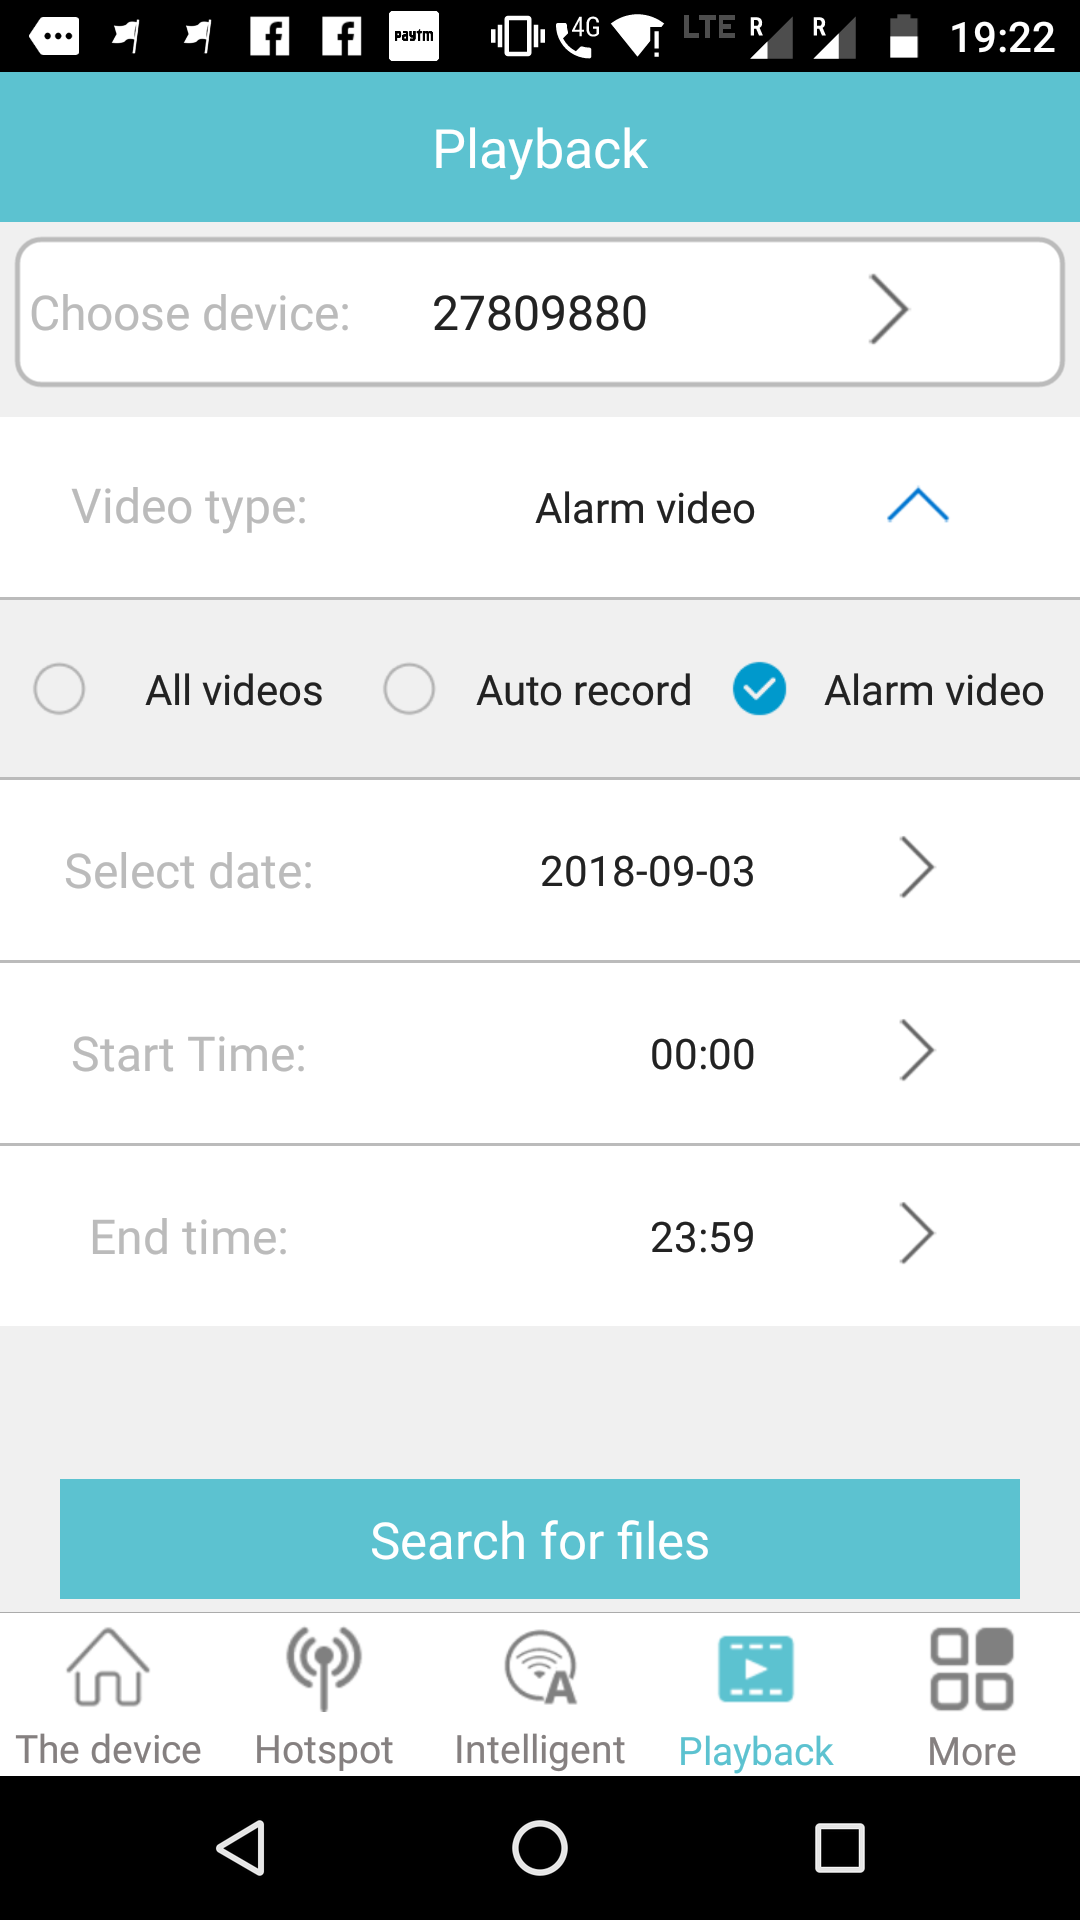
Now that we have covered all the settings and options of the camera, let me show you how to play back recorded files. From the main screen of the app, tap ‘Playback’ at the bottom action bar. You will be taken to a form where you can choose the device name, type of recorded video and date and time to search for the video files.
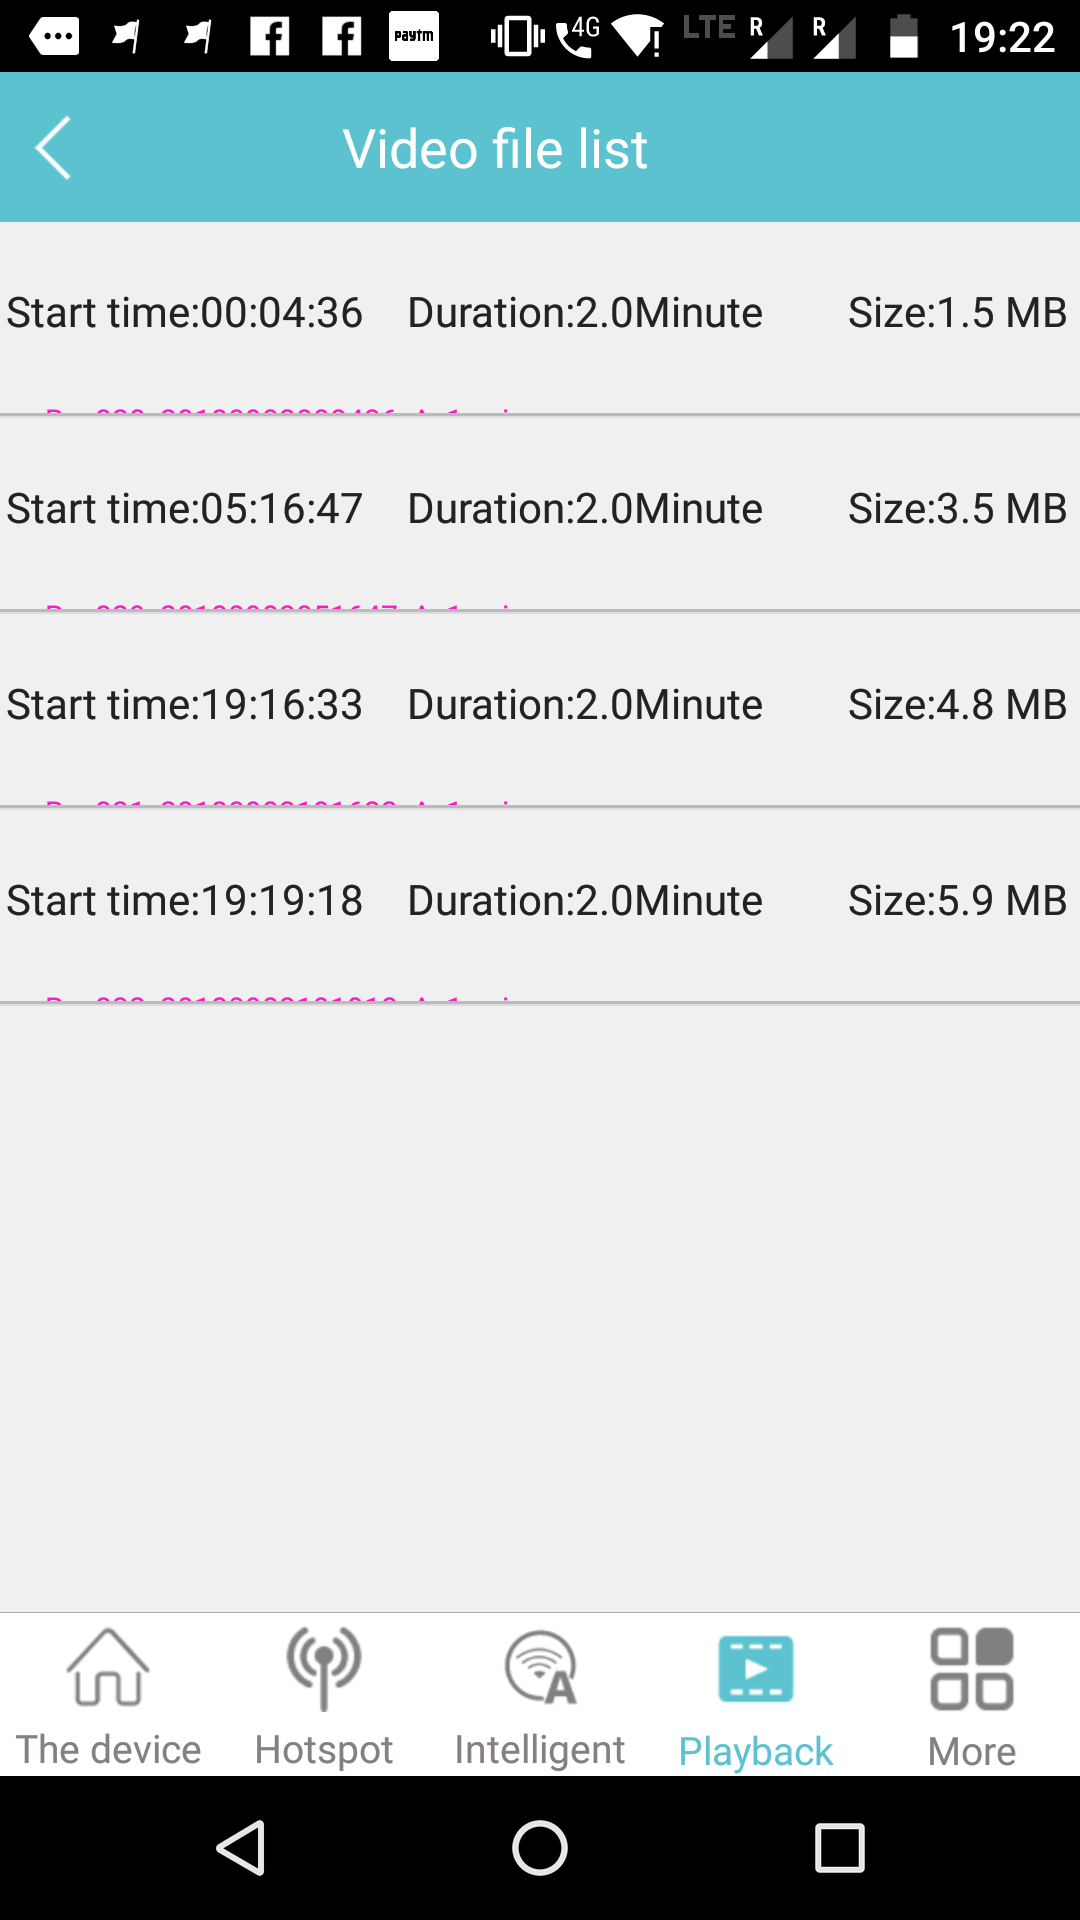
Once you tap search, the list of video files along with sound waveforms shows up in a list. You can tap any video to play it.
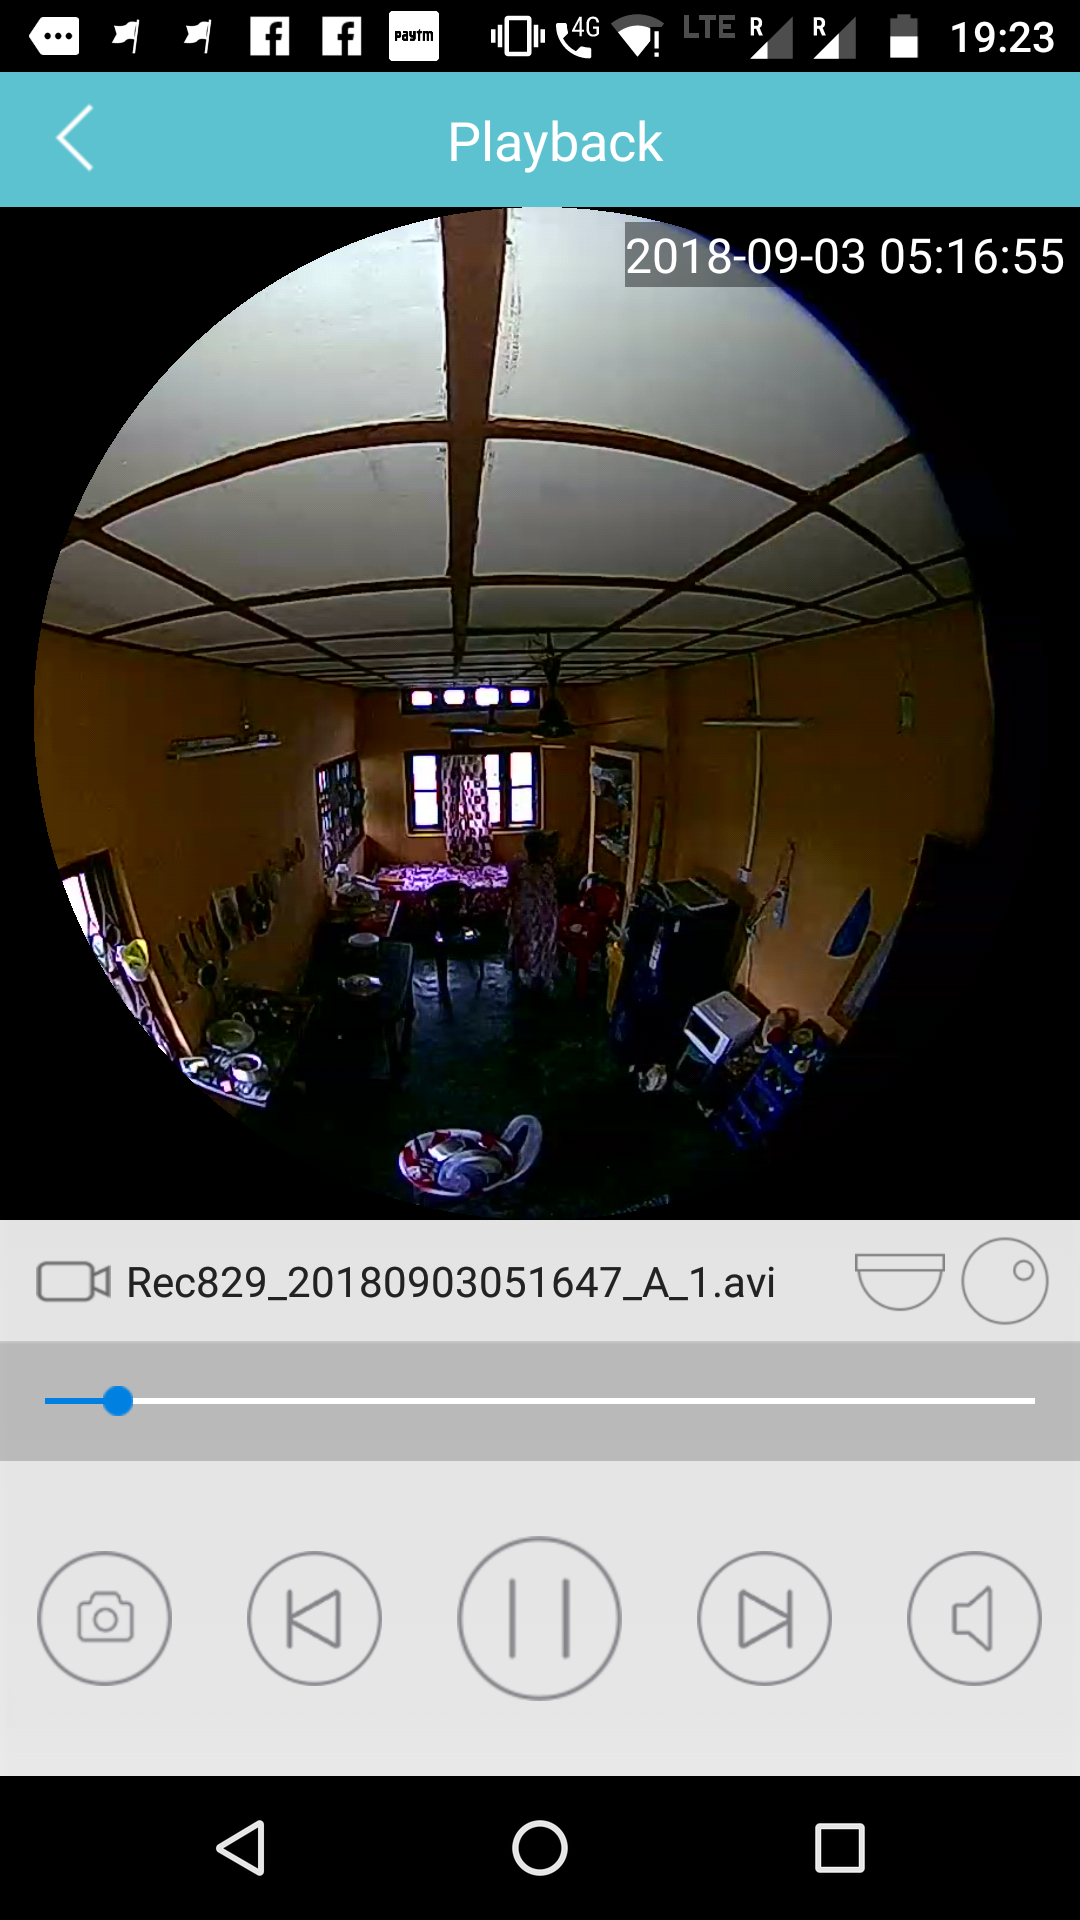
You can even change viewing modes on the recorded playback!
Now, we have covered all major features of Alfawise JD T8610 Q2 WiFi IP Camera. Coming to the app itself, there are some more features left.
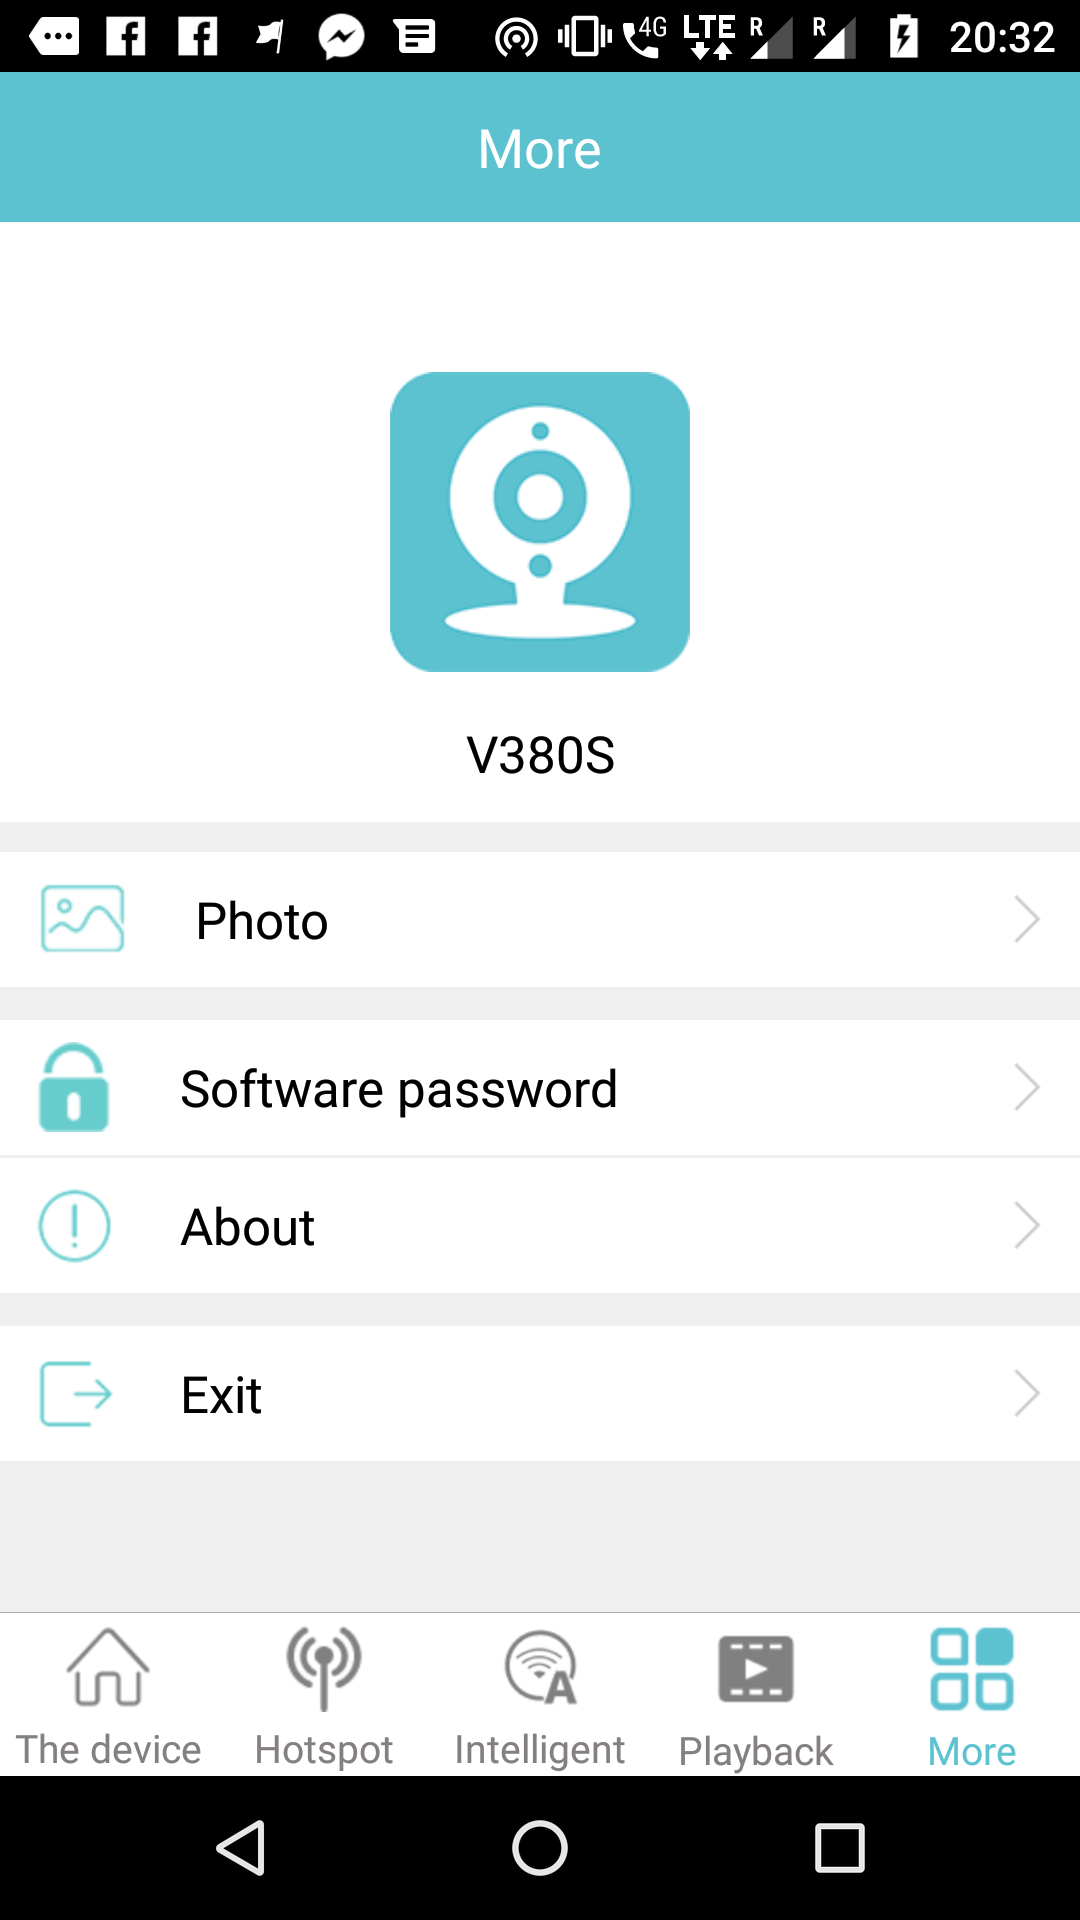
You can change the password to access the camera.
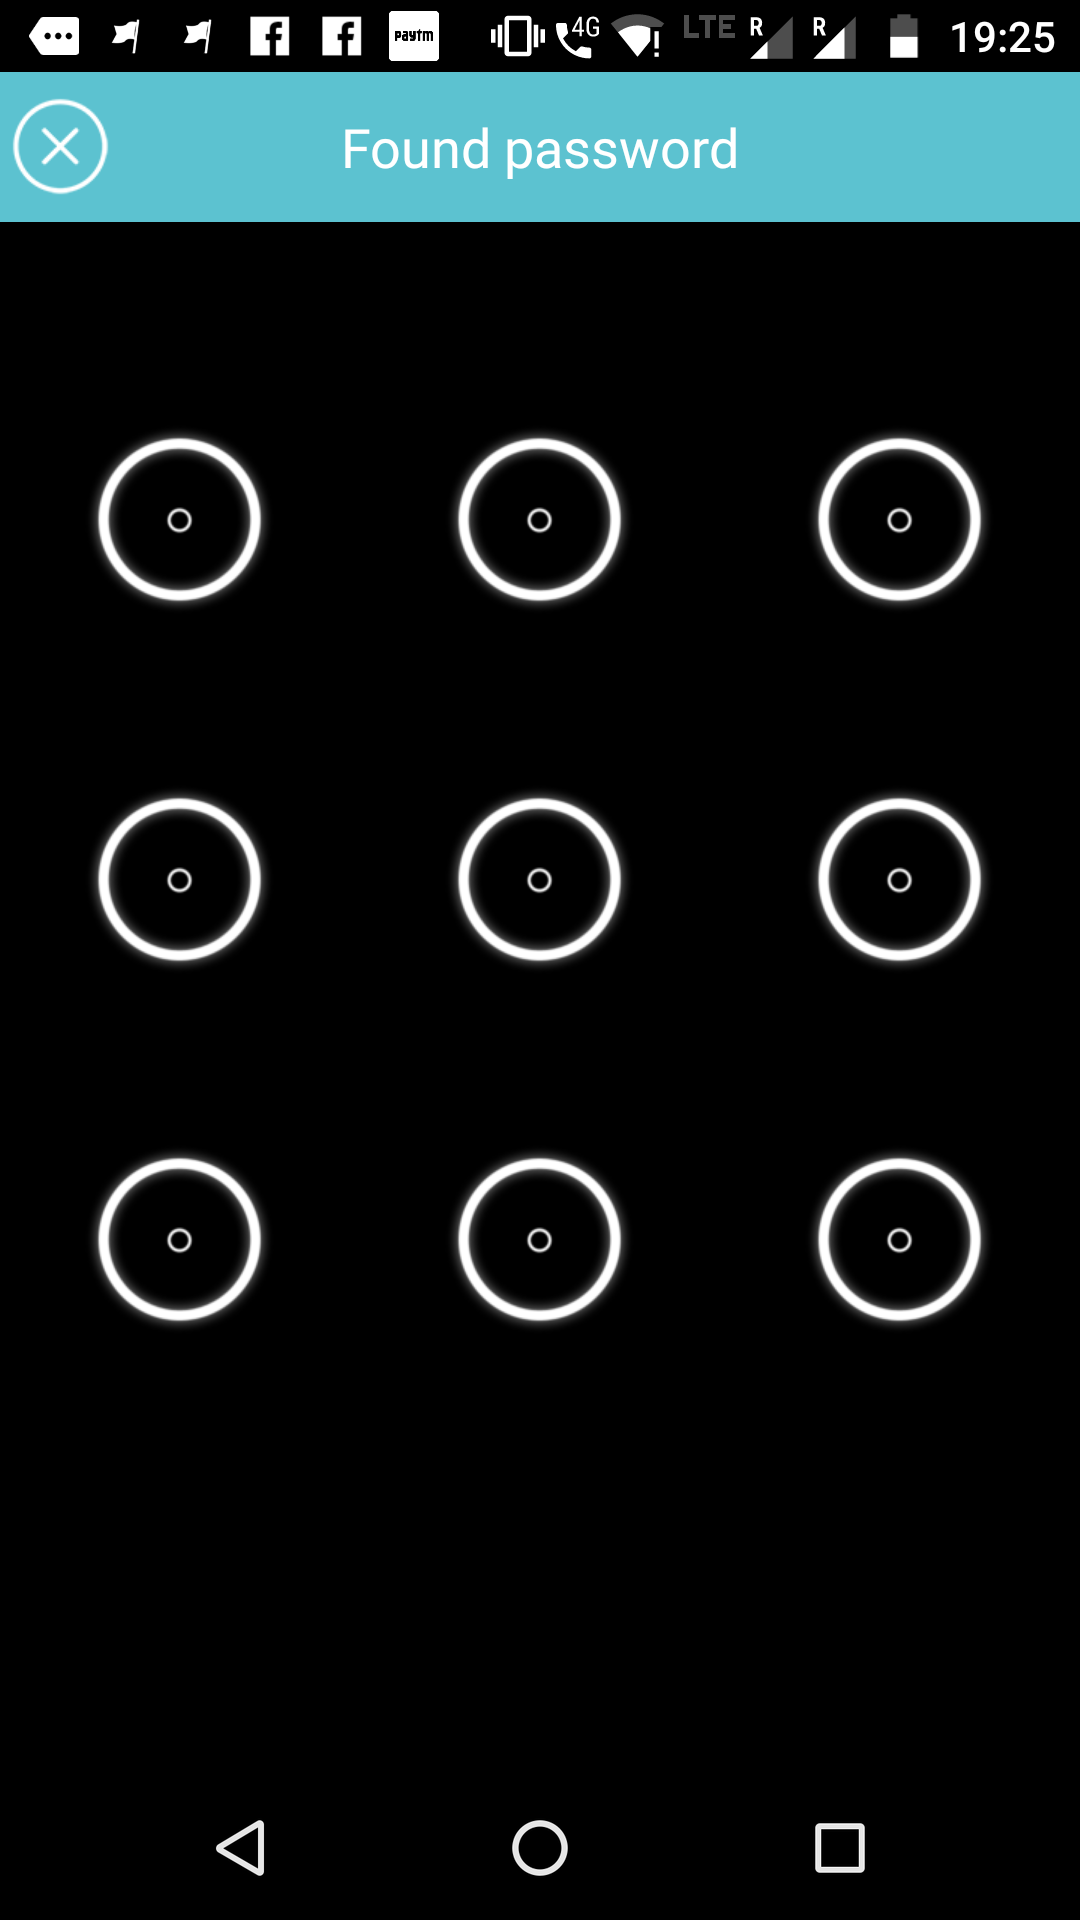
You can also lock access to the app using a pattern lock.
Experience
My experience with the Alfawise JD T8610 Q2 WiFi IP Camera has been bittersweet. The camera has its unique mix of strengths and weaknesses.
First, lets start with the strengths. This camera is an excellent piece of surveillance gear. For starters, the fisheye lens is brilliant. The viewing range covers the entire room where it is installed with zero dead zones. You only need one of these to cover an entire room. I can personally vouch for that. Secondly, the infrared thermal sensors are top-grade. You can monitor the room in pitch black darkness without turning on the built-in LED lights. Even with all lights off, the image is very clear. Thirdly, the image quality of this camera is as good or better than PC or laptop webcam, which is a huge plus point. Fourthly, the microphone is surprisingly of very high quality and can capture every detail of sound and conversations in the room. There is no noise, no scratching and no squeaky sound, scoring it well above most surveillance gear in the market. Last but not the least, the announcement speaker on the bulb camera is loud and clear and gets your voice across to everyone present in the room. Motion detection works perfectly too. As a piece of hardware, it delivers more than what is advertised.
The weaknesses are mostly due to the poor software that powers the camera and the mobile app. I have noticed that if you put the camera in WiFi station mode and connect it to an existing access point, it becomes very slow to access it from the mobile app. Executing an action takes close to 2 minutes to complete, although if you start the live stream it runs without any hiccups. In AP mode, however, there are no such problems and the camera is very responsive. The second drawback is that the LED light control on the mobile app is very finicky. You can force the inbuilt lights to off, but if you try to zoom into the view or change the viewing angle, the lights can suddenly turn on. I do not know why this happens. The third drawback is that you cannot download videos stored on the micro-SD card in the camera to your smartphone. You can only stream them. The only way to copy the video files is to turn off the camera, take out the SD card and plug it into a card reader on your PC or laptop. The fourth drawback is that you cannot access the camera with your PC or Mac. You must have a smartphone or a tablet running Android or iOS. It is advertised as an ‘app’ camera targeting mobile users. I really wanted the camera to be accessible using a PC because I hate the idea of changing my device to switch between daily tasks and watching my living room.
Overall, the Alfawise JD T8610 Q2 WiFi IP Camera is a brilliant surveillance camera marred by the manufacturer’s misconception of what the target user base is. Users like me want it to be accessible by a PC, want the mobile app to be rock-solid, want the camera to be in WiFi station mode and want videos from the camera to be downloadable. If you are an Alfawise employee and you are reading this, please take this feedback from me to your team and fix your camera firmware and mobile app as soon as possible. It is the software that prevents this device from being a truly outstanding product.
Summary
Pros
- Viewing range coverage is excellent with zero dead zones
- Infrared night-vision is top-grade
- Great image quality
- Audio from microphone is crystal clear
- Announcements from the speaker are loud and bright
Cons
- Poor performance of mobile app when the camera is in WiFi station mode
- LED light controls are buggy in the app
- Cannot download recorded videos from the app; can only stream them
- The is no app to access the camera from a PC or Mac
Getting for yourself
The Alfawise JD T8610 Q2 WiFi Lightbulb IP Camera can be purchased from Gearbest for $19.99 with free or cheap global shipping depending on your country. Considering the features available on this surveillance camera, we consider that $19.99 is quite a low price for this device. Click here to purchase.
Conclusion
Alfawise JD T8610 Q2 WiFi Lightbulb IP Camera is a great surveillance device for domestic and small business users who mostly use or are dependent on smartphones. It has excellent video and audio quality while being ridiculously cheap at the same time. It is a great addition to most households. However, if you desire desktop access and remote footage retrieval, you will need to look for an alternative.
Techno FAQ rating: 7/10

1 Comment
Rishu Jha
4 September, 2018Great work sunit.
Got to know a lot about the product.