Nowadays, becoming a blogger can be as straightforward or as complex as you want it to be. The blogging world is teeming with writers who use it to express themselves, build a brand, and earn a living. We can take blogging to the next level now that we have community capabilities built into the blogging platform. Relax; it’s a simple task that you can complete on your own. WordPress, BuddyPress, and the social community Reign theme will have your social blogging site up and running in hours, complete with fascinating social media features such as friend lists, private and group chats, forums, and activities.
Here are eight simple steps to creating a fantastic social blogging website.
Step 1: Identify your market niche and conduct research

The first step is to identify a specialty or create a blog with a specific goal in mind. A Social community WordPress Theme or a WordPress travel blog are two examples.
One of the most critical aspects of creating and running a successful blogging website is market research. It all comes down to collecting data that can provide insight into your customers’ purchasing habits, thinking, and geographic location. Furthermore, market research can assist you in tracking industry trends and keeping tabs on what your competitors are up to.
Step 2: Get a domain and a hosting account
The social blogging platform’s domain name reflects this. As a result, don’t expect it to be a difficult task. Domains are sold by companies such as GoDaddy, Google Domains, and others.
Once you’ve purchased a domain, you’ll need to choose a web hosting service. Bluehost, Hostinger, and Dreamhost are among the best in the business.
Step 3: Get and install WordPress
WordPress can be installed in two ways: manually or with the assistance of your hosting provider. This procedure is completed in a matter of minutes.
Step 4: Install BuddyPress
BuddyPress is a powerful WordPress community plugin that extends your site’s functionality beyond the blog. It has all of the features that you’d expect from an online community, such as user profiles, groups, activity streams, notifications, and so on.
Here are a few applications of BuddyPress:
- A social network for your university, school, or college’s entire campus.
- Your company’s internal communication tool.
- Niche social networks cater to people with particular interests.
- Product and service-specific communities.
- bbPress integration to improve community forums.
Step 5: Configure the Reign theme
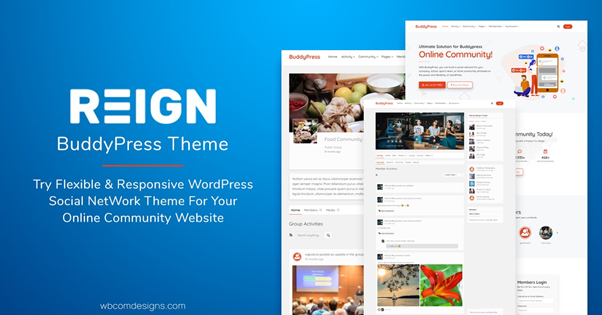
Reign is a WordPress community theme built on BuddyPress. It is a WordPress theme that can be used as a community theme and a b2b marketplace theme. Reign’s sleek design incorporates all of these social networking capabilities. Reign can, of course, be customized if you find something about the design that you dislike. Plugins like Gutenberg Page Builder and Elementor Page Builder are also supported by Reign, allowing for even more customizability.
The following are some of the Reign theme’s distinguishing features:
- One-click demos to import
- Multiple Header Variations
- Responsive, fast and friendly UI
- Layout of Multiple Member & Group Directories
- Fully Customizable Member & Group Header Layout
- Customization Options for BuddyPress
- Extra Widgets for BuddyPress
- Integrated Social Profile Module
- Translation & RTL Ready
- WooCommerce Ready Theme
- Integration With Elementor Page Builder
- Compatibility with Popular WordPress Plugins
Pricing of the Reign theme
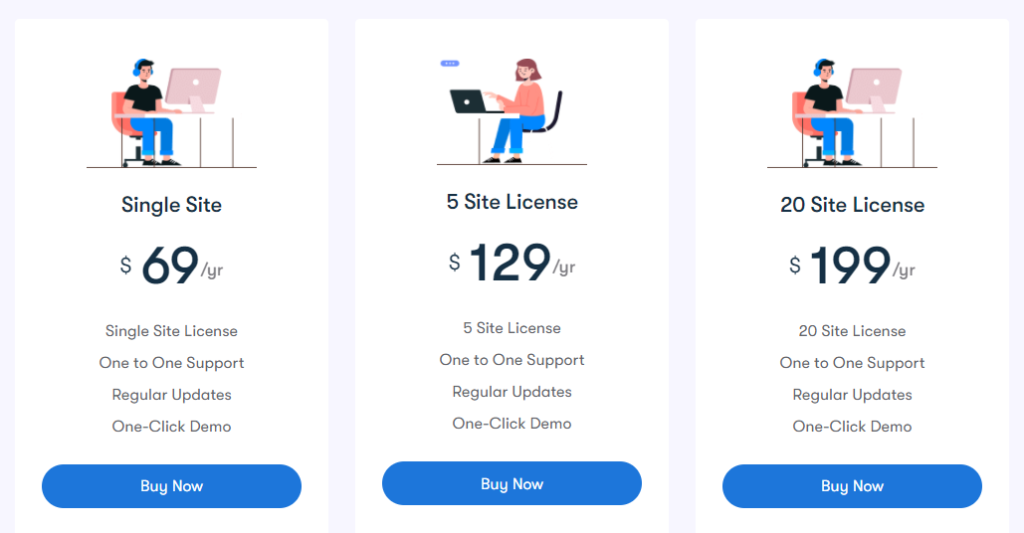
- Single website: $69/ year or $249/lifetime.
- Five websites: $129/ year or $499 for life.
- Twenty websites: $199/ year or $699 for life.
Reign theme’s Initial Configuration
- Install the theme after downloading it.
- Navigate to Dashboard >> Appearance >> Themes >> Add New.
- The theme is uploaded by clicking the upload button.
- Click Browse, then select the file you just downloaded and finally click Install Now.
- After it has been installed, click the activate button.
Step 6: Install and set up useful plugins
Plugins enhance the appearance, responsiveness, speed, and usability of our website. Many plugins are required for WordPress community blogs, including the following:
- WooCommerce for ecommerce integration.
- bbPress for creating website forums.
- GamiPress is a gamification tool.
- Ninja Forms will be used to integrate forms.
Step 7: Install BuddyPress Add-Ons
Both plugins and addons aim to improve the functionality of a single plugin. The following are some of the most popular BuddyPress plugin for social blogging websites:
- BuddyPress Search
- BuddyPress Member Blog
- BuddyPress Post from Anywhere
- BuddyPress Group Reviews
- BuddyPress Member Reviews
- BuddyPress Sticky Post
- BuddyPress Newsfeed
- BuddyPress Profile Pro
Step 8: Search Engine Optimization (SEO)
SEO (Search Engine Optimization) is essential for bloggers and marketers. When you optimize your web pages, including your blog entries, you increase your website’s visibility to people who use search engines (such as Google) to find your product or service. As a result, SEO ultimately determines the site’s success.
Your website has now gone live and is fully active. It’s crucial to keep in mind that this is just the beginning of the process. Your journey ahead will be lengthy and arduous. Continue to keep an eye on the internet, grow your network, and extend your horizons by utilizing their assistance.
Author Bio
Shashank Dubey, is a contributor of Wbcom Designs is a blogger and a digital marketer. He writes articles associated with different niches such as WordPress, SEO, Marketing, CMS, Web Design, and Development, and many more.
Twitter Handle– Wbcom Designs
Facebook Page- Wbcom Designs
Email id- [email protected]