Injection molding is an important method in the manufacturing process that, mostly, uses the plastic material as the main material. By using the injection tool and the mold to shape the material, the manufacturing process can be finished much faster. Thus, the number of objects/products that can be made using this method increases significantly. Even though it sounds like a complicated process we can divide the injection molding process steps into three main steps.
Step 1: Designing Step
This is the earliest step that needs to be done to avoid the costly mistake in the next step, especially the manufacturing step. In this step, the manufacturer will decide the design, which includes the product’s function, aesthetic, and other aspects. In this step, the designer will use several tools to create the design.
The latest 3D software design, such as SolidWorks and other CAD-type software has an important role here. The software provides a detailed image as well as a measurement that can be implanted into the real process. Therefore, the designer must own proper skill and knowledge on using the software.
Furthermore, this step is where the engineer discusses and brainstorms about the product that will be created using an injection molding process. Many of the production teams even have breakthroughs and improvements for the product during this process. This is the reason why all manufacturers invest a lot in this step. Moreover, on this step, the approved-design also still needs to go through several tests. Once the design passes all those tests, the company can use it as the base for creating mold.
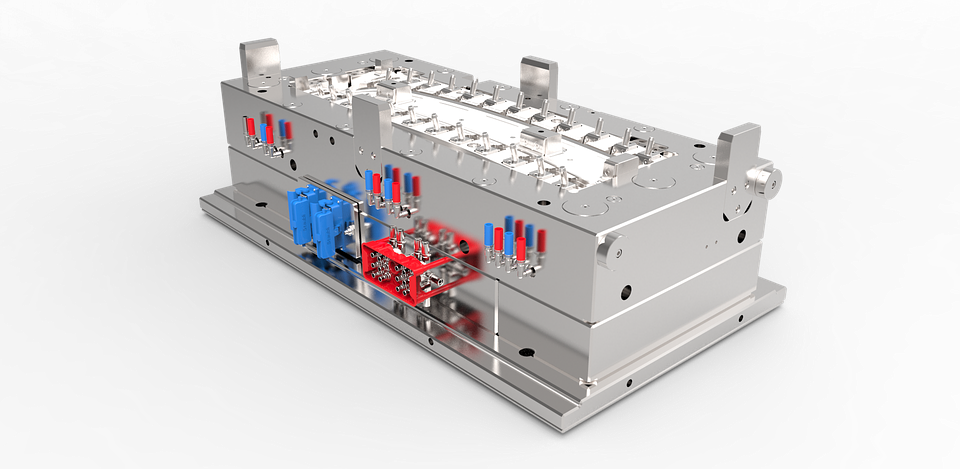
Step 2: Mold Design
Using the test-proved design, the company can move to the next step, which is creating the mold. In this injection molding process steps, the most important part of it is choosing the material. As today, here are several types of materials that have been used to create the mold for the injection molding process.
– Hardened steel – this material is the strongest and most durable material for a mold. Its ability to endure pressure without changing its properties gives it more advantages over other materials. Therefore, many companies use it to make a mold that will be used to produce thousands of products continuously. On the other hand, hardened material is also the most expensive mold material.
– Pre-hardened steel – this is the alternative material for hardened steel. It is cheaper. However, its durability is lower than hardened steel.
– Aluminum – this material has lower durability compared to hardened steel. However, it is easy to shape, which makes it the main choice for prototype mold. Mostly, we use the aluminum mold for testing purposes. Some companies use it for the production process, but only for limited quantities of product.
– Beryllium-Copper alloy – it may not be as good as hardened steel. However, Beryllium-Copper alloy has useful properties for a certain type of product. It can remove the heat much faster. The implementation of this material is also varying. You can combine it with hardened steel to create an area where you need to lower the heat after the injection.
Once the mold is created, you can start the production for the designed product. Thus, we move to the third step of the injection molding process.
Step 3: The Manufacturing Process
In this step, the Injection Molding Machine comes into play. The thermoplastic material is inserted into the heating barrel. Then, the machine will heat the plastic to a specific temperature or until it turns into the desired form. The machine then injects the heated plastic into the mold until it fills the whole space inside the mold. Then, the process moves to the cooling step, which is previously determined for how long the material will stay there. Once it is done, the mold opens and ejects the already-shaped plastic. This process will be repeated.
Conclusion
The three basic injection molding process steps we explained above don’t cover the entire detail of this process. Those are only the big picture of how the injection molding is done. In each of the steps, you can find many other steps and details, such as the design of mold base, application of the design rules for thickness, corners, draft, and many more. However, at least now you understand what and how the injection molding is.