When it comes to adding extra security and redundancy to your computer, RAID is a great way to do so.
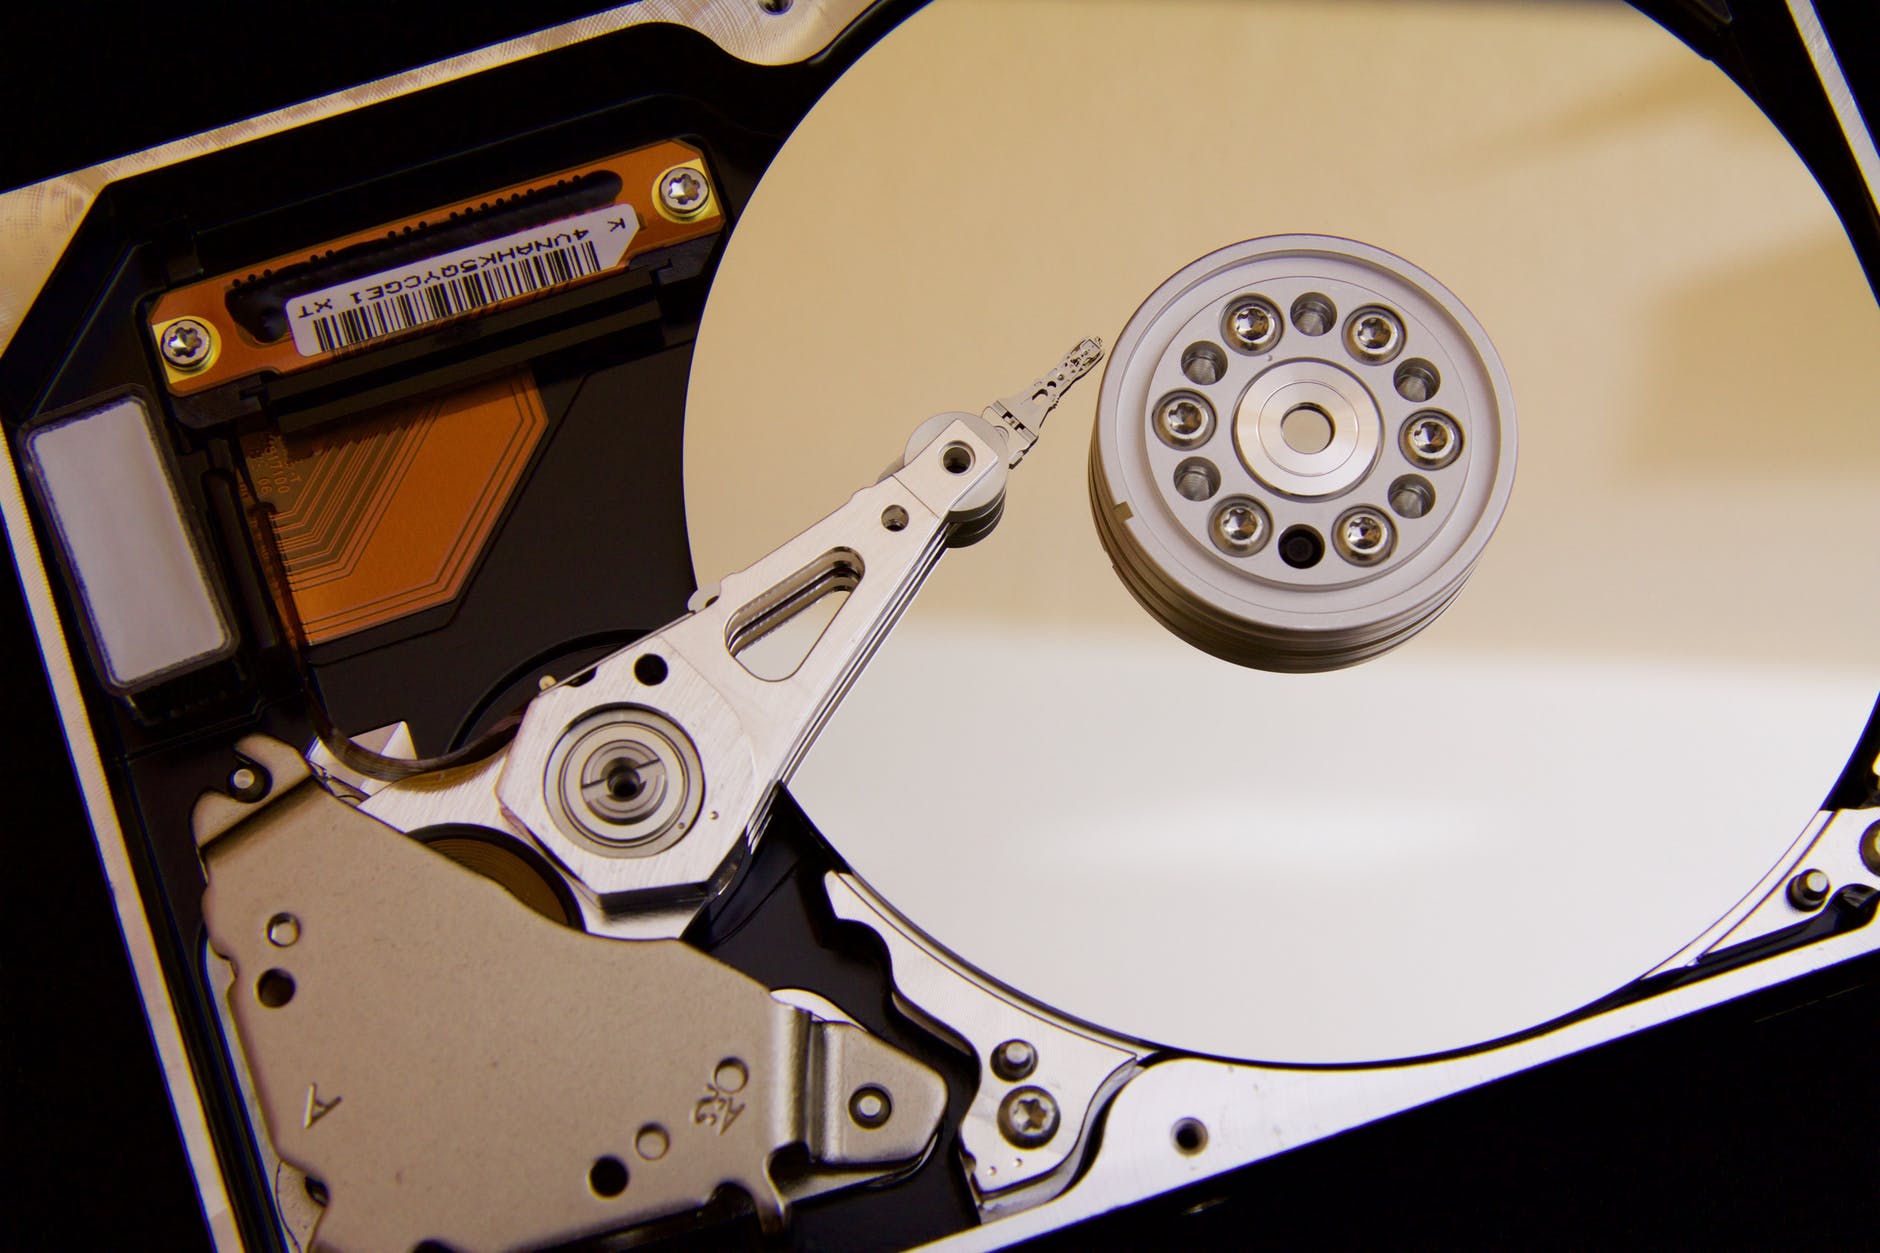
In a RAID 5 array, data and parity information are striped in two or more than two drives and the drives in the array are synchronized to give protection against data loss in case of a malfunctioning hard drive.
Although most of the motherboard support RAID these days and you don’t have to pay a huge amount to set up as in earlier days.
In this article we will discuss how to configure RAID 5 on PC
Before we proceed, here is a brief introduction to the features of each of the RAID levels:
There are different types of RAID levels available and each offers a different type of protection and security.
RAID 0 improves hard drive performance by splitting data in multiple hard drives. Although it doesn’t provide any kind of data protection.
RAID 1 writes data across multiple hard drive and protects against hard drive failure
RAID 5 / 6 offers protection against hard drive failure and improves performance but it requires a minimum of 3 hard drives.
When any of the drive fails in a RAID 5 array, the RAID 5 server recovery uses the parity bits to reconstruct the data of the failed drive and writes it on a replacement drive.
For the demonstration we’ll be configuring Raid 5 on the PC. So assuming that you have the hard drives wiped and installed, let’s proceed.
Configuring RAID 5
This step by step guide will assist you in configuring RAID 5 in your computer.
1. Turn off the power source or unplug it
Configuring RAID 5, you have to deal with the inner components of your computer. So make sure the power source is unplugged.
Make sure that your computer is shut down and the power source turned off so that you there is no risk of accidental damage both to the user and the parts of the computer.
Also it is a good idea to ground yourself before you start your work to ensure safety against static electricity.
2. Install RAID adapter in your computer
Now you have to install the adapter in a PCI or PCI express slot. Read both the motherboard as well as the RAID adapter manual thoroughly to install the adapter. The installation process varies from device to device. If your motherboard already had RAID installed you can skip this step.
3. Configure the adapter in BIOS
The adapter manual will give you a combination of keystrokes that will bring up the RAID configuration panel. Generally the combination is either CTRL+R or CTRL+A.
When you start your computer, press these combination of keys. In a few cases you will required to run the CMOS program to set set up the hard drives for RAID.
4. Format the array and create partitions
Once you have installed the adapter, keep an eye out for any message that prompts you to install a RAID driver. You can see the message during the boot up sequence of your PC.
Press F6 when you see the message to start the installation. Now you will be asked to insert the floppy drive which came along with the RAID adapter. The floppy disk contains all the third party drivers.
Final words
Configuring multiple drives in a RAID setup increases the performance of your computers and provides automatic protection against data loss.
Installing RAID in your computer is no longer an expensive business. Nowadays most motherboard comes supported with RAID but even if it doesn’t, technology has made it within easy reach of any tech savvy PC users.