5 Easy Tips for Beginner Photographers
With today’s availability of smartphone cameras and the mass production of disposable point-and-shoots and, photography has never been more present in our everyday lives. People take thousands of pictures and most of them look good due to filters used after the photo has already been taken. But filters can never replace real knowledge and practical experience, as the best photographs are always taken under strict and specific conditions. If you wish to take top-quality photos, first you need to go over the essentials.
Aperture
Aperture represents the size of the lens opening. The bigger this opening is, the more light it lets through. It’s described using the f/stop scale in which wider aperture corresponds to a lower f/ number. Wide aperture is most often used in low-light situations, such as indoors or at night. However, low aperture also gives a more shallow depth of field, which is particularly useful in bringing the object to the foreground, with the background being blurred. Higher aperture results in a sharp and focused background.
Shutter Speed
As light passes through the aperture it arrives at the shutter, which is used to control the amount of light being allowed into your camera. Short shutter times are used for moving objects and is especially useful in sports photography, as they are used to capture motion. Longer shutter speeds are used to add motion to the object, with the longest being reserved for night-time photography. Play around with this until you’ve gotten the hang of it, there is no better explanation than actually trying it out for yourself.
ISO
ISO signifies the amount of light the camera uses. For example, low ISO is used for bright, sunny days, as you already have a lot of good, natural lighting. High ISO is used for low-light settings, where you need as much exposure as possible. Just be careful, as high ISO can lead to a decrease in image quality, where the picture becomes grainy. This is called digital noise and sometimes it just can’t be avoided when trying to reduce motion blur to a minimum.
Histogram
The histogram is a graphic representation of exposure levels. It may appear difficult to understand at first, but this is something which can be learned is less than 15 minutes. Once you understand the graph, you can actually get a lot of information out of it, as ISO, aperture and shutter speed are all displayed in the histogram. It can also tell you whether your photo is under or overexposed and are you getting the amount of light you need in a low-light situation.
Proper Gear
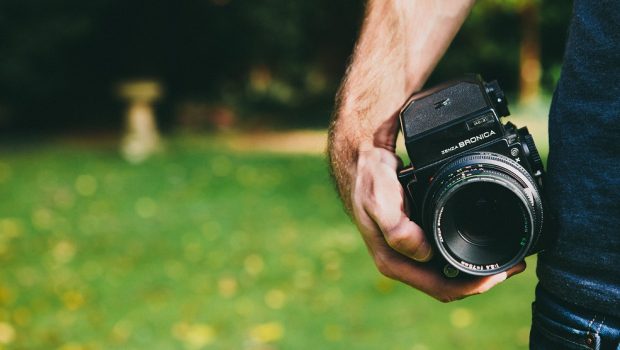
To get that perfect shot, photographers often use various pieces of equipment, including different-sized lenses, fixed and multi-part tripods, special filters, light boxes, etc. These may not always be necessary but have in mind that your hand could never hold a camera with the same stability a tripod can. This holds true especially when it comes to end zone cameras. Once you’ve figured out what kind of photography you’d like to pursue, you can research the right equipment needed for that specific type of shooting. You can find most camera gear at your local camera store or online, using Amazon or eBay, just make sure you don’t get scammed when ordering online and always buy from sellers who have a lot of positive reviews.
Whether you just got your camera and you’re anxious to use it or you already have some experience shooting photos, those were some of the basics you need to cover in order to make breath-taking pictures. Words such as exposure, aperture, and shutter speed may sound like gibberish to an average person, but a professional knows these terms by heart. Learn them well and take a lot of pictures, because no amount of theoretical knowledge can replace first-hand experience.


