The Techie Way to Tour Japan
In the spring (March) of 2019, I made a tour to Japan. My primary purpose of the tour was to present a paper at the The International Conference on Advanced Information Networking and Applications (AINA) 2019, and my secondary purpose was to understand why and how Japan is very different from the rest of the world. Since Japan was isolated from the rest of the world for most of its ancient and medieval history, she evolved differently compared to everyone else. After being defeated in World War II, the Japanese, instead of becoming Westernised, took Western concepts and evolved the Japanese culture in a way that again became very different from most Asian and Western nations. That being said, concept of rights, duties, conventions, computer systems, automation, machines, building designs, etc. are very different from elsewhere in the world. That means that if you get your Visa and fly to Japan unprepared, you will suffer from culture shock and severe confusion trying to understand how things work there. In other words, the best way to visit Japan is to at least keep some aspects of the trip planned beforehand, and leave the actual route of the trip to experimentation. Unlike travelling in Europe, North America, or South East Asia, you can’t just land in the airport with a backpack and expect to get the hang of things on day 1.
In this article, I will guide you on the aspects you need to always plan prior to entering Japan and guide you to use technology to make the most of your Japan trip. Even though it is 2020 (at the time of writing) and in the middle of the COVID-19 pandemic, most things are well-defined in Japan, and when tourism and business travel resumes, most of my suggestions are going to remain the same. So if you are planning to travel to Japan in the near future, please do continue to read to avoid travel nightmares.
Before travelling
There are some things to get ready after you have planned your trip, applied for Visa, booked tickets and accommodation and before the actual travel date. I will discuss them now.
Gather your Yen
The first thing you need to do is figure out a way to have Yen in cash when you are in Japan. Even though the cashless revolution has taken the world by storm, especially in Western Europe, Africa, Indian Subcontinent, China and South East Asia, Japan is still a cash-oriented country, due to people inclination towards privacy and general distrust of financial authorities. Even high-value business transactions are said to take place by exchanging suitcases full of cash. Also, the fact that currency counterfeiting is close to none supports this cash-oriented economy. Credit and debit cards are only accepted in departmental stores and shopping malls. Everywhere else, such as street vendors and many tourist spots like museums and temples accept only cash.
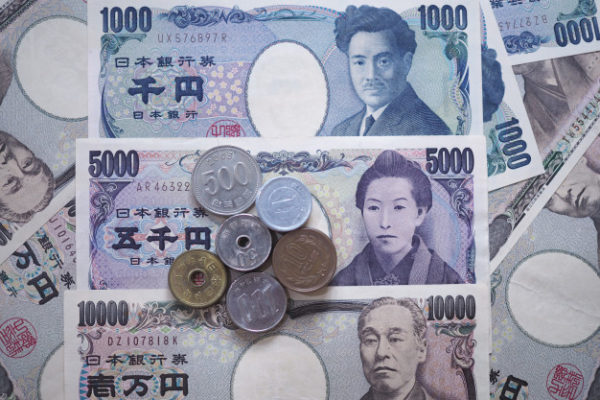
Japanese Yen notes and coins
One way to acquire Japanese Yen in cash is buying from your bank or currency exchanger in your home country. Since the Yen is a very popular traded currency, you should not have a problem acquiring it. This way you usually get a much better rate than exchanging in the airport on departure or arrival. If you are planning to exchange to Euros or US Dollars before travel, then don’t. Japanese people and businesses do not accept any other currency apart from their Yen. You will be forced to exchange your Dollars and Euros to Yen again at the airport, causing even further loss due to double currency conversion and poor airport exchange rates.
If buying Yen in cash in your home country is not an option, go for a prepaid Forex debit card (usually Visa or MasterCard) [I used ICICI Platinum Forex Card], which you can use to withdraw Yen from an ATM in Japan. In the Forex card, load the desired amount of Yen you require for the trip. The advantage of using a Forex card is that you get better rates than buying Yen cash and there is no risk of carrying the cash. However, the disadvantage is that every time you withdraw cash from an ATM, you will have to pay a fixed fee charged by the ATM operator as well as another fixed fee charged by the Forex card issuer.
If you are not satisfied with the options given by your bank or currency exchanger, you can opt for the Transferwise Borderless Debit Card that has the Japanese Yen as a currency. It has really cheap currency conversion fees (conversion fees between most currencies are 1% or less), no card issuance fees, and Transferwise does not charge any ATM withdrawal fees. Transferwise debit card is available in these countries.
If you are in India you can use the Niyo debit card. It is not a Forex card but a simple Indian Rupee denominated Debit Card. However, it charges 0% forex fees and no ATM withdrawal fees, making it an attractive option for withdrawing money while travelling.
If none of the above options are available, you can use your existing bank debit card. Withdrawing cash abroad will cost you 3.5% as markup fees for currency conversion, a fixed fee charged by your card issuer and a fixed fee by the ATM operator.
Get a phone plan
It is important to note that buying a local SIM card for a phone plan after landing in Japan is not a great idea. Why? Japanese SIMs that are sold to tourists and short term users do not have a phone number and voice calling credit. They are data-only. There is no point buying a local SIM to get a local number for local and international calls, because it is simply not possible. The end. Also, buying SIMs after landing in Japan is also not recommended. Why? I will explain in the next section.
For now, how do you stay connected back home and as well as call restaurants, hotels and other establishments in Japan? There are two options.
- Get a roaming plan from your cellular provider. Find a plan that has cheap incoming and outgoing calls while abroad. Also make your provider has roaming agreements with NTT, Softbank or KDDI in Japan.
- Use a global cellular operator like BNESIM for free incoming and cheap outgoing calls. A global cellular operator gives you a global SIM card that works anywhere in the world by latching on to a local partner cellular network in the country you are in. Call rates are often cheaper than traditional cellular roaming plans and incoming calls are free in many countries.
Get a mobile data plan
These days everyone needs the Internet, whether it is video-calling friends and family back home, catching up with work on a long train journey, uploading travel videos to social media or watching Netflix at your hotel or Airbnb. Also, access to the Internet is a critical part of touring Japan like a techie: maps, translation services, and bus and train route information is very much necessary.
If you are using a roaming plan from your home country’s operator, data plans will be expensive. Using a global cellular operator has relatively cheaper data costs, but anything beyond 10GB per month will cost an arm and a leg.
You may be tempted buy a local SIM for data after landing in Japan, but it turns out that SIM card offers in Japan for tourists can be expensive: the cost per gigabyte can be as much as a global SIM offer. Don’t make this rookie mistake.
Instead you should pre-purchase a data-only SIM card from Sakura Mobile, or rent a pocket WiFi LTE router from Sushi WiFi or Sakura Mobile. The costs are pretty reasonable and the data is unlimited, without any caps or slowdowns.
Get a train pass (JR Pass)
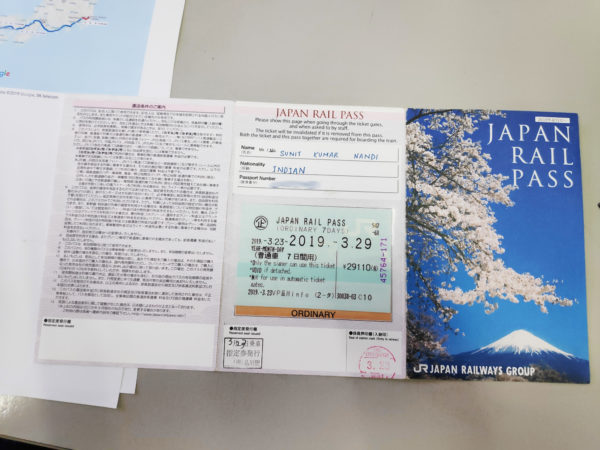
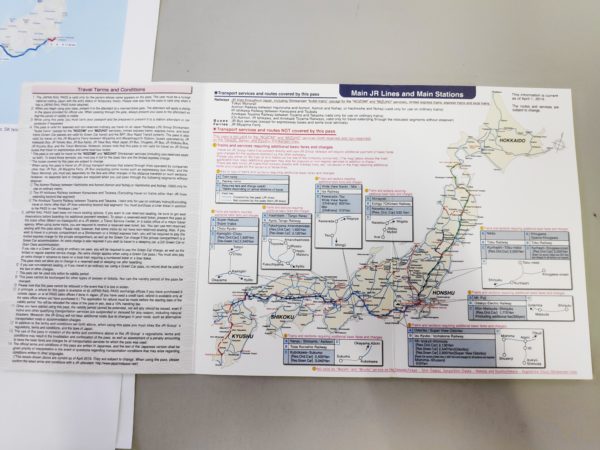
Travelling in Japan, especially in trains, can be expensive. However, the JR Group that runs most of the trains in Japan offer a train pass called JR Pass for a flat fee for 7, 14 and 21 day durations. The pass covers unlimited travel on JR trains anywhere in Japan. The interesting thing to note here is that the cost of a 7 day pass is less than the a cost of a return journey between Tokyo and Okayama by Shinkansen (bullet train). If you are visiting only a single region in Japan, you can opt for a regional pass from JR instead. More details on regional passes are available here.
Now that we have all we need. Let’s fly to Japan.
After landing in Japan
After you have landed in Japan at Narita or Haneda airport, you will go through immigration, customs and finally reach the arrival lobby. At this point you will be unsure of what to do immediately. Do not panic and follow the steps mentioned in this section.
Withdraw money from the ATM
Since Japan is a fully cash-based economy, the first thing you should do after landing in Japan is get cash Yen at hand. If you already have the cash with you purchased in your home country, then move on to the next step.
Otherwise, look for a Japan Post Bank ATM or 7 (Seven) Bank ATM to withdraw your money. These two ATM networks accept all international cards and have the cheapest withdrawal fee of flat 216 JPY. Other banks and ATM networks may work, but people have mixed reviews regarding them and withdrawal fees may be higher.
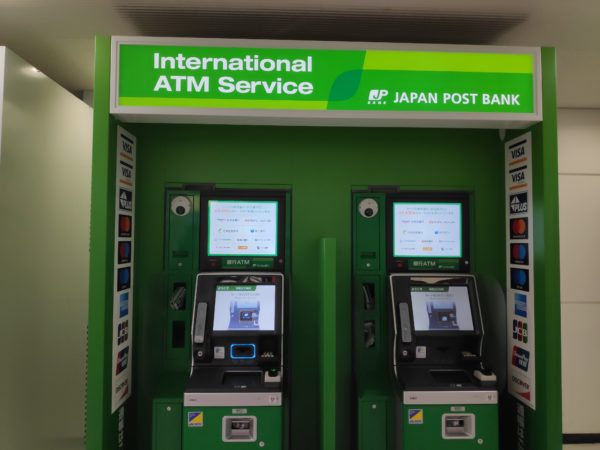
Japan Post Bank International ATM at Narita Airport
During my trip to Japan, I was able to withdraw 50,000 JPY from a Japan Post Bank ATM after landing in Narita Airport.
Pick up your mobile data SIM card or pocket WiFi router
If you have followed my recommendations so far, you would have pre-ordered a SIM card or pocket WiFi router. You will have received instructions for pickup after ordering in your email. Go to the shop in the airport lobby as mentioned in the email, show your passport and accept the delivery of the shipment.
Once you have got the SIM card, plug it in your phone or pocket WiFi device to start browsing. If you have opted for a pocket WiFi router rental, power on the and read the included instruction booklet to connect your phone and start browsing.
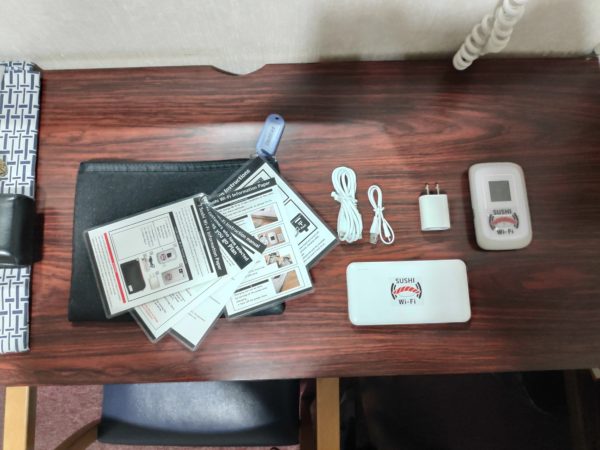
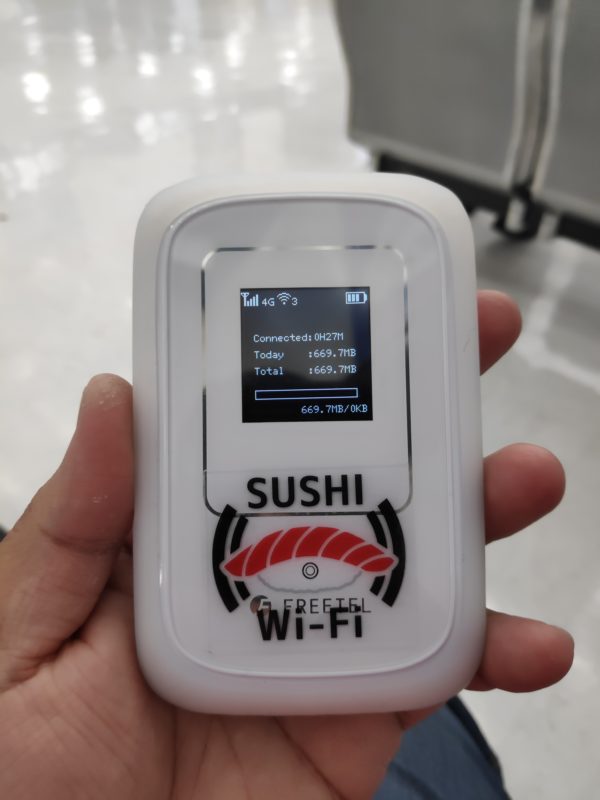
Pocket Wi-Fi router rented from Sushi Wi-Fi
Get yourself a public transport fare card
The airport you are in will have a train or a bus station in one of the floor levels. Go to that floor and get yourself a public transport contactless fare card. You may be wondering why a fare card is needed if you already have a JR Pass or a regional pass. Well, any pass from JR does not cover non-JR trains, non-JR buses and some JR trains that use non-JR routes. So you will need to pay for them separately. Also, if you have opted to not use a train pass, then a fare card is absolutely necessary.
So why use a contactless fare card at all? Well the answer is simple. On every bus or train trip, you will need to do two things: one, figure out the price of the ticket to your destination, and two, pay the fare, or buy the ticket. Being in Japan without being a fluent Japanese reader, it is going to give you a lot of trouble figuring out price charts and operating ticket vending machines. Add to that the time taken while queueing in front of ticketing machines waiting for your turn. Contactless fare cards solve this problem to a great extent. You just need to top up the card with cash. Then you can simply tap the card on the reader at the entry and exit points of your journey and the fare is automatically deducted from the balance on the card. This saves you the hassle of knowing the fare and buying tickets.
Japan has a contactless fare card network called IC card. On this network, many transport companies, supermarket chains and financial institutions issue their own branded cards which are interoperable on one another’s terminals and premises. At the Narita International Airport in Chiba and Haneda International Airport in Tokyo, you can get yourself a SUICA card (issued by JR East) or a PASMO card (issued by Tokyo Metro). In Kansai International Airport in Kyoto, you can get a ICOCA card (issued by JR West). These IC cards can be purchased from ticket kiosks in train stations or the transport company’s service centres. Purchasing a card requires a 500 JPY deposit, which is refunded to you when you return the card before leaving Japan.
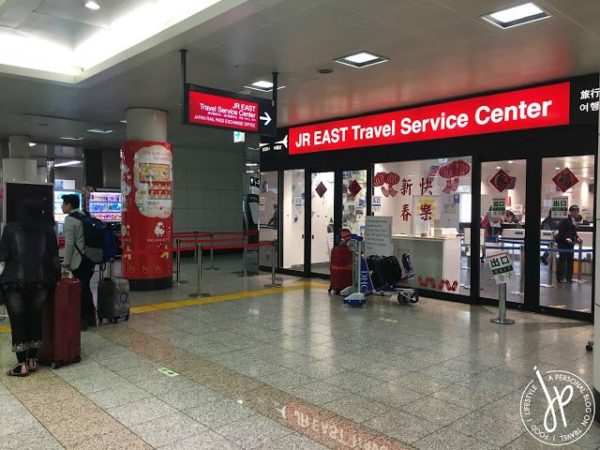
JR East Service Centre at the Narita Airport
When I landed in the Narita Airport, I got myself a SUICA card at the JR East Service Centre at the Narita Airport Terminal 2 train station. I gave 5000 JPY to the agent, who kept 500 JPY as deposit for the card and the loaded value on the card was 4500 JPY.
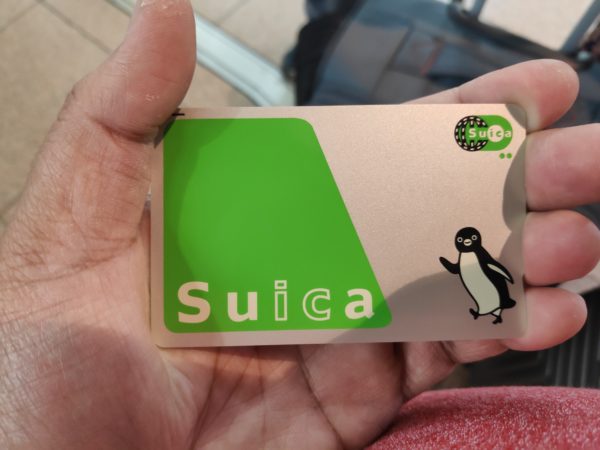
SUICA – a public transport fare card from JR East
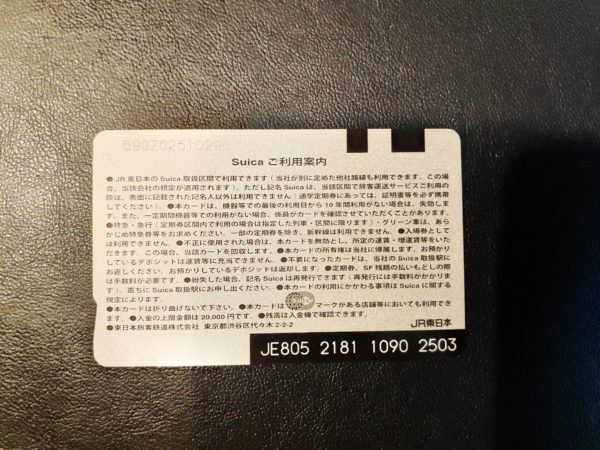
Back side view of the SUICA
Apart from public transport, an IC card can be used to purchase goods from convenience stores, supermarkets, shops in train stations and some vending machines in Japan. This allows for cashless transactions in a sense, but the economy is still cash-based, because you need Yen in cash to top up the card.
An IC card can be topped up in a convenience store, kiosks in train stations or in a 7 Bank ATM with Japanese Yen in cash. There are 7 Bank ATMs that allow you to top up directly with your debit card, but those are very rare.
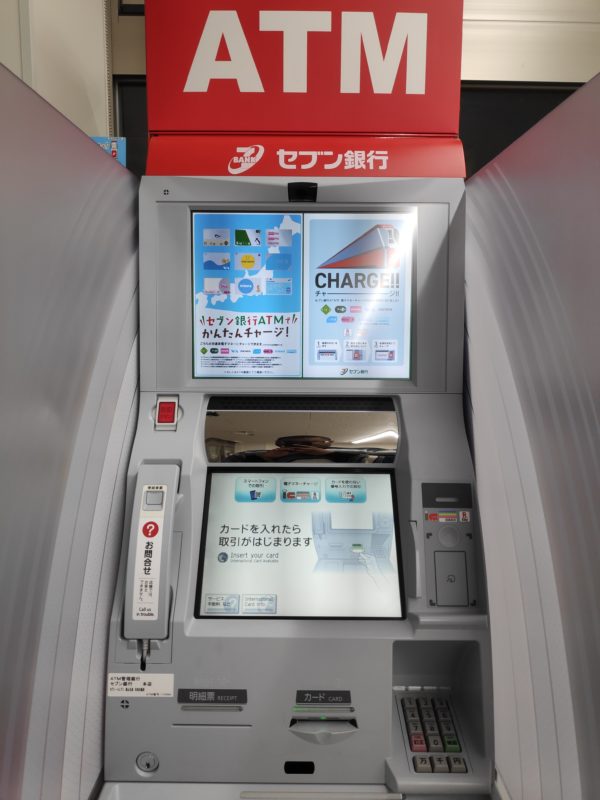
A 7 Bank ATM in Kyoto that allows you to top up your fare card with a debit card
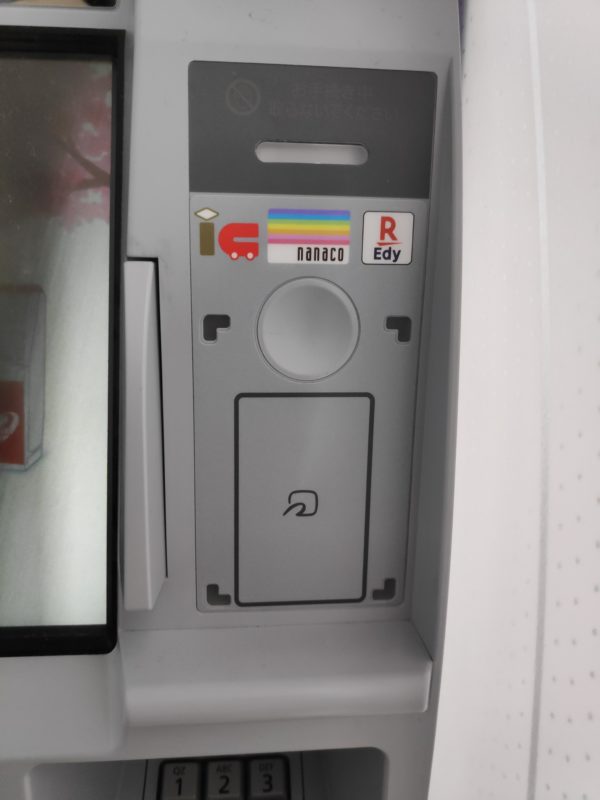
A close-up of the NFC interface of the 7 Bank ATM that works with fare cards
Activate your train pass
If you have purchased a JR Pass or any regional train pass voucher, you have to exchange them for the real train pass. You can do so at some designated train stations of the JR Group in their service centres. All you need to do is go to the train station, then turn up at the tourist service centre in the station with the voucher and your passport. They will ask you to fill a small form about your personal details like name, address, phone number, and the place where you are residing in Japan. Once you have filled up the details, the staff will hand you the filled up, signed and stamped train pass. The pass, once issued, is non-refundable, and will not be issued again after it has been handed to you. So make sure that you do not lose it.
Using the train pass is simple. You cannot use the automated gates. At the start and end points of your journey, you must show this pass to the staff at the manned gates of the station for entry and exit.
During my Japan trip, I redeemed my purchased JR Pass voucher for the JR Pass at the tourist information centre in Shinagawa station in Tokyo Prefecture.
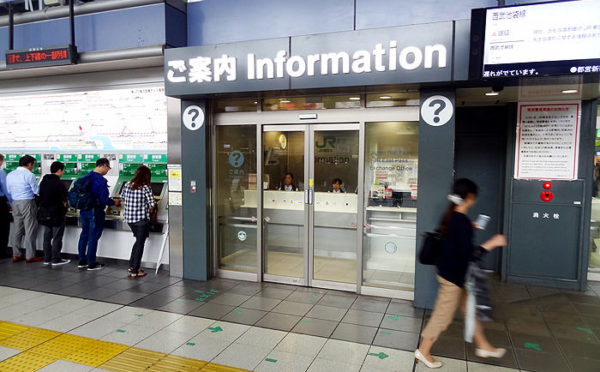
Tourist and route information center in Shinagawa Station
So finally we’re ready for exploring Japan. Let’s begin.
During the Japan Trip
Going from one place to another
The best way to go from one place to another is by public transport. Public transport in Japan includes trains, buses, subway (metro), monorail and water ferries. Public transport, especially the trains, is both punctual and reliable because the Japanese use network time and operate like clockwork. This means if you travel on time and are punctual yourself, you will never be late by more than a few seconds.
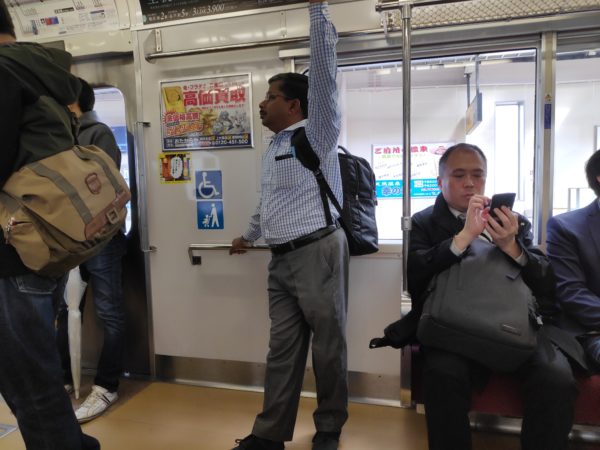
Inside of a commuter train in Tokyo
Catching a train, subway or monorail in a busy station is confusing for the first timer. There are just so many trains, so many platforms, and so many trains arriving and departing. However, you just need to remember this: train routes are called lines, and each platform is dedicated to one or a few lines. The platform opposite to a given platform serves the same lines going the opposite direction.
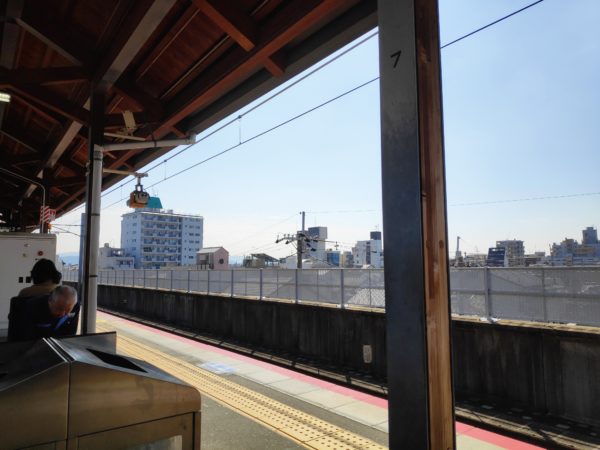
A commuter railway platform in Enmachi, Kyoto
And the best way to find the correct line for your route is to read the directions on the ceilings, staircases and overhead boards. If you cannot see the line you intend to use, follow the directions to the “central” area. Once you reach the central area, look for your line. If you know the train you have to board, this is exactly how you reach the correct platform.
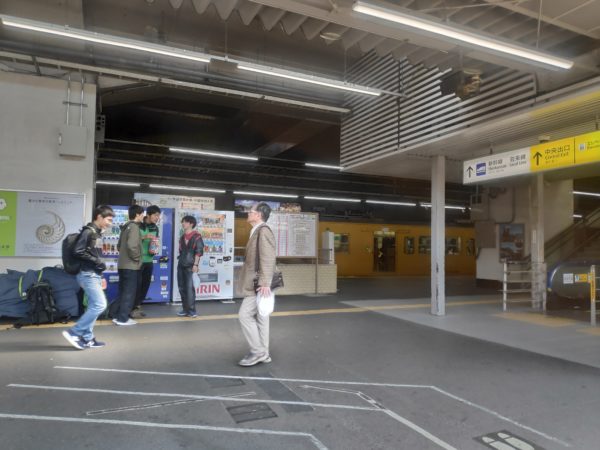
Overhead boards, such as the one above the escalators show directions to other lines and the central exit
Catching a bus is relatively easier because each bus stop is usually dedicated to one transport company. In some bus stops, you will see a display that tells you the ETA of upcoming buses for a route number and how far away it is from the bus stop.
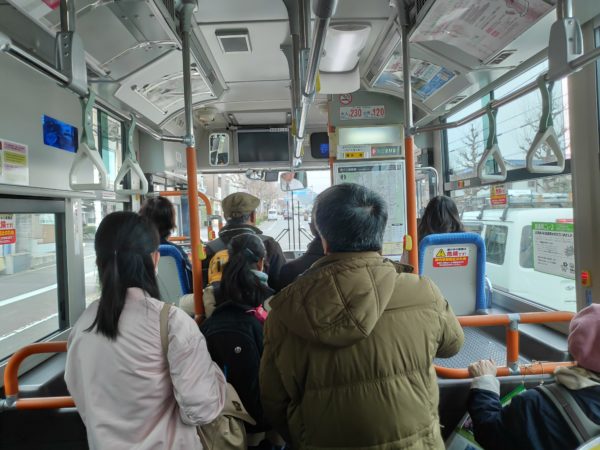
Inside of a bus in Kyoto
If you have absolutely zero idea on how to go somewhere or you are too lazy to read route maps at train stations and bus stops, Google is your friend. Google Maps provides accurate and real-time route information in major Japanese cities like Narita, Kyoto, Tokyo, Osaka, Kamakura, etc. All you need to do is enter your start and end points in the Google Maps search and it tells you the route you need to follow to reach your destination. You will get multiple options according to time taken and cost. The options also change in real time depending on early or late arrivals or timing revisions of trains and buses. That means, in most cases you can travel effortlessly with Google Maps directions and not care about looking up and remembering routes.
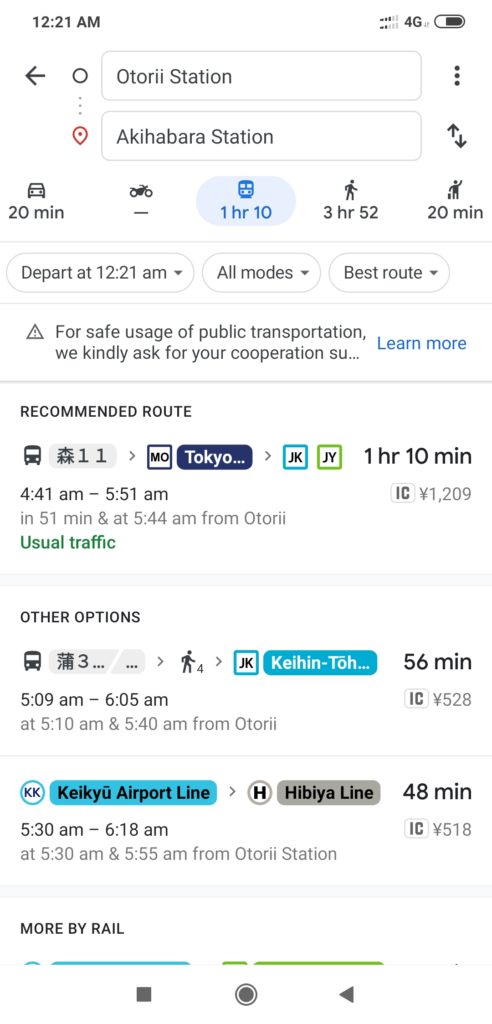
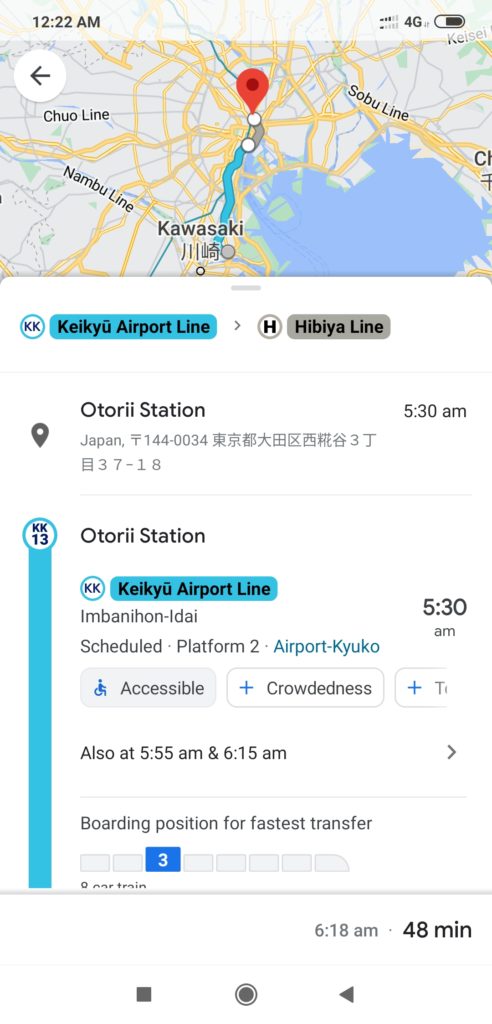
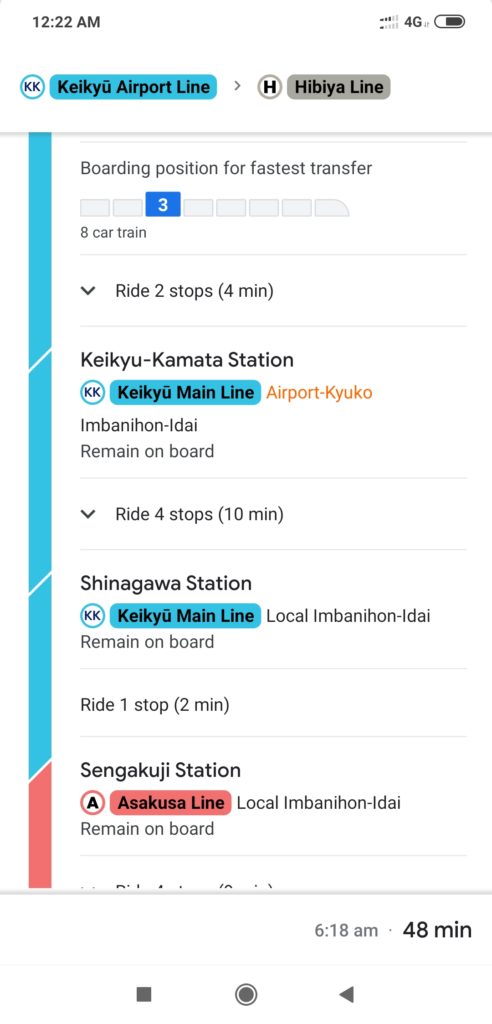
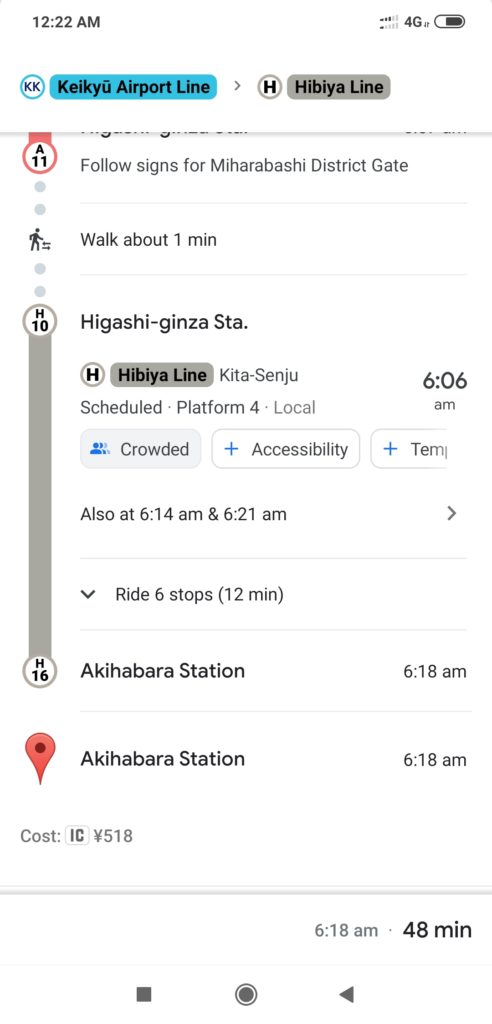
In smaller towns (like Matsue in Shimane Prefecture), the information in Maps may not be complete, and you will be forced to read route maps or look up the information on the transport company’s website.
Also remember that during travel, you must keep your passport on yourself at all times. In Japan, the police are authorized to stop anyone at any time and demand identification. If you are unable to prove your identity, you may be arrested. Only the real passport is accepted as a form of identification. Photocopies on paper or images on your phone are not legally accepted.
Eating
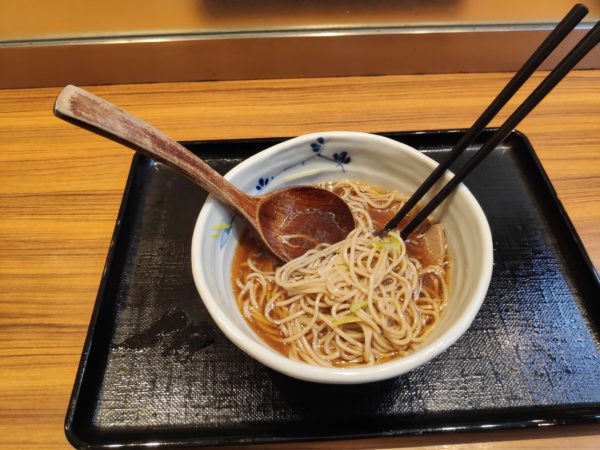
Duck Soba is a typical Japanese dish
There are many ways to eat in Japan. They include:
Ready food from convenience stores and supermarkets
Freshly prepared and packaged ready-to-eat food in a box called bento box or obento are available in all convenience stores and most supermarkets in Japan. They cost about 400 to 800 JPY depending on the number of ingredients and richness of the food. Apart from these, you also get side dishes for 150 to 400 JPY, and cooked snacks and salads for around the same price. The same convenience store will also have a bakery section with bread items like crossiants and sandwiches costing less than 400 JPY, and buns and fried items for 200 JPY or less.
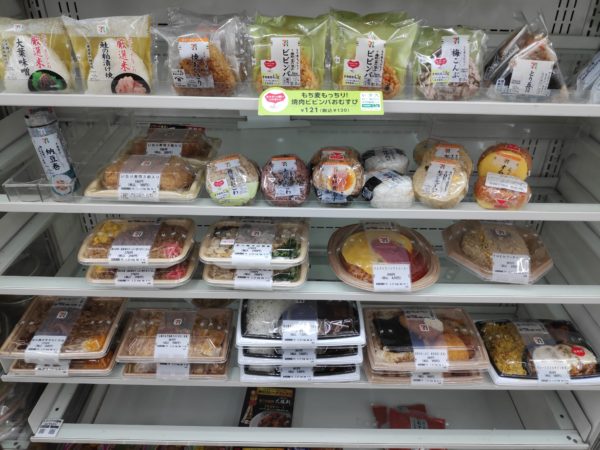
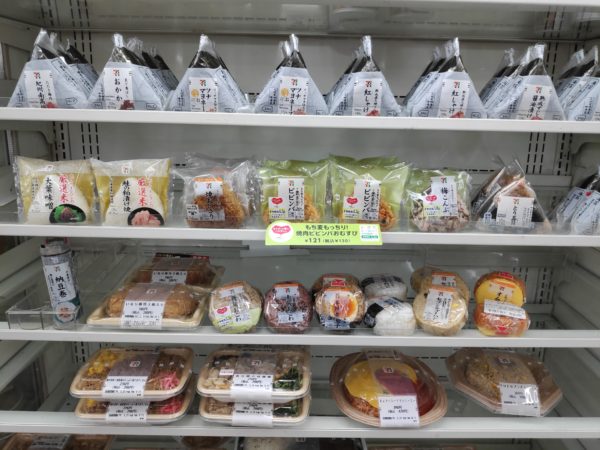
Packaged ready-to-eat meals at 7/11 convenience store
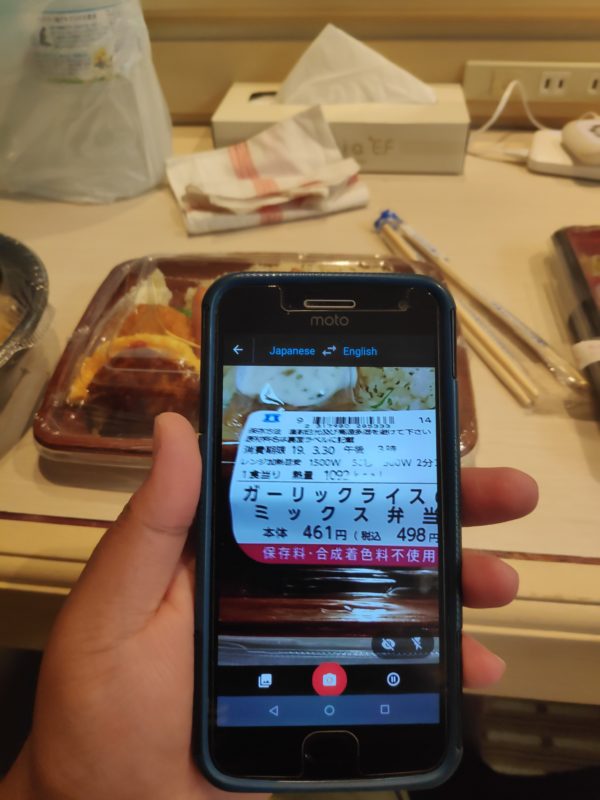
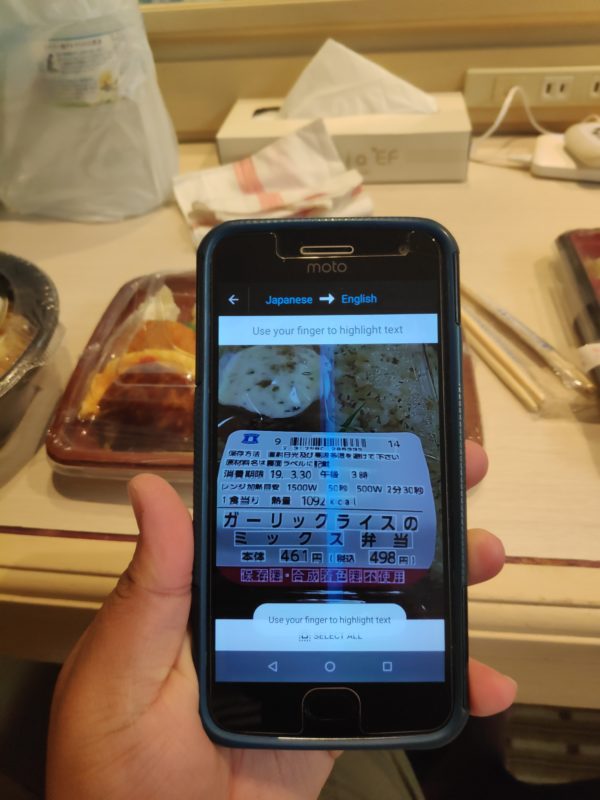
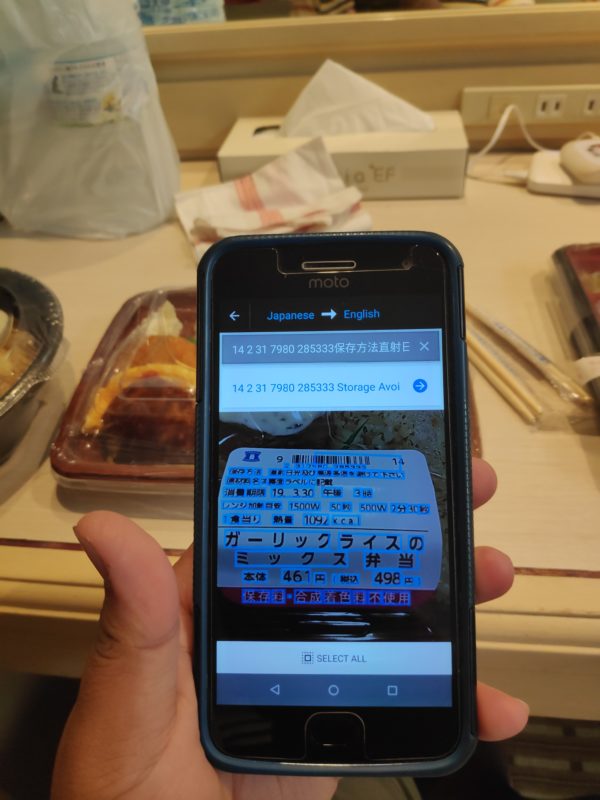
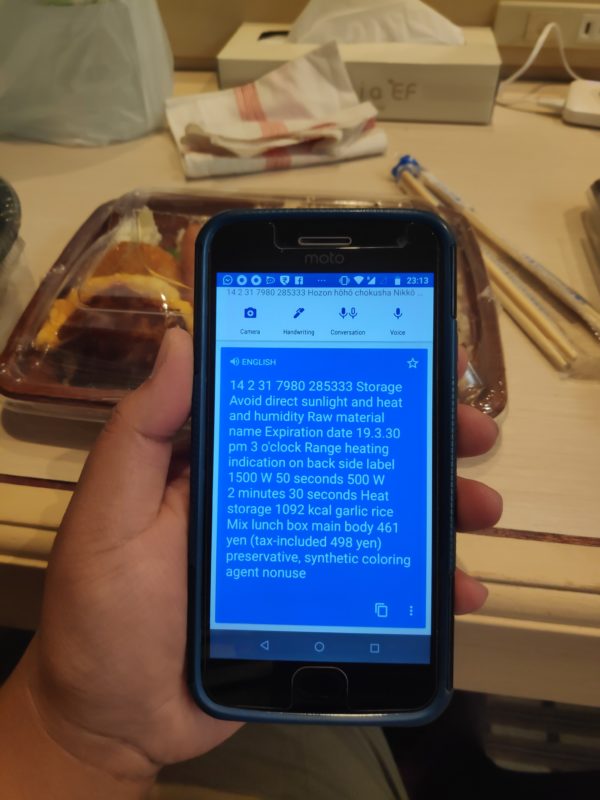
If you want to know the contents of your dish, open Google Translate on your phone, then tap the ‘Camera’ button, and then select ‘Scan’ mode. Position the label in front of your phone camera and tap the capture button. The Japanese text labels will be translated to English. This is the recommended way to translate Japanese text, as the ‘instant’ mode provides incorrect results.
Another important thing to note is that in a convenience store or supermarket, similar ready food items are usually placed near one another, even if there is no explicit categorization of the food items. That means chicken dishes are placed near one another, pork near pork, seafood near seafood, duck near duck and plant-based near plant-based ones. If you are looking for a specific type of dish, just go the place that has dishes similar to the kind of dish you want.
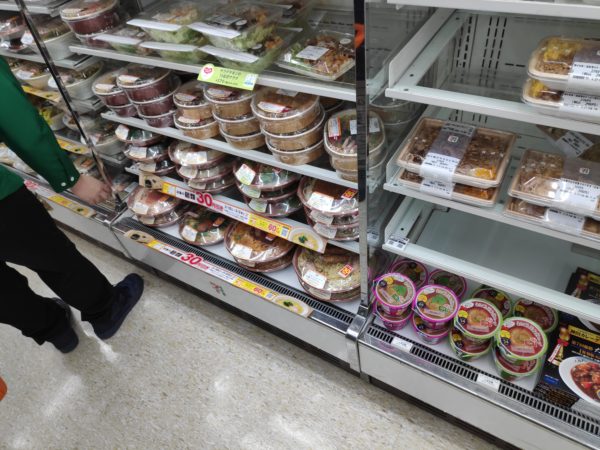
Organization of packaged meals at a convenience store
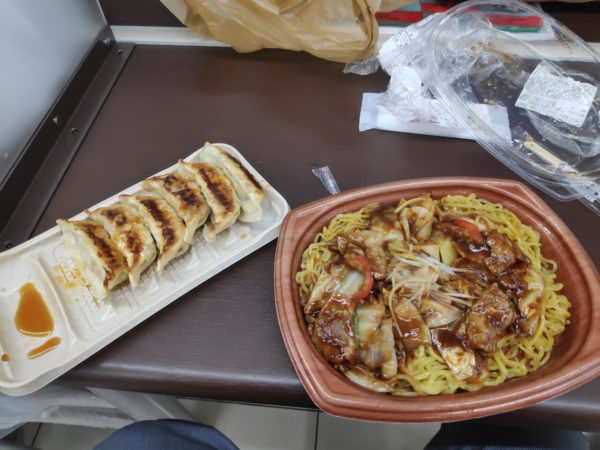
You can consume packaged meals inside the convenience store itself
Eating at a food court, fast food place or cafe
Many shopping complexes, tourist spots and railway stations will have a food court. The food court has a common dining area but is catered by different stalls each belonging to a different caterer. Food court stalls are self-serve. You walk to the stall of your choice. Then you tell the serving staff what you want from the menu present in the stall, or enter your order on a ticketing machine. Sometimes, offers and new offerings are listed on big posters just outside the entrance of the food court.
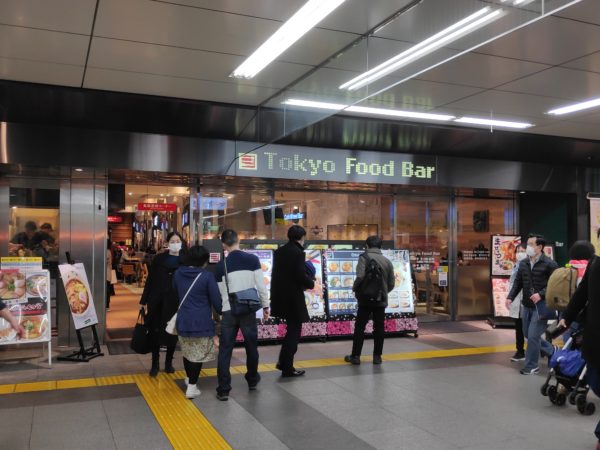
Tokyo Food Bar is a food court on the premises of the JR Akihabara railway station
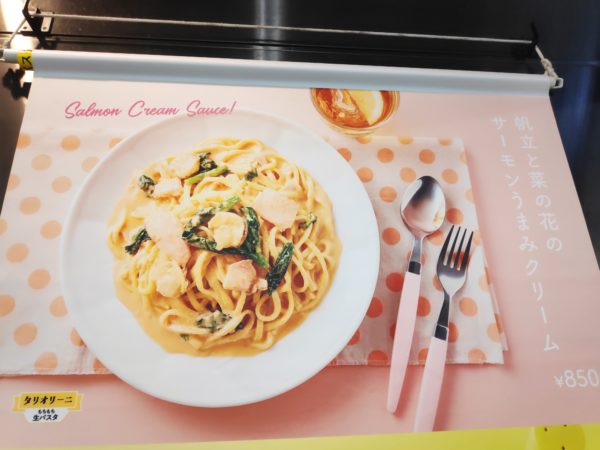
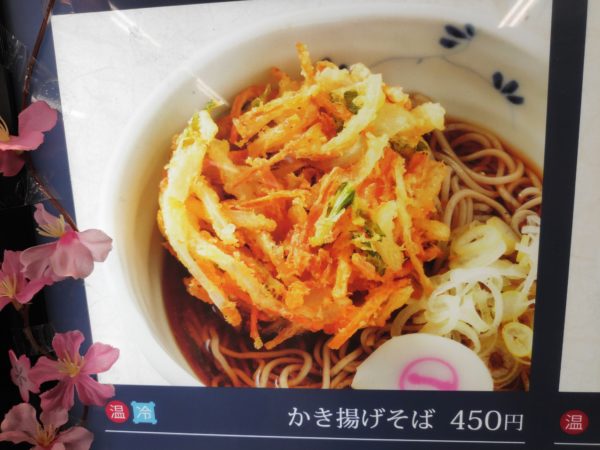
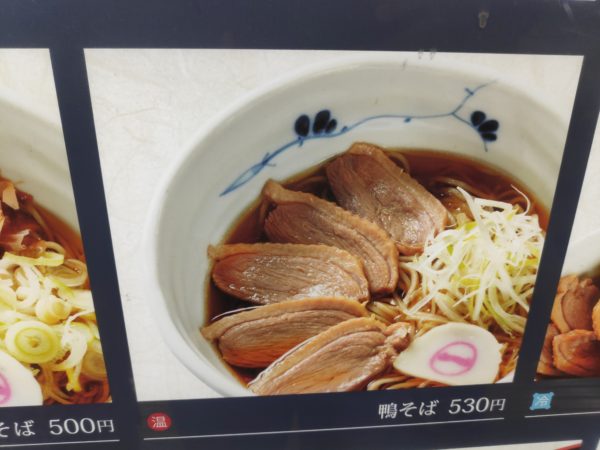
Some special offers running at the Tokyo Food Bar
In major cities, the menus and offer posters are usually in both Japanese and English. However, in places where there is no English version, vendors have plastic models of the dishes on display to the public. So you can look at the model and decide if you want that dish or not.
Cafes and fast food places are similarly self-service options with the difference that they belong to one single establishment only.
Eating at a family (traditional) restaurant
Japan has small eateries operated by a single person or a small business which they call a family restaurant. These are usually traditional with low tables and floor seating, or high tables with bench seating, or with high chairs and tables facing the chef. The menu is in Japanese usually and you will have to use Google Translate to read it in English. Traditional restaurants specialize in food indigenous to the region you are in. So they are a good place to experience the culture of the region you are visiting.
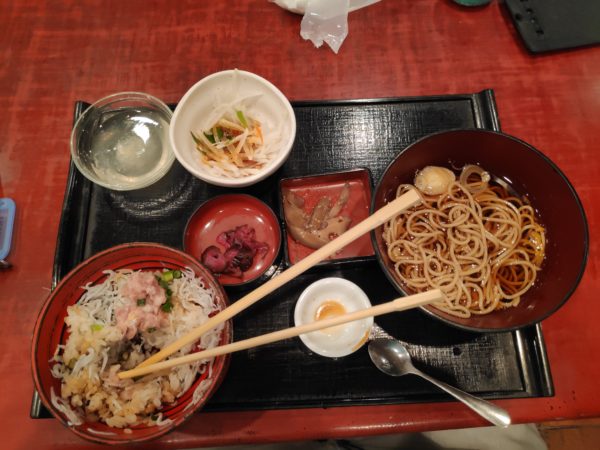
Eating at a traditional restaurant in Kamakura, Kanagawa Prefecture, Japan
Eating at upmarket restaurants
These are regular and high-end restaurants targeting the high income group and is of similar design of restaurants in other countries. Buffets and a-la-carte menus are present and they operate similar to restaurants elsewhere in the world.
Cooking your own meals
If you have a kitchen in the place you are staying, you can also opt to cook your own meals after buying the groceries yourself. This is an interesting way to discover how your life would be if you were a resident of Japan. This also makes sense if you have any strict dietary restrictions that make it hard or impossible to consume meals from convenience stores or restaurants.

Self-cooked: Fried Sea Bass with Onions

Self-cooked: Garlic Tofu
Shopping tricks
There are interesting places to shop in Japan. Also, while shopping you can save some money. Here are some tips and tricks to help you out with the same.
- If you want to buy food items or groceries for cheap, go to the Supermarket of an Aeon mall or to a Kyoto Coop. Their prices are not only below market average, but also have a wider variety of items.
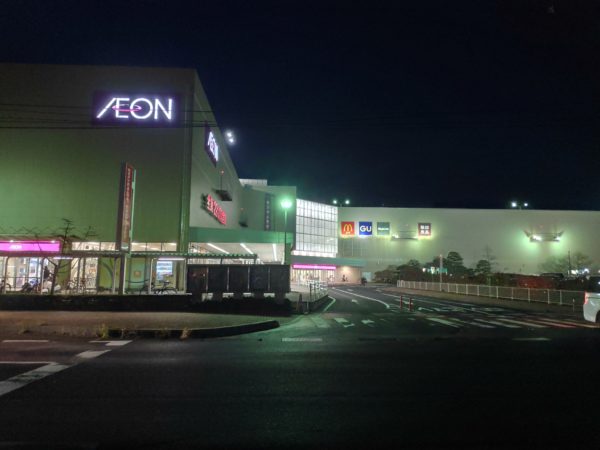
Aeon mall in Matsue City, Shimane Prefecture, Japan
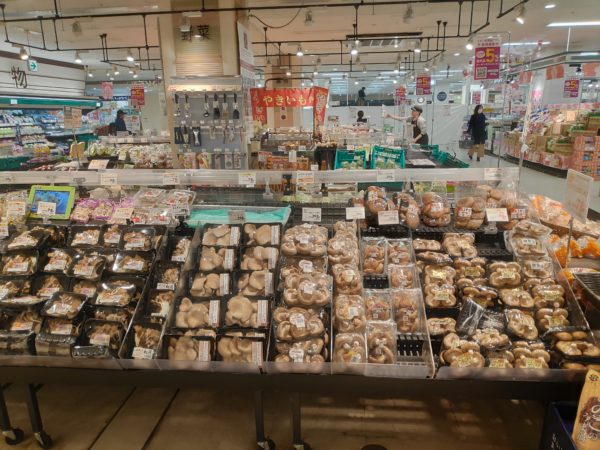
Vegetables section of the Aeon Supermarket
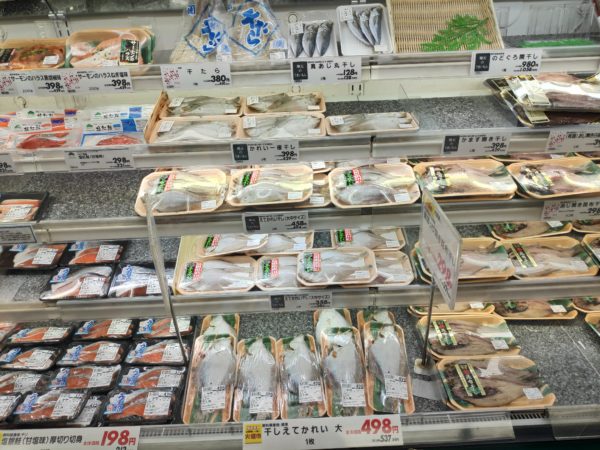
Fish section of the Aeon supermarket
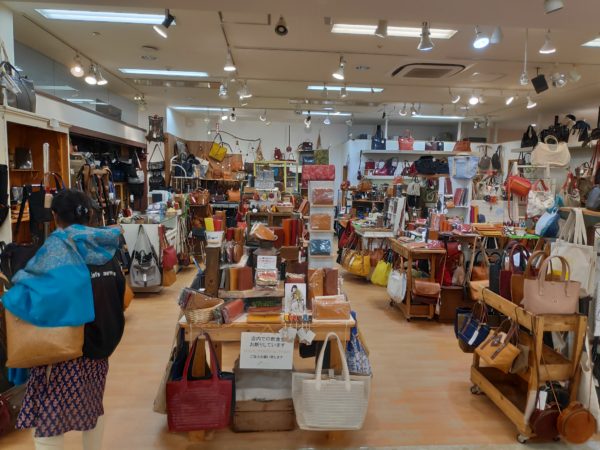
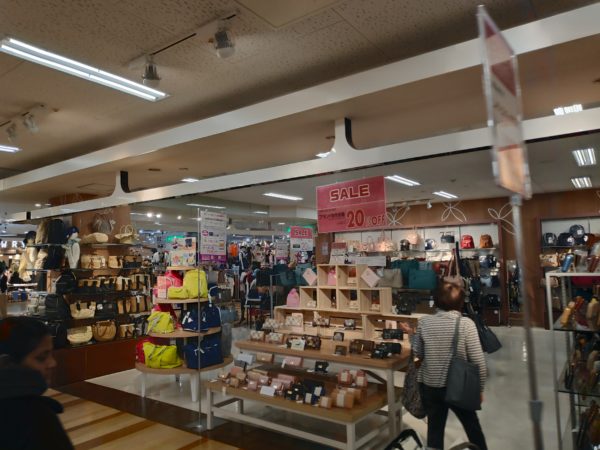
- The Aeon mall also has other shops that specialize in clothing, gifts, furniture, cosmetics, as you would expect from a multi-vendor mall.
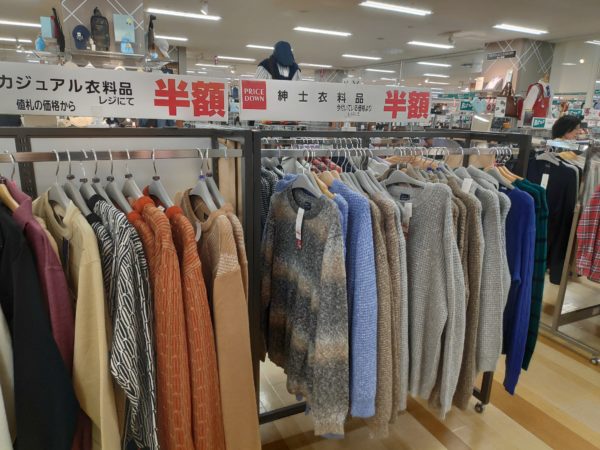
- If you want to buy new brand-name consumer electronics for cheaper, go to a BicCamera store.
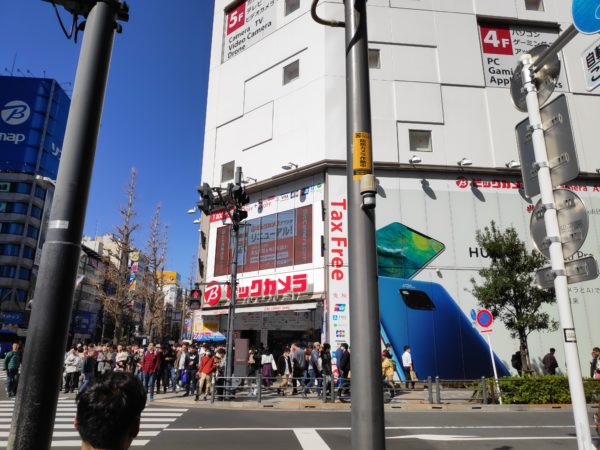
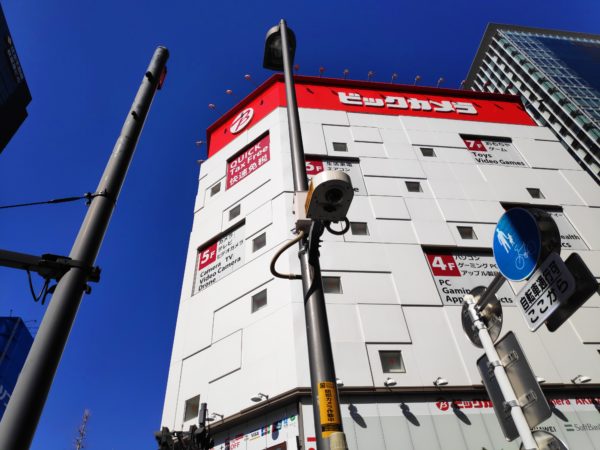
7-storied BicCamera store in Akihabara, Tokyo Prefecture, Japan
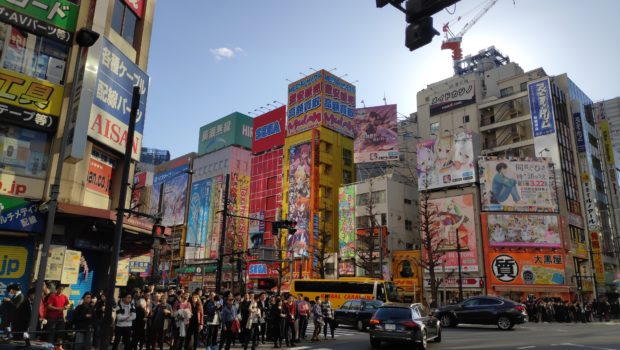
- If you want to buy computer and electronics accessories, check out the grey market shops at Akihabara in Tokyo Prefecture.
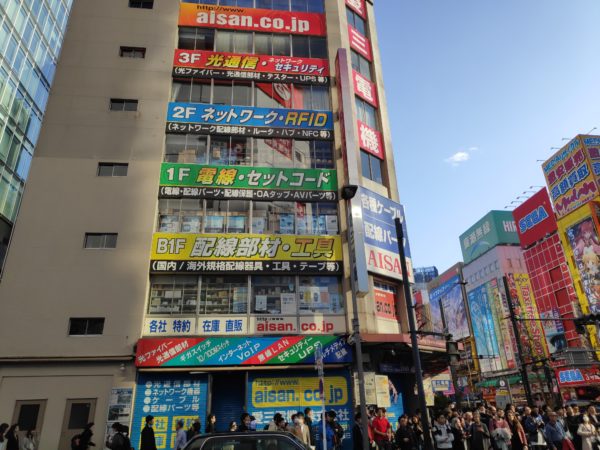
Multi-storied computer accessories shop in Akihabara
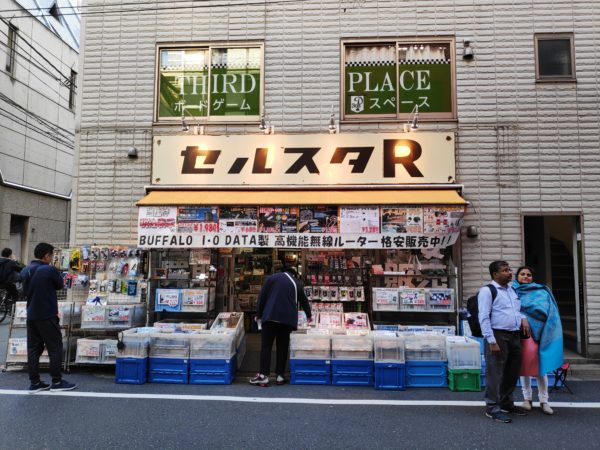
Electronics grey market shop in a small lane in Akihabara
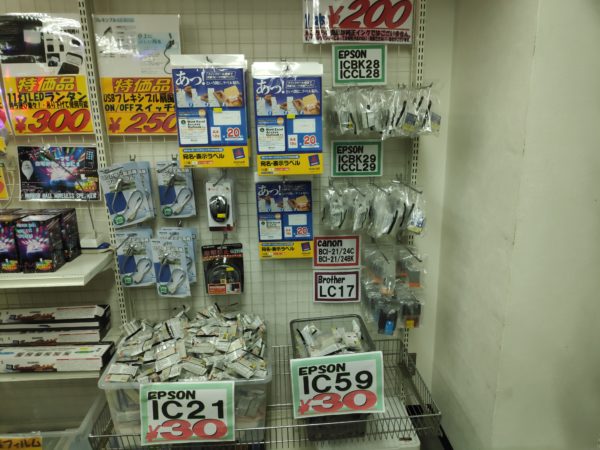
Inside of a grey market electronics accessories shop
- Looking for shampoos, soaps, detergents, cosmetics, over-the-counter medicines and other consumables for cheap? Check out Sugi Pharmacy.
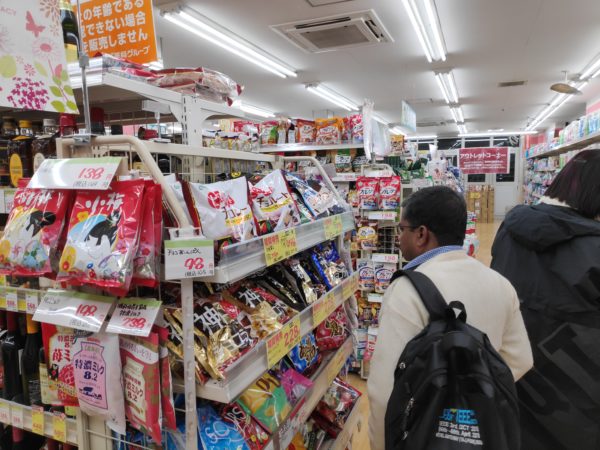
Inside of a Sugi Pharmacy in Enmachi, Kyoto
- If you want pre-built computers and laptops, check out Mouse.
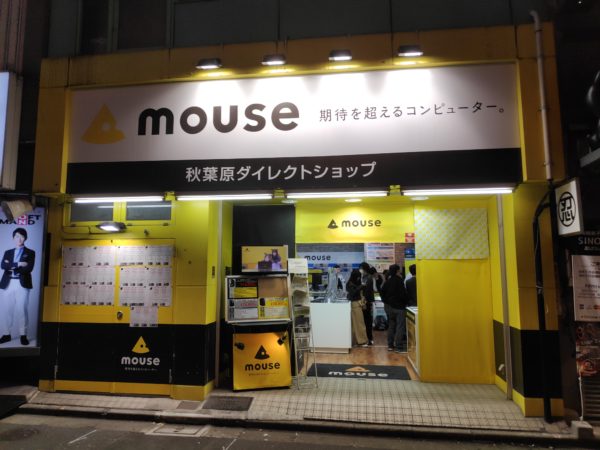
Mouse: a pre-built computer store
- Some shops qualify for the ‘tax free’ initiative. This means if you are a foreign national and on a short stay in Japan, then purchases over 5000 JPY (before tax) at a participating store are exempt from payment of the consumption tax of 10% or 8%. Make sure to present your passport while checking out at the store. The store staff will prepare a proof of purchase slip and stick it to the Japan visa page of the passport, and your final bill will be without the consumption tax. At the time of leaving Japan, you need to detach the proof of purchase slip from the passport and hand it over to the customs officials at the airport.
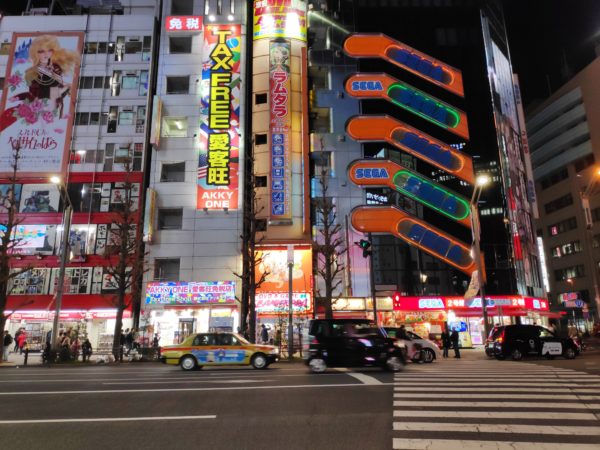
Tax-free shop in Akihabara
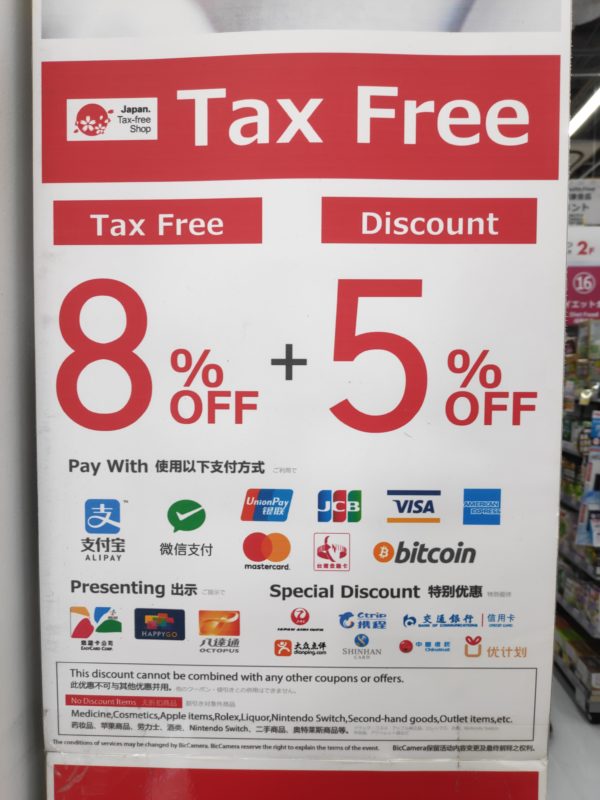
If a store is part of the tax-free initiative, it will be displayed in their offer posters
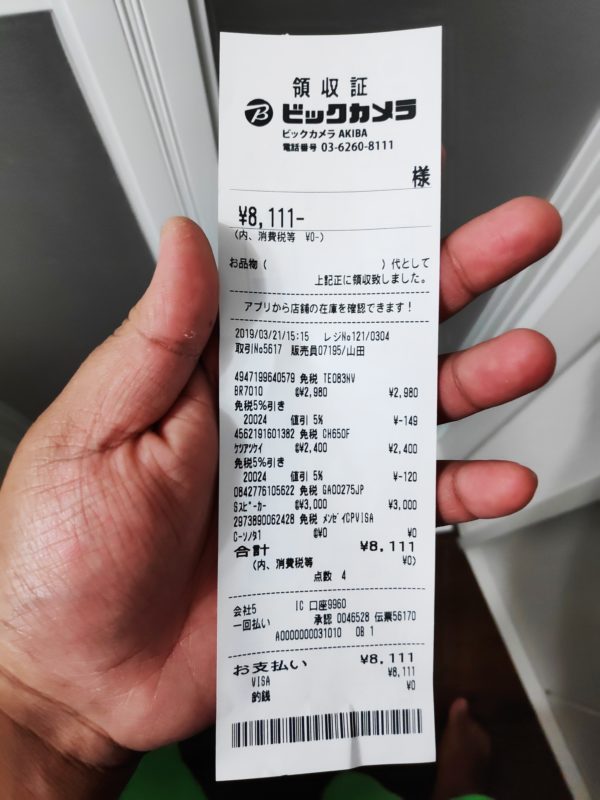
A purchase receipt from a tax-free store. Notice there is no 8% or 10% consumption tax at the end of the receipt.
Basic etiquette
In Japan, manners are a protocol. Everyone performing a social interaction, whether personal or business is expected to follow them. While the Japanese won’t be a pain in the butt if you as a foreigner do not follow them, but if you practice your manners, you will be appreciated and treated warmly.
Here are some things to keep in mind:
- Greet people by bowing when you meet them. If you are not used to bowing, you can shake hands. However, do not bow and shake hands at the same time.
- When paying for things and receiving change, always exchange money with the cashier with both hands.
- Always remove your footwear when entering a shrine, temple, or a building with carpeted or matted floors. This is not optional.
- Avoid speaking on the phone in crowded trains, crowded places and in places of religious importance. It interrupts people who are sleeping or meditating.
- Do not smoke in public places. In most public places it is illegal to smoke and you should instead use designated smoking rooms.
- Even though it is not illegal to drink alcohol on the street, it is discouraged. If you really want to drink, do so in a park, on a bench, in a beach or on a long distance train and act respectfully and do not draw attention to yourself.
- Dispose of your waste by segregating them and placing them in the correct bin in the designated dustbins. Littering is an offence.
- Tipping is not required and not encouraged in Japan. People in the Japanese hospitality industry are paid well and the service rendered is fully included in the cost. If you tip taxi drivers or waiters, it is most likely going to be rejected. In some circumstances, however, if you really want to tip for exceptional service, then you should put the cash in an envelope and hand it over to the said person with both hands like a gift.
Also, you should learn a few Japanese words and phrases to make your life easier during the trip.
- Hai. (はい。) Yes.
- Iie. (いいえ。) No.
- O-negai shimasu. (おねがいします。) Please.
- Arigatō. (ありがとう。) Thank you.
- Dōitashimashite. (どういたしまして。) You’re welcome.
- Sumimasen. (すみません。) Excuse me.
- Gomennasai. (ごめんなさい。) I am sorry.
- Ohayō gozaimasu. (おはようございます。) Good morning.
- Konbanwa. (こんばんは。) Good evening.
- O-yasumi nasai. (おやすみなさい。) Good night.
If you want to learn more Japanese phrases, there are plenty of resources on the Internet. And you can use apps like Babbel or Duolingo to learn Japanese if you are interested in the language itself.
Departing from Japan
You have had a wonderful trip and are finally leaving the land of the rising Sun. Before you depart from Japanese soil, you need to sort out a few things. I will be discussing them in this section.
Gather your “tax free” shopping bills in one place
If you have purchased any goods under the “tax free” initiative, collect the bills and keep them in one place. Also, if you have purchased any high value goods like phones, laptops or expensive cosmetics, remember to put them in the hand baggage before leaving for the airport. The customs officials will verify the bills and some of the goods when you drop off the proof of purchase slip at the airport.
Return your pocket WiFi router you have rented
If you rented a pocket WiFi LTE router at the start of the trip, you need to return it before leaving Japan. There should be pre-paid return envelope with the kit containing the router. You need to put the router and its accessories into the bag, and then put the bag into the envelope. Then you need to drop the envelope into a Japan Post mail box. Japan Post mail boxes are present in many train stations as well as in the departure terminals of Narita, Haneda and Kansai airports before the security check gate.
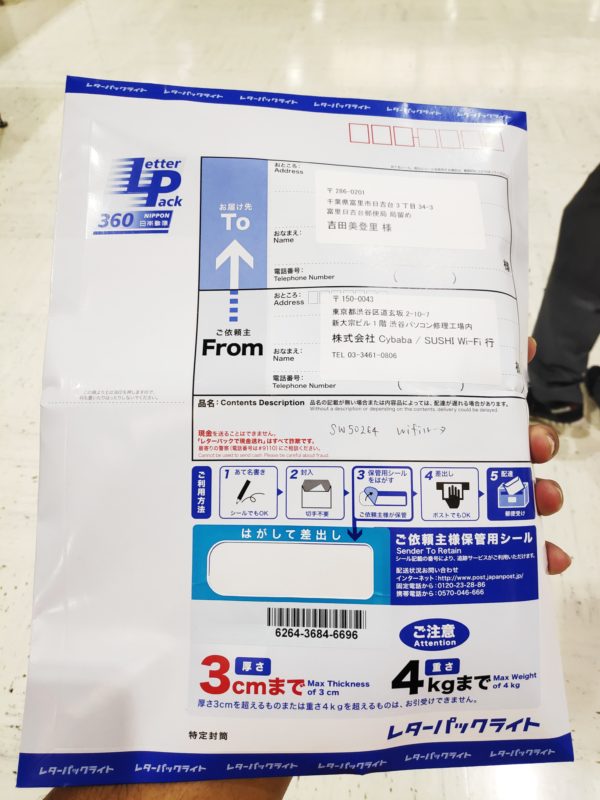
Returning Sushi Wi-Fi by Post
Return your contactless fare card and get back the security deposit
If you have followed my instructions, you would have acquired a contactless fare card (IC card) for use on public transport. Before you leave Japan, you should empty the balance on it. If you are unable to empty it by travelling, then you can use it to buy food or other goods. Once the card has no balance left, you can return the card at any ticketing machines in a train station or at the airport that accepts card returns. Once you insert the card into the machine, you will be returned 500 JPY in coins. If you do not empty the balance on your card before returning, depending on the card (such as SUICA), you will be charged 300 JPY as unload fee and the amount returned to you will be 500 JPY plus the balance on the card minus 300 JPY.
Do last minute shopping at the airport mall
If you want to carry mementos or gifts for your friends and family from Japan but haven’t purchased during your trip, you can purchase them at the airport mall in the departure terminal before the security check gates. The prices are at par with prices outside the airport, while still being duty free. Make sure you complete all your purchases here before crossing the security check. The shops beyond the the security check gate have highly inflated “airport” prices.
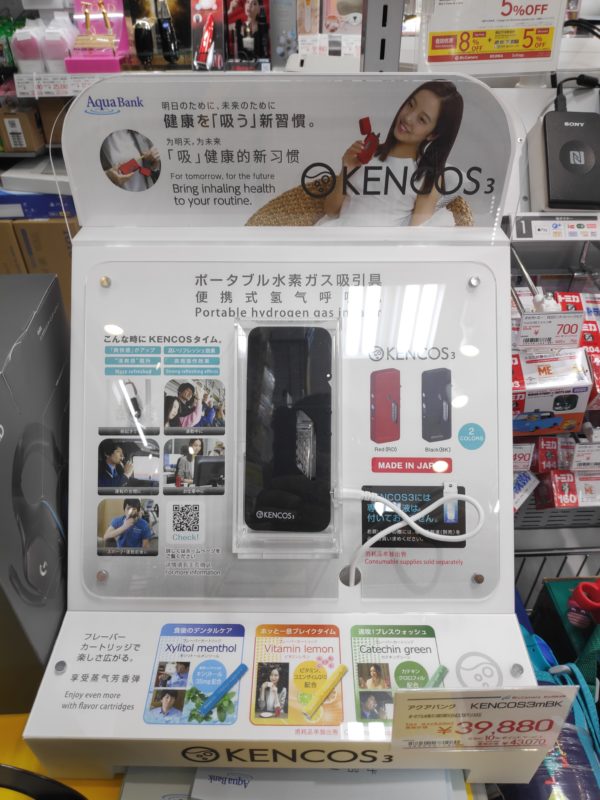
Products on display in Narita Airport shopping mall
Deposit the “tax free” proof of purchase slip
After you complete the previous activities, you should get boarding passes for your departure from Japan, and then cross the airport security check gates. While going to the correct gate to board your flight, you will come across the Japanese customs officials. There, show your passport and your tax free purchase bills. The customs officials may or may not ask to show your goods to them if they are high value. They are gentle and cooperative so the process will be friction-free and will not take long. Once done, separate the tax-free proof of purchase that the store had stuck to your passport with tape and drop it in the designated box.
With everything complete, go ahead to the correct gate and wait for boarding your flight exiting Japan.
Conclusion
In this guide, I have explained how to travel and explore Japan making the best use of technology. Japan’s conventions may be daunting for a first timer, but with this guide itself and the recommended resources and tips, you should be able to zip in, across and out of Japan like eating a piece of cake. I have purposefully left out the choice of accommodation and places to travel because it is out of the scope of the article. I leave you to decide them on your own to customize your trip and make it memorable in your own way. Do you have any other Japan travel tips to share? Please let us know in the comments below.

