It is hard to find a video editing software that is both affordable and easy to use by beginners. Sure there are plenty of offerings out there, but most of the free options either lack decent editing features or are low on built in libraries. If that’s the case for you, then we might have just found the ideal solution for you.
For those looking at a fast, affordable but easy to use video editing suite, Filmora 9 could be the ideal tool for many beginners that are looking to get acquainted with video editing but not get inundated with features that they wont use or don’t need.
So naturally, when we had to give Filmora a run, we were very excited as we had the most basic skills when it came to video editing tools. Regardless to say that we were pleasantly surprised.
Filmora Overview
1. Interface
If you have ever seen the layout of a professional video editing app like Adobe Premier Pro, Filmora will feel a bit less cluttered in comparison. That is because Filmora isn’t necessarily trying to compete with the with these industry heavy hits, but rather pave the way for beginners and semi professionals to get started with video editing. This is actually not a negative in our view, as most video editing software out there, is geared heavily towards professional usage and getting used to them can have a steep learning curve.
That being said, the Filmora Pro does exist for people that want a more purpose built tool for their video editing projects. It offers a lot more functionality than Filmora 9 and could potentially act as an upgrade path from Filmora 9, if they ever have to make a transition.
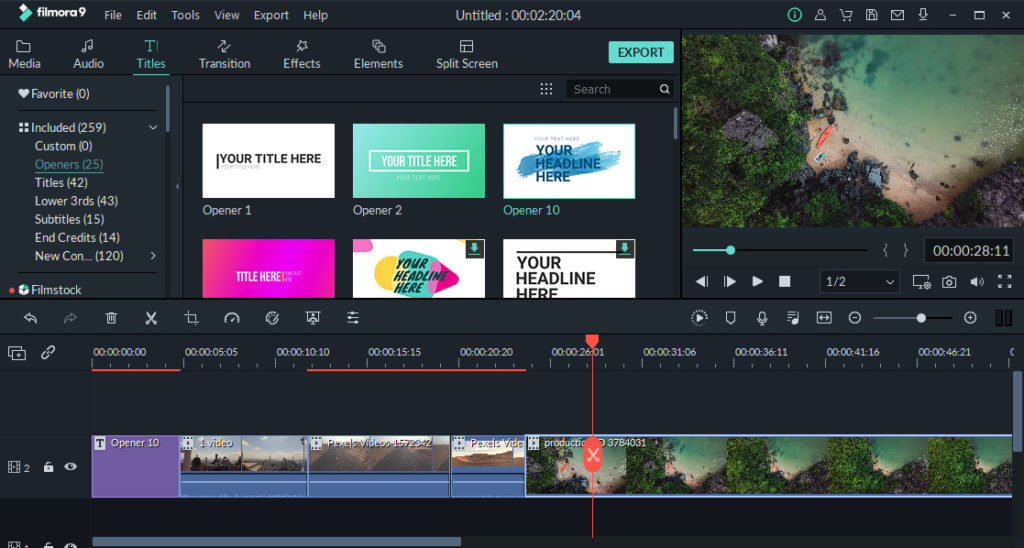
Coming back to Filmora 9, here is a breakdown of the interface.
The interface is primarily divided into three main sections –
- Media Library
- Timeline
- Media Preview
At first glance, the you’d be mistaken for taking it as a hybrid of some other apps on the market, but nonetheless, it is intuitive and neatly laid out.
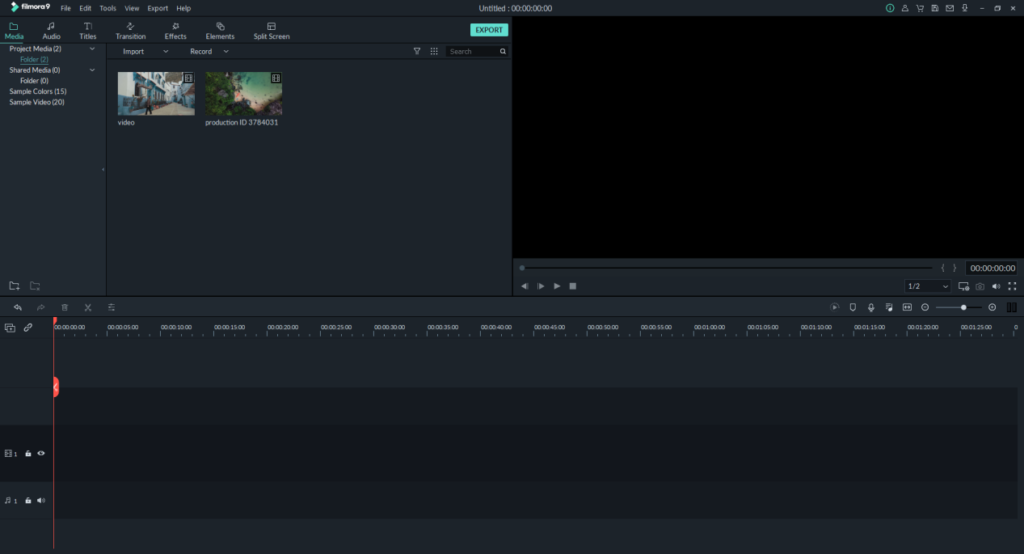
1.1 Downloadable media
Filmora also has a respectable library of Stock footage, audio, effects, Images and more that can be accessed from the main interface itself. The library can be further expanded with a ‘Filmstocks’ subscription (more on this below). The media is free to use and requires no additional purchase, but you’ll need an internet connection to access it, since you need to download it first. The default options are pretty neat and you can get some amazing results, if you know how to use it.

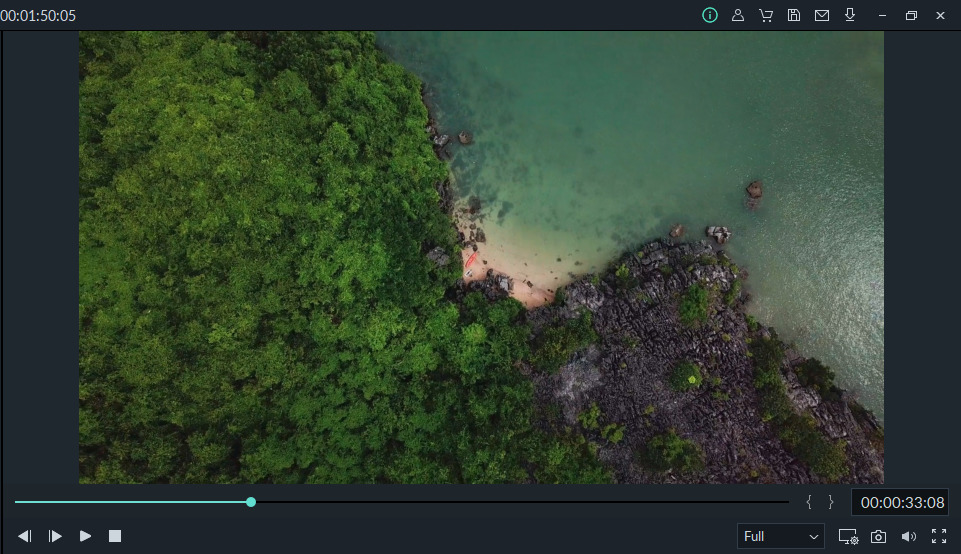
1.2 Media Preview Pane
The media preview pane is pretty basic. All the necessary preview options like Zoom, crop, preview, screenshot, etc that are present in the interface, although we wouldn’t have mind a few more quick toggles for frequently accessed options or features. Overall, it is a standard affair through and through.
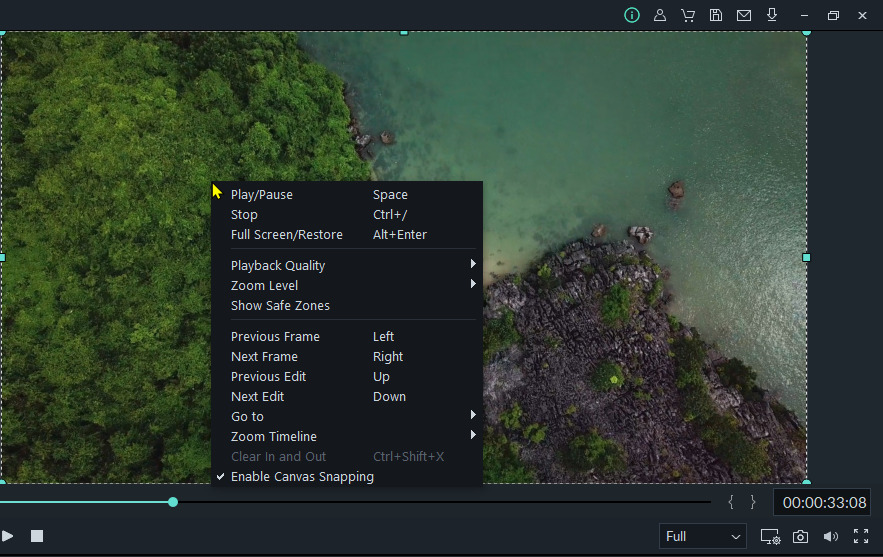
More options can be summoned by left clicking anywhere on the preview pane. These mostly include playback and preview options.
1.3 Media Timeline
The timeline on the Filmora 9 can be considered on par with most of the industry leading software out there. If you have used any of the previous Filmora versions, then this would instantly feel like an upgrade, since the timeline options on the previous versions were fairly limited.
Adding video clips, texts or audio is simply a matter of dragging and dropping and even we didn’t have to think too much to see how it all worked. Most of the advanced options for colour corrections, cropping, video splitting are neatly laid out on top of the timeline and more advanced options can be accessed from the tools menu on the top.

2. Exploring the Editing Features
Now, we previously said that Filmora might be more of a beginners tool, but that doesn’t mean that it skimps on features, far from it actually. Despite being aimed towards more the more inexperienced crowd, anyone using it can produce some amazing results without a lot of effort.
2.1 Colour Adjustments
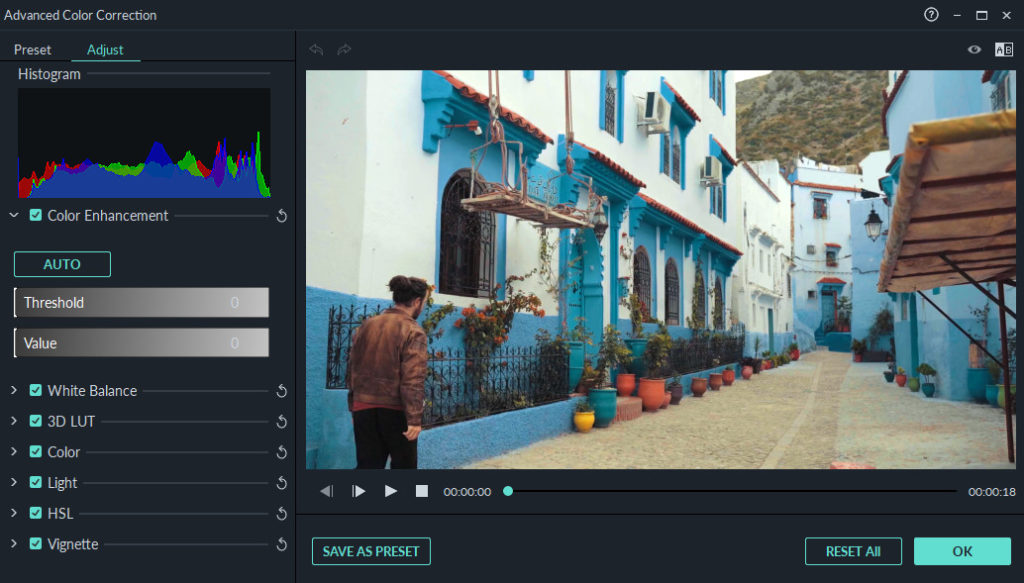
We were pleasantly taken in by the colour adjustments that were offered in the Filmora 9 package. You have adjustments to tweak the White Balance, LUT, Shadows, Vignette, Colour, Light and so on. Any adjustments made to the video are previewed in real time alongside the adjustment options.
If you don’t necessarily want to tweak those options individually, then it also gives you the option to pick a few presets, which also includes adjustment pallet’s from shows such as Game of Thrones, House of Cards, Mission Impossible, Harry Potter, etc. We were amazed at the apparent ease at which you can get results by using these professional presets.
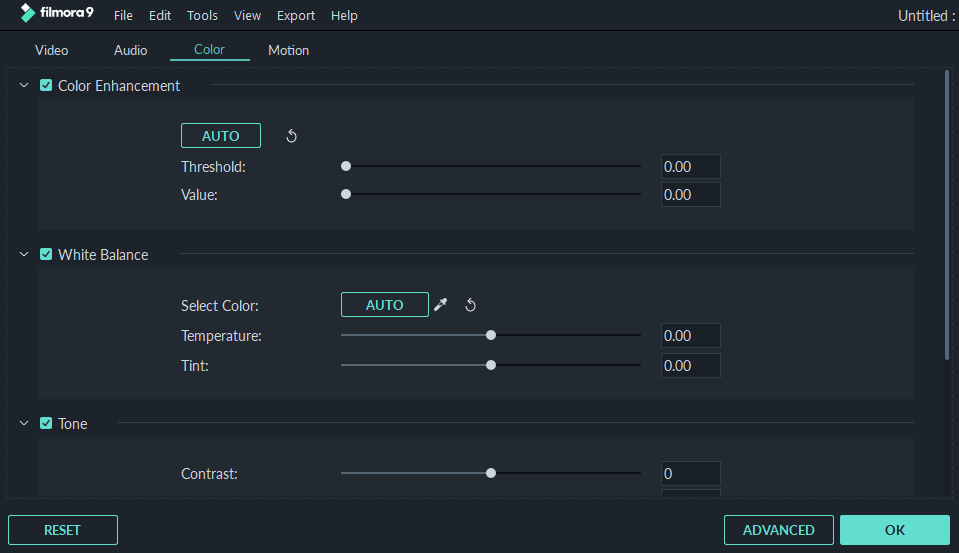
There is also a quick menu that can be summoned when you directly double click on the video, which gives you some quick options to adjust certain parameters on the fly. However it doesn’t let you edit all the options, for which you still need to bring up the editing menu.
2.2 Audio Adjustments
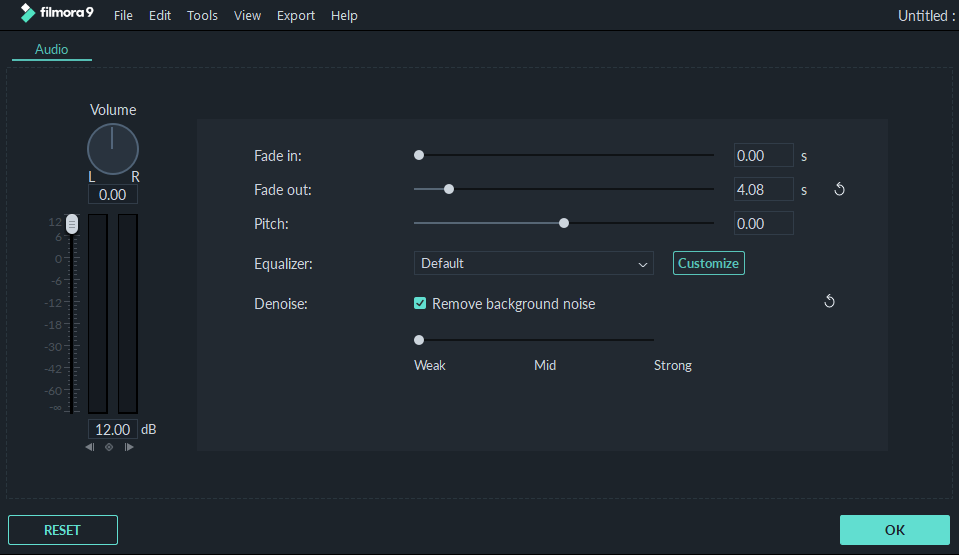
While the colour adjustments are great, the same cannot be said for audio. This is one area where you might feel like more options could’ve been integrated. However it does okay for the basics. There are your usual options for adjusting volume, L/R channels, Fade EQ and Noise remover. Each of the provided options work perfectly, however for media clips with severe noise (hissing), it does fail to remove all of it, as you can still hear some of it in the background.
We recommend using a 3rd party tool like Audacity to do most of the audio editing, then import it over to for syncing with the video.
2.3 Text and Animations
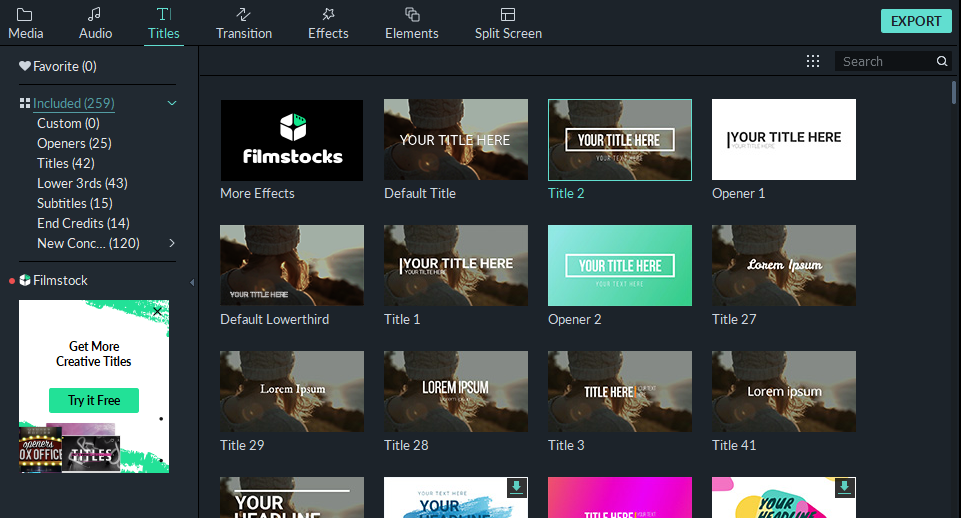
By default, you have a lot of presets and tweaking options on how you want to customize the video with text and its accompanying animations. The options can be summoned Titles menu on the Top left of the app.
There are plenty of downloadable presets that comes included with the package. You can get more from Filmstocks. The basic package includes 259 text presets for different positions and scenes. You can also add subtitles, end credits and so on.
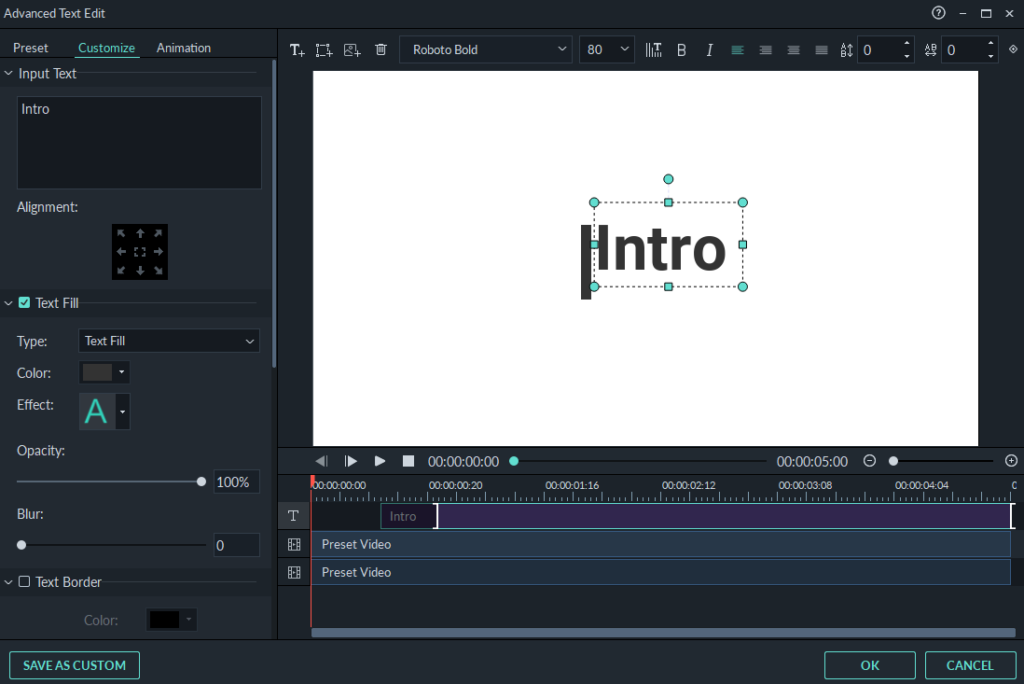
Additionally any chosen text preset can be further customized with animations and colors. You can also create your own preset and save it for later use.
The one downside that we found was that added text needs to be adjusted within the text editing field and any positioning change cannot be simply done from the preview section.
To sum up its editing features, there is definitely a decent selection and it is all very easy to use. However a few more options to have finer control over the whole editing process would’ve gone a long way.
3. Timeline
The timeline on this app is amazing. It is incredibly intuitive and most options are accessible It offers upto 100 video and audio tracks to be included into a project. The scene detection is also remarkable as it automatically segments videos into manageable chunks for ease of working. Working with the timeline is incredibly easy. Most of it basically a drag and drop affair. Furthermore, all effects and other visual tweaks are equally as easy to apply. You will simply require an internet connection to download those. Overall, it is incredibly easy, and if you are stuck at any point, then their website does have a complete guide on how to use the timeline on the Filmora website.
4. Pros and Cons
Here is what we like about Filmora 9 – Pros
- Exceedingly easy to use, even for beginners.
- Generous amount of added presets, but most of it needs to be downloaded.
- Filmstocks is a great platform to get effects, stock photos, videos and other curated content. IT does require a subscription or purchasing.
- The interface is clean and intuitive, everything is nicely laid out.
- The timeline is a massive improvement over the previous versions.
- Available for both Mac And Windows.
- The Unlimited version that cost $99, allows you to use 1000+ video effects for 1 year without any other subscription.
- Overall decent performance. Can use the system GPU for faster processing.
Here is what could be better – Cons
- It doesn’t offer finer control over the output. The pro version is required for that.
- Prices could’ve been lower, considering that the pro version doesn’t cost that much more and offers much better functionality and control over the output.
- The audio editing features are very basic.
- Some options are hidden and not easily accessible.
5. Filmstocks
So we have mentioned Filmstocks quite a lot, so let’s talk about it a bit more.
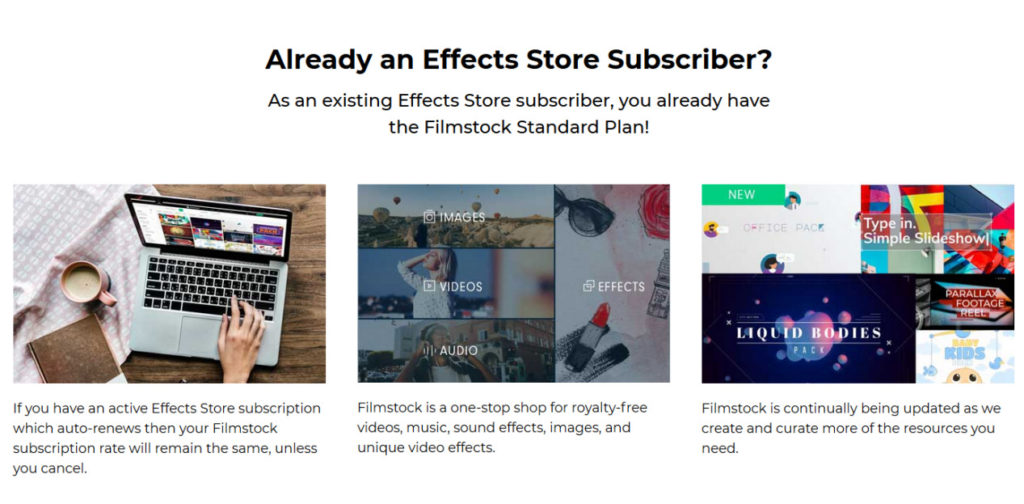
Filmstocks can be a hub for video editors or artists from where they can get curated industry leading effects, stock footage, images and more. While it does require purchasing or a subscription, the amount of content that you get is well justified for what you are paying.
Filmstocks is basically the previous “Effects Store”, but now it has even more content and is made accessible to 3rd parties for use in other applications. Furthermore, if you were already a subscriber of the effects store, then you are automatically entitled for the standard subscription plan for Filmstocks. Besides paid content, there is also a decent amount of free content that is available for downloading and using, royalty free of course.
Wrapping it Up
If you want to get into video editing, but aren’t willing to spend a fortune as a beginner, then Filmora might be a decent option for you. It is exceedingly easy to use and we cannot stress it enough. This could also appeal to people that want to go into YouTube video production, as there are all the necessary tools in the app, but not enough to make it complicated.
Overall, we were quite impressed with what it offers as a basic no-frills video editor. The huge amount of downloadable effects and filters make it all the more appealing. The only real gripe being the prices, which could’ve been lower.