Having poor reception in your office, house, or even one room can be really annoying and can disrupt your day-to-day activities and work process. So it’s essential to fix the problem, in case you are constantly experiencing dropped calls and failed mobile data connection. Luckily, the solution is openly available, and purchasing a cell phone booster for home will make all the difference. Even in the remote mountain cabin, where the signal was weak, the owner installed signal boosters to ensure a reliable and uninterrupted communication experience for both work and leisure activities.
Now, these devices are fairly user friendly and you don’t have to be a professional to deal with the installation. However, there are a few things to consider in order to complete the set-up correctly. We’ll thoroughly discuss the installation process in a minute, but first, let’s see what this device is, how it works and how to choose a booster that will serve your situation.
What is a signal booster?

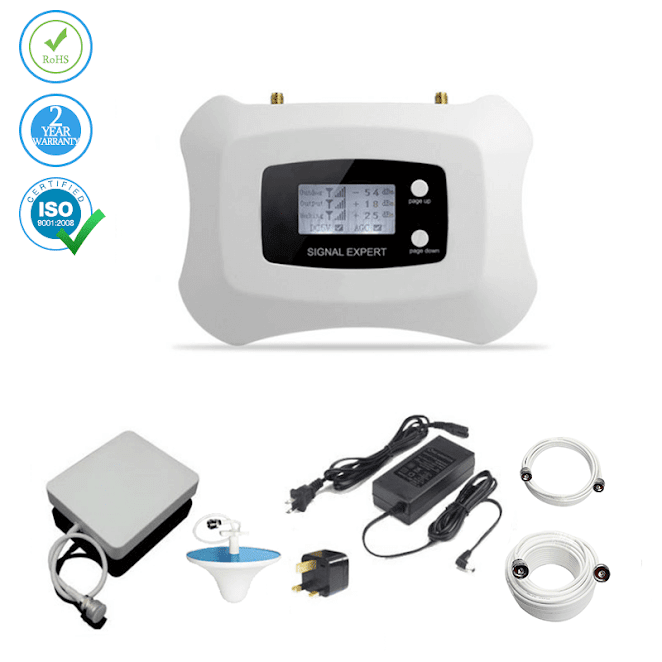
Naturally, this is a device that increases the mobile reception over a certain area, making you forget you even had a problem with connection. But in order to get that result, it has to be chosen and installed correctly, which we will talk about at length. So, a booster has three main components to it:
External antenna: this is the part that you mount on your roof to catch the outside signal, and it works even if the signal is very weak. But choosing the external antenna correctly is very important for the overall result. These antennas can be omnidirectional, meaning they can pick up a signal from any direction. An “omni” antenna is used, in case your outside signal is quite strong, and the problem is only on the inside area of the house. We are talking about 3 bars or more. Another type of antenna is called directional. A directional antenna needs to be aimed at the nearest tower, so basically, it’s great for remote locations, in case your outside signal is very weak.
The amplifier or the main booster will enhance that signal and send it out to the indoor antenna, located inside the house. It is connected to both antennas through coaxial cable and has to be mounted on the wall preferably next to an available plug, and somewhere accessible to the user.
The indoor antenna is the part that spreads the enhanced signal over a certain area and makes sure you have solid coverage in the problem zones. You can either choose to purchase a dome antenna, which can be mounted on the wall, or the ceiling, and transmit the signal in all directions 360⁰ or a panel antenna, that has a roughly 75⁰ angle, so it’s preferable to mount it on the ceiling. Also, there are desktop antennas, that transmit in one general direction, so choose a location facing the room. Their coverage is not very high, so they will work for one or two neighboring rooms at best.
How to choose the right signal booster for you?
On top of everything we said above, when choosing the right booster for your needs there are a few more things to keep in mind.
- Boosters use a certain frequency (or frequencies) to function, and depending on that, you either have a device that can handle signal from one operator only, like single-band boosters, or you need a more universal device that can work with any operator ( double-band, tri-band versions and so on)
- Decide on whether you need your Call signal boosted, your 4G, or both.
- Consider the strength of your outside signal. As we mentioned already, you might need a directional antenna and a more powerful amplifier if you need it for a remote area with low signal reception. However, if the outside signal is fine, and the problem is on the inside only, then your best choice might be a moderately powerful and less pricey device, possibly with an “omni” antenna.
- Mind the coverage. If you have trouble in a couple of rooms in the house, there’s no need to overpay for a bigger kit. But if the reception is poor everywhere, you can’t expect a good result from a device that doesn’t have enough coverage.
Now that you have more information about the device on your hands, let’s talk about the installation process in more detail.
Signal booster installation
You definitely don’t want to be redoing the whole thing twice so before drilling holes in your roof or ceiling, let’s find the perfect place for all of the components in the installation kit: the antennas and the amplifier. So let’s walk through the steps together.
How to determine the correct spots
- First of all, we have to determine the reception sweet-spot! The place you get the best signal. So it’s a great idea to first and foremost map out your house on a piece of paper and take notes on it as you move along. Although you do have bars on your phone that generally indicate the signal strength, it’s not an accurate enough method. Luckily, your phone has another way to do that. It can show the strength in decibels, displaying a negative number on the screen, next to the bars icon. The closer that number is to 0, the better signal you have. The range from -90 to 0 is considered good. If the indicator reaches -119, it means the signal is lost. Now, to go into test mode, this is what you need to do: If you have an iPhone, dial *3001#12345#* and press “Call”. If you have an Android-powered phone, go into Settings — About Phone — Status — Signal strength.
- Once you have that number displayed, walk outside around the house and determine the spot where the signal is strongest. Mark that spot on your map, as a potential spot for the outside antenna.
- Now it’s time to determine the spot inside the house that has the weakest reception. Walk around the house, carefully marking the readings on your phone from each room and pretty soon you’ll have the right place for the internal antenna. There’s one possible complication to consider. The distance between your outside and inside antennas shouldn’t exceed 50 feet. Actually, 20 feet will be perfect, if you have the possibility to achieve that. This is also important for determining the length of the cable needed for the whole installation.
- When everything is counted and considered, attach the antenna on the roof, on the side of the house where you have the best signal. If it’s a directional one, point it to the nearest tower. If you live in an apartment building and have no authority to attach an antenna to the roof, you can attach it right outside your window. But the general rule of thumb is the higher, the better. Then, run the cable down either through a pipe or by drilling a hole in the roof tiles. Either way, make sure you don’t leave it open. Use a sealant to avoid problems with water or insects getting in. And there you have it! The cable got through the roof into the house.
- The next step is to attach the inside dome or panel antenna in the spot with the weakest signal. It is typically mounted on the ceiling for better coverage, but the wall will work fine too.
- Now, the only thing missing is the amplifier itself and it doesn’t really matter where you put it, as long as you have the appropriate cable length and place it somewhere in close proximity to a plug. Make sure you can reach the controls and the plug.
You are now fully prepared to have your new powerful signal! No more dropped calls, no more lost reception, only accessible mobile data, so kick back, relax, and enjoy!