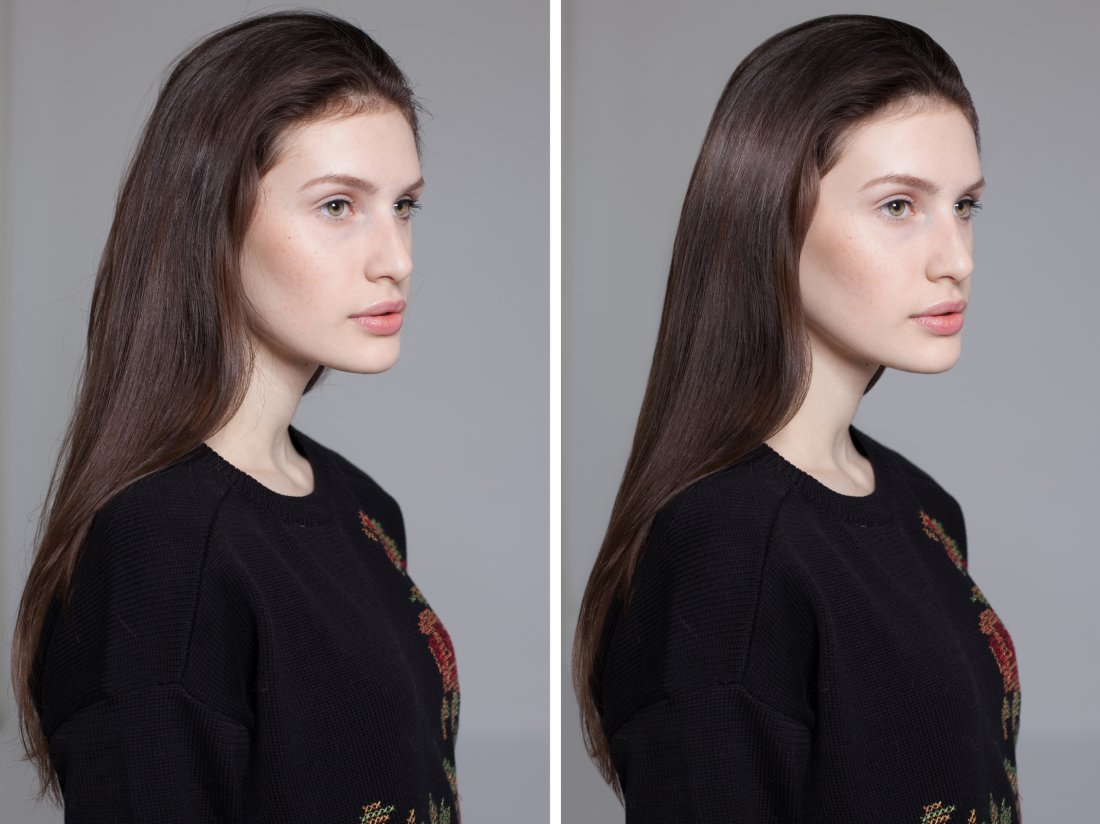
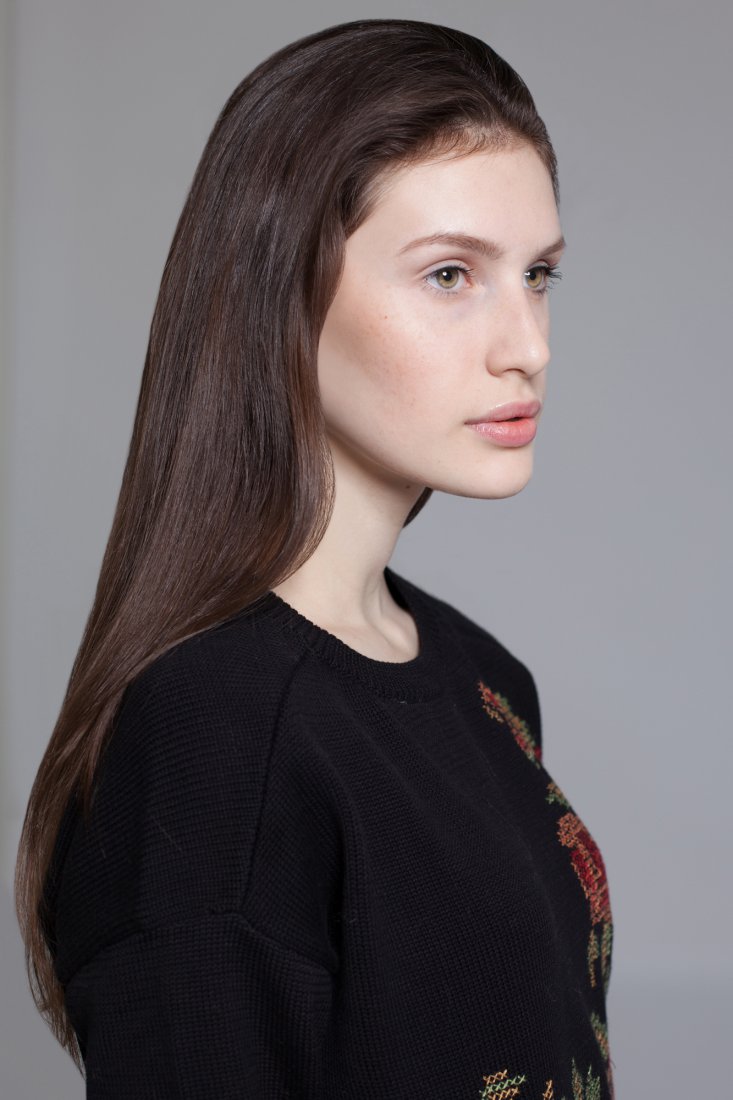
Hair retouching is very important in beauty and fashion photography, as every detail in these photos should be perfect. If you did not have a hair stylist to prepare for shooting, or the wind tore the curls, you can always fix this by processing photos in Photoshop.
This lesson will take about 30-60 minutes to complete, depending on your work skills in Photoshop and the complexity of the photo itself. Before starting the lesson, we recommend you to read it first, and then proceed with its implementation. Thus, you will know what kind of result you need to achieve at one or another step. If you need another kind of photo retouching as dodge & burn, skin airbrushing, creative photo manipulations, change eyes or hair color, you can always address Fix The Photo and outsource your photos for professional adjustments.
There are many tools and methods for professional retouching, with which you can fix hair in the photo. The method that we are considering here is quite simple to master; it does not take much time and allows us to achieve impressive results. So, let’s see how to achieve this effect:
Step 1. Create a new layer on the original image. To do this, click on the “Crate new layer” icon in the “Layer” panel.

Step 2. In the first stage we remove the hairs from the background using the “Clone Stamp” tool. The hardness of the brush is best to left at a minimum, so that the background remains uniform, without stains. In the toolbar, set the following settings: Opacity 100%, Flow 100%, “Sample“, select “All Layers“.

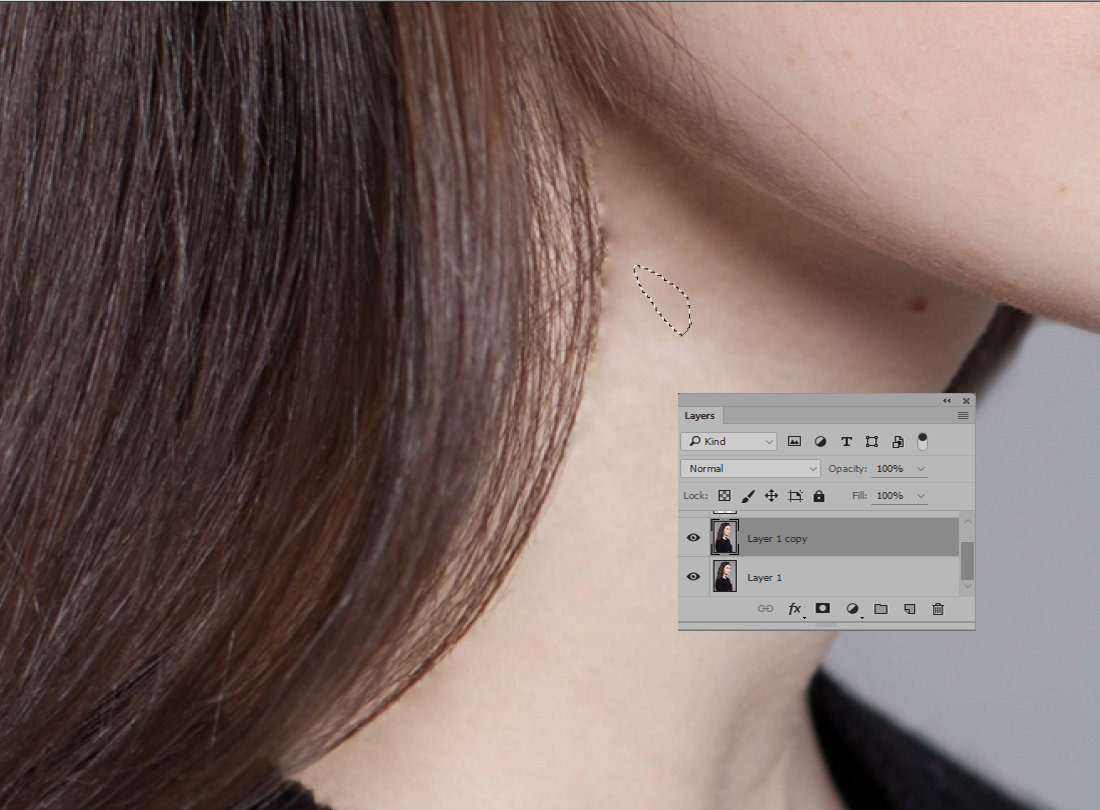
Step 3. In the second stage, go to the main layer (Background) and duplicate it: Layers -> Duplicate Layer. On this layer we will remove the hairs from the face and neck using the tool “Patch Tool“. Carefully and accurate we remove hair, until the following result is achieved:
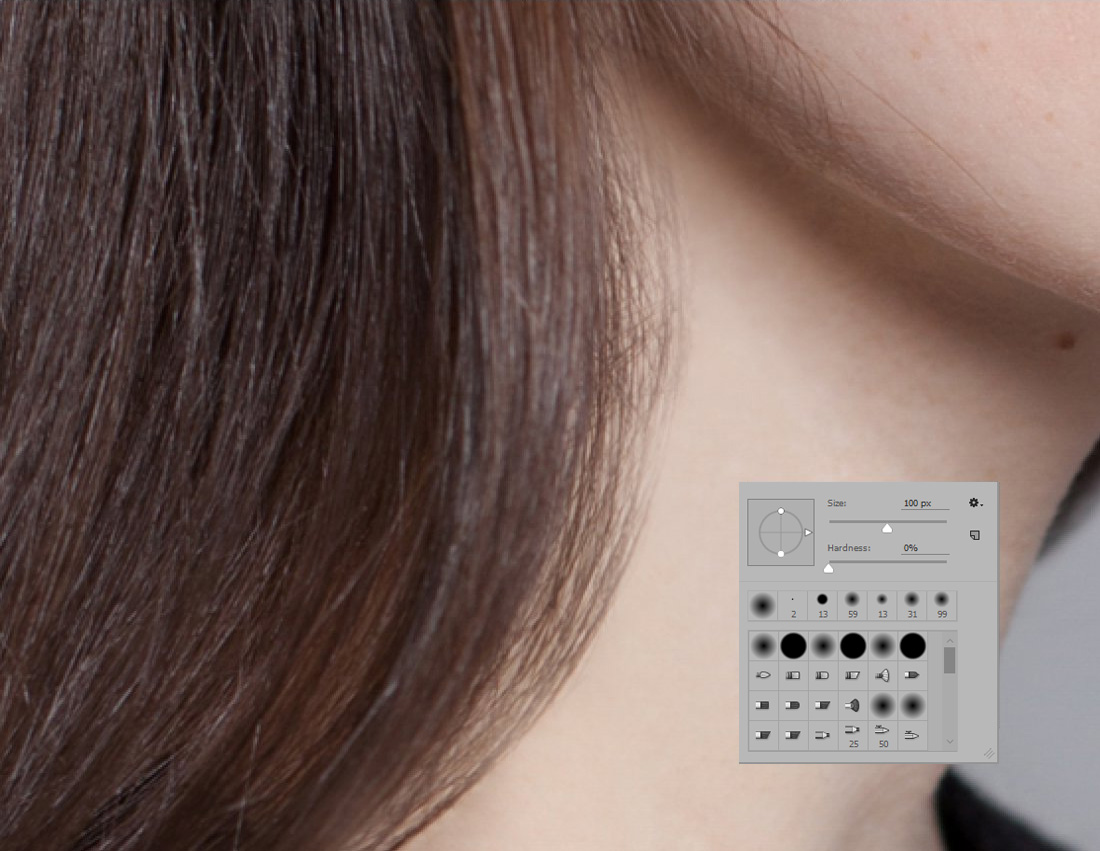
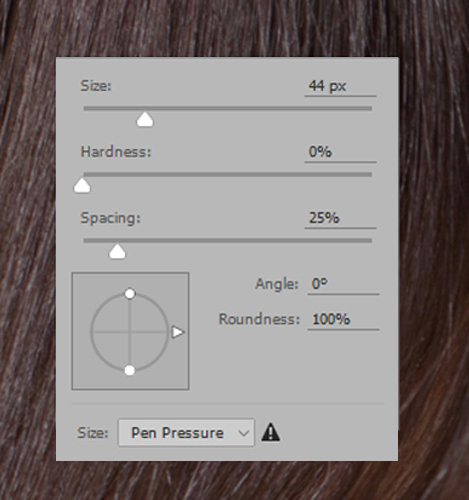
Step 4. Create a new layer “Layer 2”. With the help of “Clone Stamp” we remove the hairs and flaws which are left after the previous stage of processing. Hardness: 0%, Flow: 50-60%.

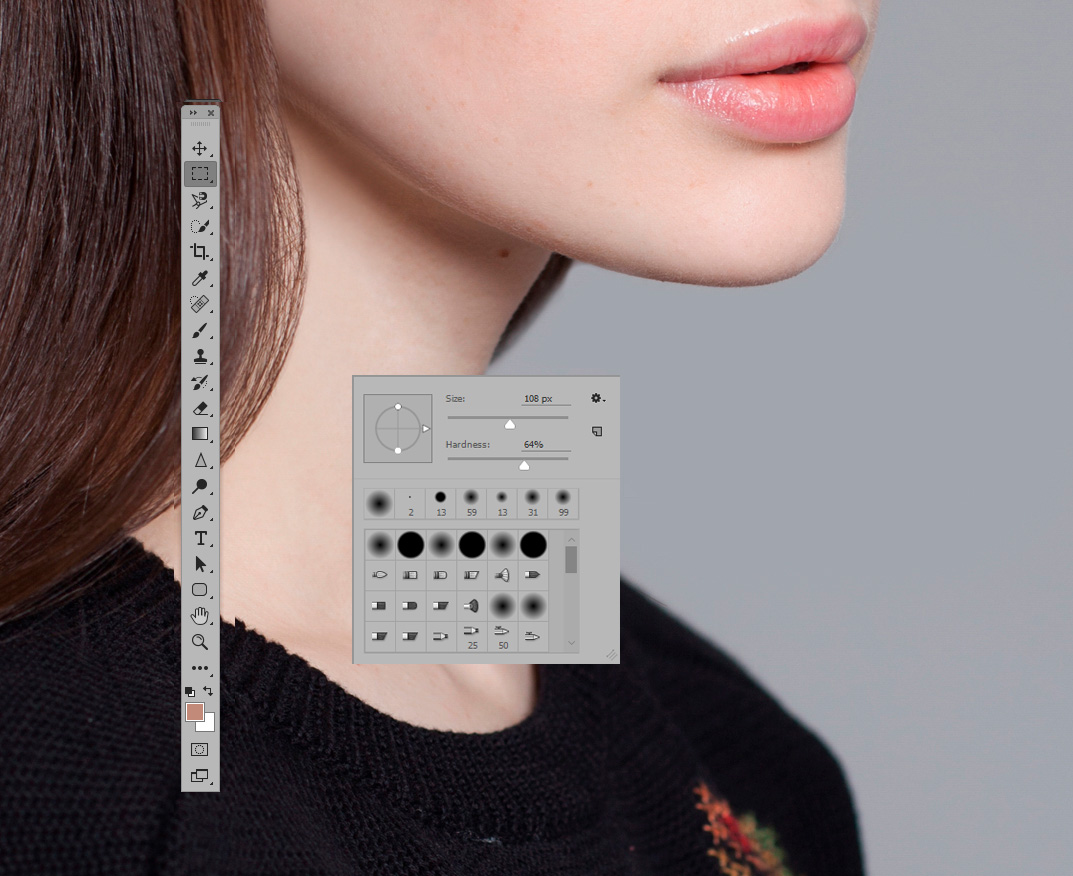
Step 5. At the next stage, we trim the edges of the hairstyle. To do this, we use the “Eraser Tool“; Opacity and Flow 90-100%. The hardness of the brush depends on the quality of your image, we used 64%. First, remove the unwanted hair on layer 1, and then on the layer 2.
Step 6. Short hairs on the forehead line are usually also removed during retouching, but in this case it would look too unnatural. So we just reduce their brightness with the help of “Stamp“. Opacity: 100%, Flow: 22%. We carry out this procedure on a new layer (3).

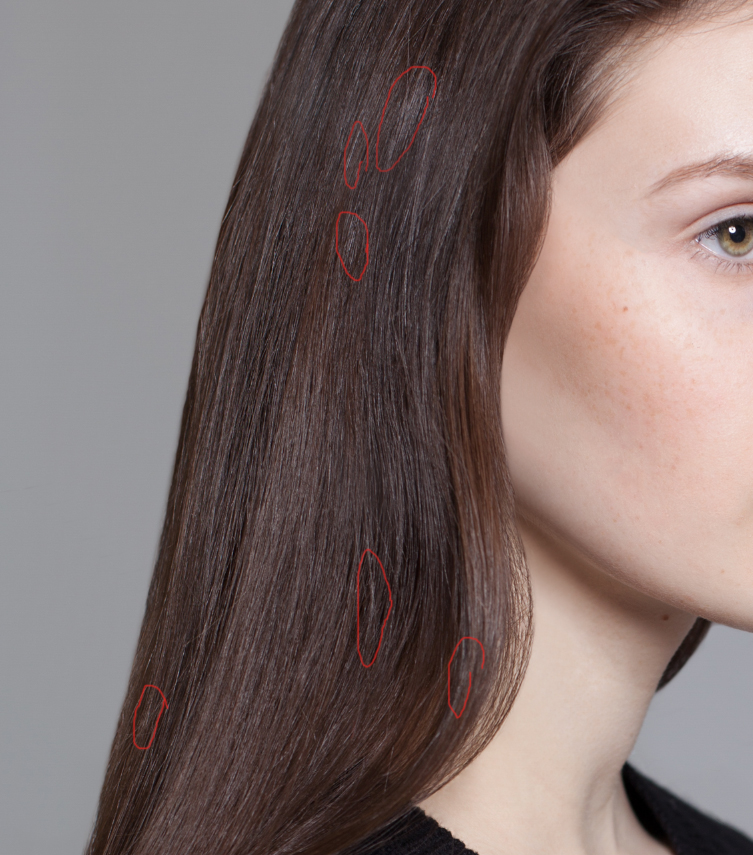
Step 7. Now we will try to straighten the hair as much as possible. Create a new layer (4). With the help of “Healing Brush Tools” we hide the following flaws:
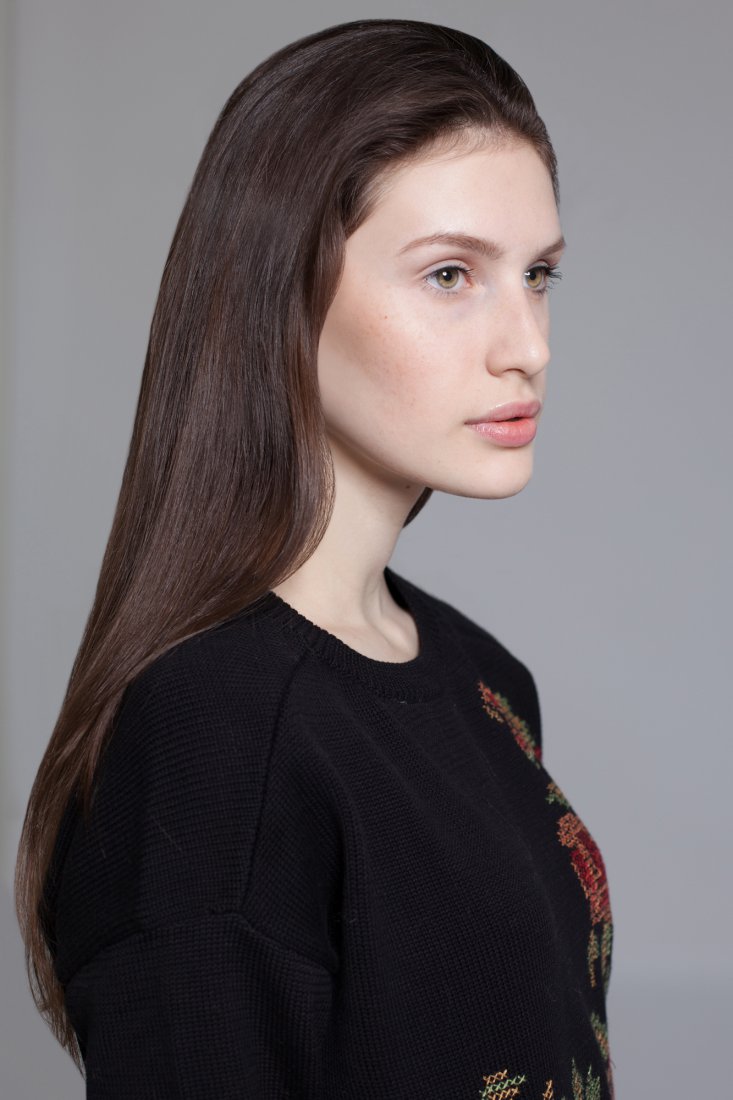
Step 8. After all the above manipulations the result should be similar to this:
Step 9. This is the final part of this lesson. The correction of hair is done; now we need to add shine and smoothness to hair.
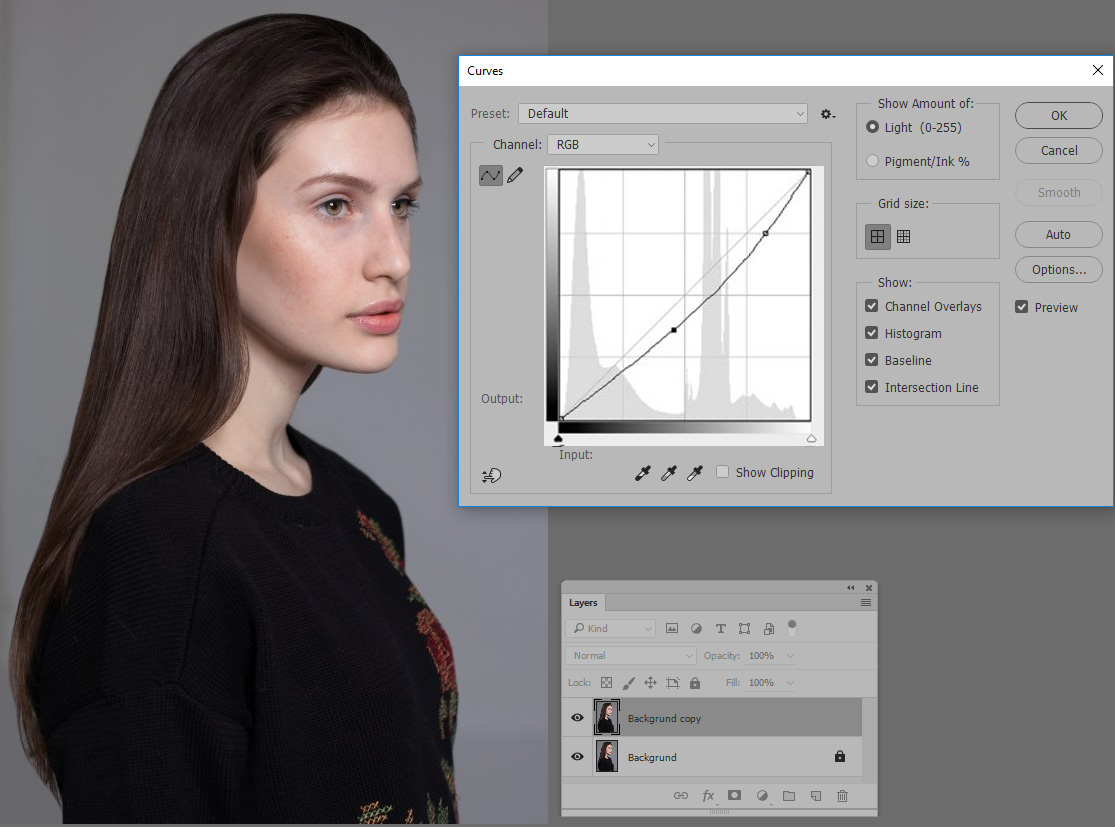
To do this, merge all the layers (Shift + Ctrl + E). Then duplicate the main layer (Background): Image -> Adjustment -> Curves and put similar to these settings:
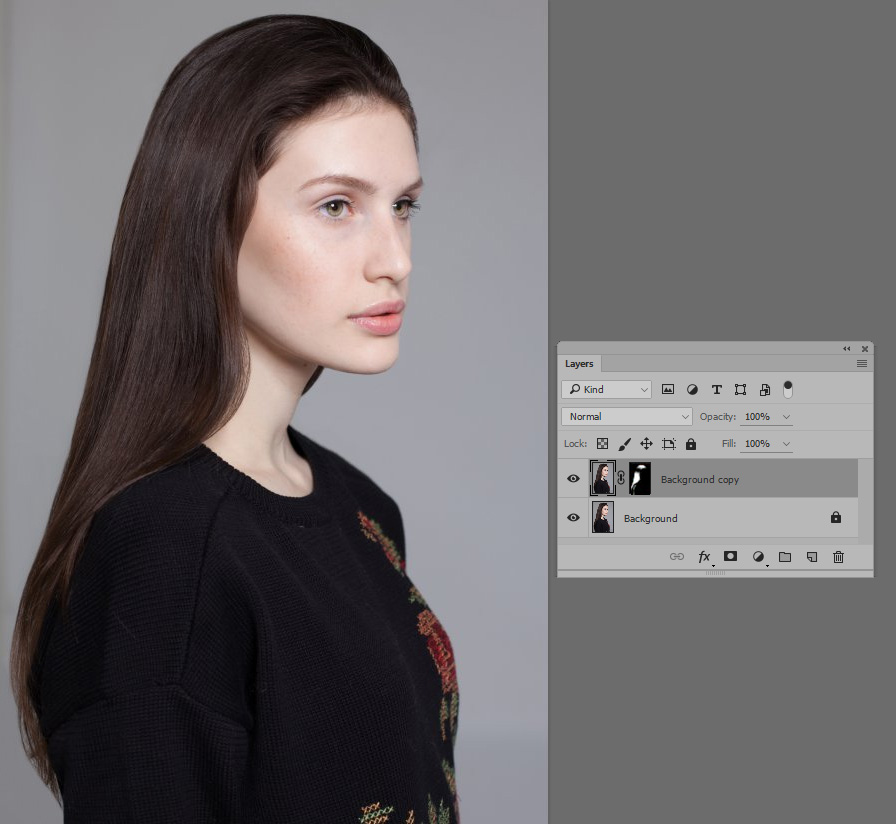
Step 10. Create a layer mask (see the picture) and draw a white brush around the hair, thereby darkening them. Do not worry, if you accidentally got out of bounds, you can always erase the mask using the Eraser Tool or a black brush. It is also necessary to erase the area where the highlight will be located. At this stage, we get the following result:
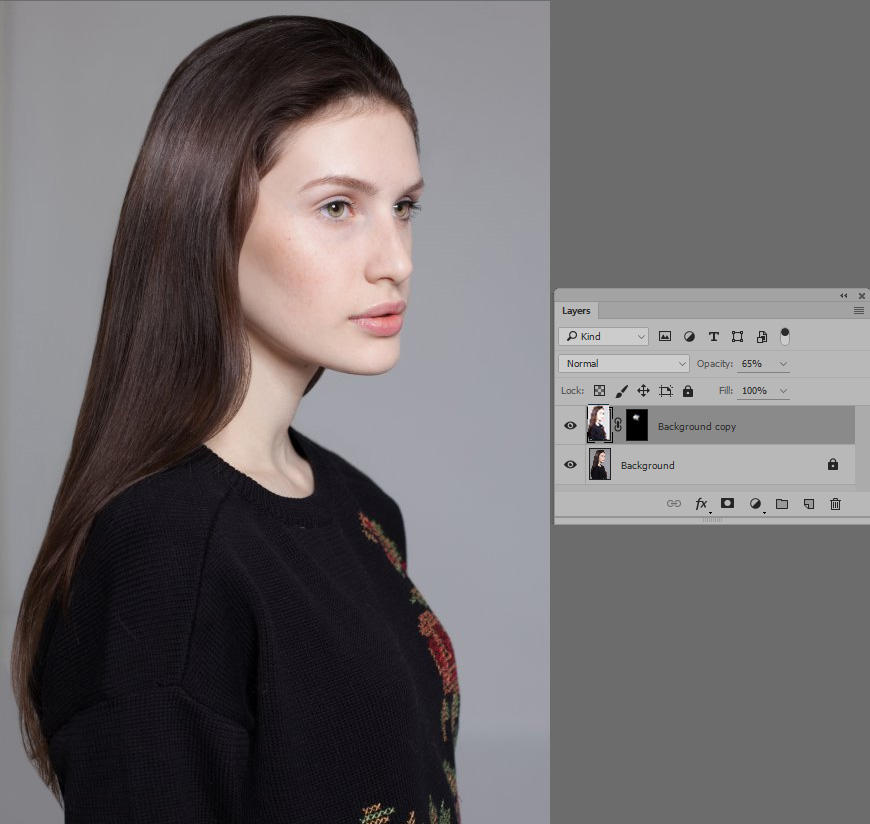
Step 11. The last step is to add a highlight on the hair. Merge the layers and duplicate the main layer (Background) again. We do the same thing as in the previous stage, but this time we lighten a part of the hair.

Step 12. We draw the brush in the place where we want to put the highlight. Also, in this step, you should reduce the opacity of the layer if you are slightly overdone with the “Curves” tool.
Perfect styling is ready. Take this lesson for service so that the next time you need to straighten the hair, you can use it. Therefore, to remember it good, we recommend you to repeat it once more by yourself.