I have noticed a common trend with a number of car owners who decide to sand their car by themselves. Quite often you will see the reflection on the car body looks wavy, a lot like fun mirrors that give distorted images. You may think the problem is with the paint job but it all starts from the way you sand the vehicle. The sanding process is almost like the foundation of a house, if you get that part wrong, you probably will see the effects in the rest of the work you do on top of it. It may also come down to the tools you choose. To get the perfect finish, here are a few things you need to get right.
Use the right sand paper
Sand paper can either remove scratches, or make scratches. The type of sand paper you use will determine the smoothness of the surface. The rule of thumb would be that you use higher grit sand paper. In case you are wondering what grit is, this refers to the texture of the sand paper, the higher grit is the one with a rougher surface. In most cases the 80 grit sand paper would be sufficient to remove paint and whatever else may be on the surface to leave the bare metal.
If you made the mistake of using lower grit paper, then you will need to use higher abrasives to remove the scratches, in this case I would recommend something within the range of 150 and 300 but if the scratches are more intense and you would like to do the work faster, then try grit paper in the range of 800 to 1000 which will get the scratches off and leave a smooth surface.
Do not use your hands directly
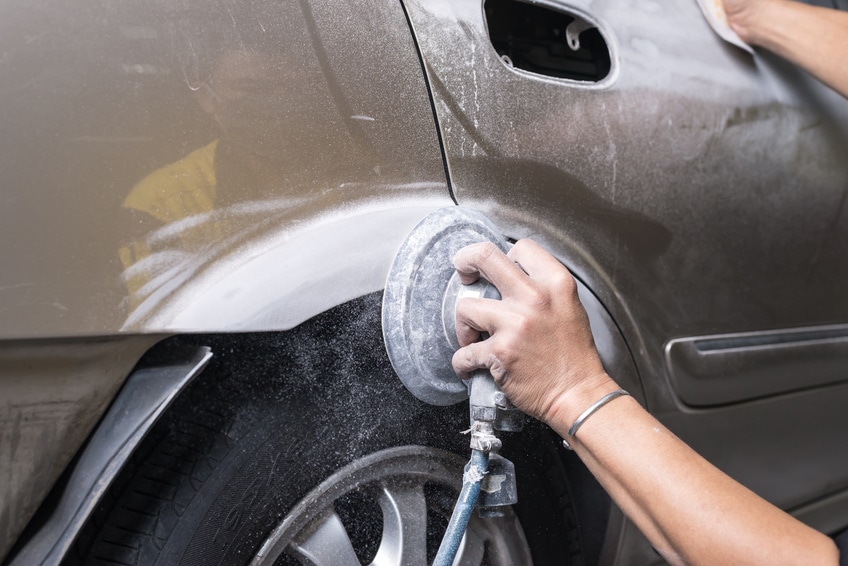
Not using your hands does not mean use your feet. A common mistake first timers make is to sand the surface without a sanding block but this is actually the reason you are going to end up with that wavy paint job. Your hands are uneven. There is the space between your fingers that will provide less pressure than where your fingers are so the intensity of the sanding will vary and that causes the wavy effect. A sanding block, on the other hand, is even and designed particularly to create a smooth surface. I usually recommend the use of a belt sander since it gets the job done quickly and better.
Use a long sanding block
Some people complain that they use a sanding block, yet they still end up with a wavy finishing, well the problem is with the block they use, a small block tends to ride over the waves and not remove them so you will still have that effect. The long sanding block, however, is able to bridge the highs and lows on the surface which will effectively remove the waves. The long sanding block does this by bringing down the highs so that they are the same level as the lows which will remove the waves.
Get the technique right
The technique is also very important. You may be tempted to simply move back and forth or just sideways but the best technique for sanding is to move in all directions. The idea behind this technique is to ensure that all areas get evenly sanded, you can keep on rotating the board according to how comfortable you feel holding it as you sand in a particular direction. Keep doing this until you have successfully smoothened the surface.
Also related to the technique is the progression of the sand paper, as you achieve smoothness, it is a good idea to change the texture of the sand paper to a finer texture. If for example, you start off with 80, you can then switch to 200 and then 800 for the final sanding which will make it smoother.
Wet sand after painting
This is a stage that many people do not know about and you may be surprised that you are being advised to sand the vehicle after it is painted. Well for starters you should pay attention to the fact that this is called “WET” sanding. For this, you will need to ensure the sand paper is always wet and you need to use the very high grit sand paper. I would recommend above 1000 to 2000. This stage helps to remove any imperfections that may have arisen from the painting. You will simply be sanding the top layer of paint so do not over do it. In most cases wet sanding is done when you are dealing with a larger surface, say if you had to repaint the entire car. It helps to remove dirt that may have settled onto the body of the car as the paint was drying and caused an uneven look on the paint job. I have to stress that you need to be extra careful when doing this, the sandpaper should never be allowed to dry because that will remove more than just the surface layer of your paint.
When you are done wet painting, you may notice that the paint has become dull, do not panic, you can bring back that new paint look by buffering it a bit with a high-speed buffer.
Have the right gear
Like with any DIY task, it is important to have the right gear if you are to do things right. Here we are not just talking about tools like the best detail sander and an affordable grinder, even though it is important to have them, you also need to have the right protection for yourself. A face mask respirator to protect your nose is important since a lot of small particles will be flying in the air and you are better off not inhaling them. You may also want to wear a pair of gloves, though most people will want to be able to feel the smoothness of the car body with their bare hands but you can always remove the gloves to do that and then wear them when you are doing the sanding. It should go without saying that the best way to do anything right is to do it safely so take all safety precautions.
In summary, the most important things to keep in mind are the grit of the sandpaper, the size of the sanding block and the technique you use. If you get these right, you should be able to do a decent sanding job.