Wondershare Data Recovery review – a data recovery tool with superb lost file detection
Introduction
I have reviewed several data recovery products in the past for Windows. Today, I got an invitation to review another one. This time, the developer is Wondershare and the product is named Wondershare Data Recovery. As previously, I’ll try out the tool and express my experiences with it. So, what are we waiting for? Lets move on the review.
First impressions
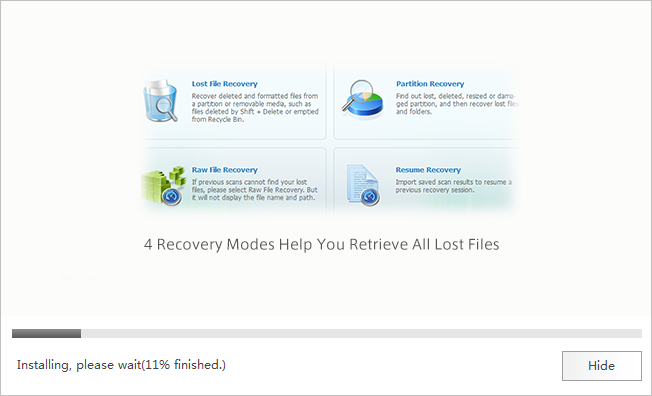
Wondershare Data Recovery is straightforward to install. You need to download the installer from this page and run it.
The installer requires internet connectivity to install.
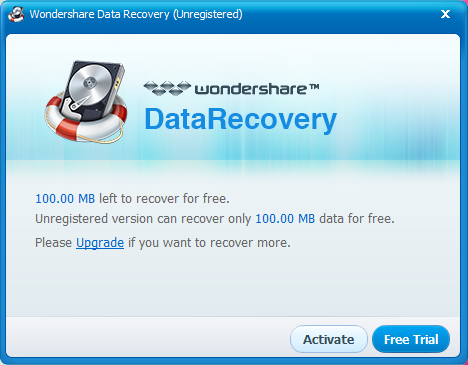
Once the installation is complete, Wondershare Data Recovery asks you if you have a full version key. You can choose to insert the key at this point or continue with the trial.
After this step, the wizard screen begins.
Features, usage and experience
Wondershare Data Recovery has two modes, namely, Wizard Mode and Standard Mode.
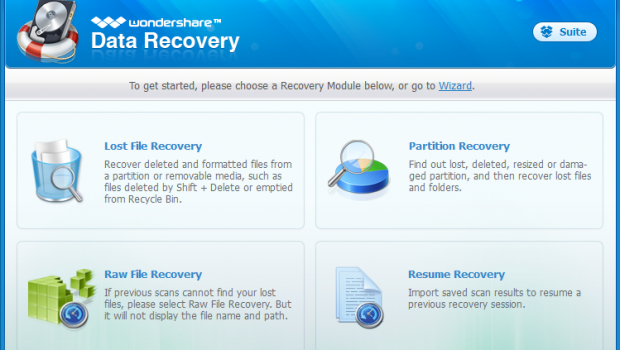
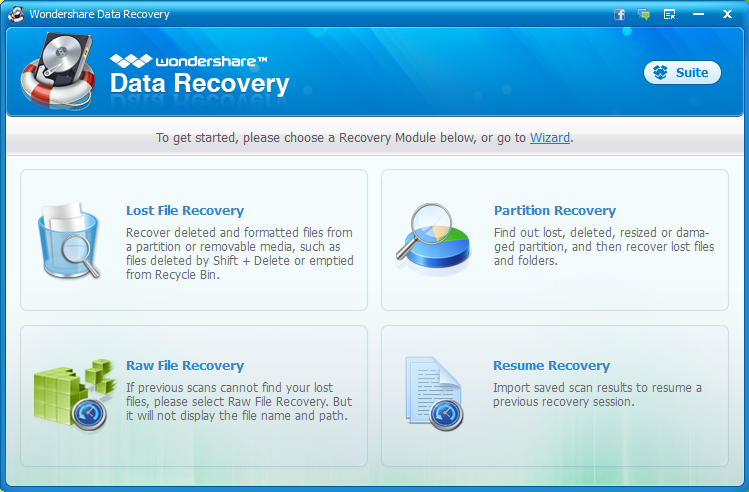
First of all let’s check out the features of standard mode. The start screen of Standard Mode is shown below.
There are 4 options, namely, ‘Lost File Recovery’, ‘Partition Recovery’, ‘Raw File Recovery’ and ‘Resume Recovery’.
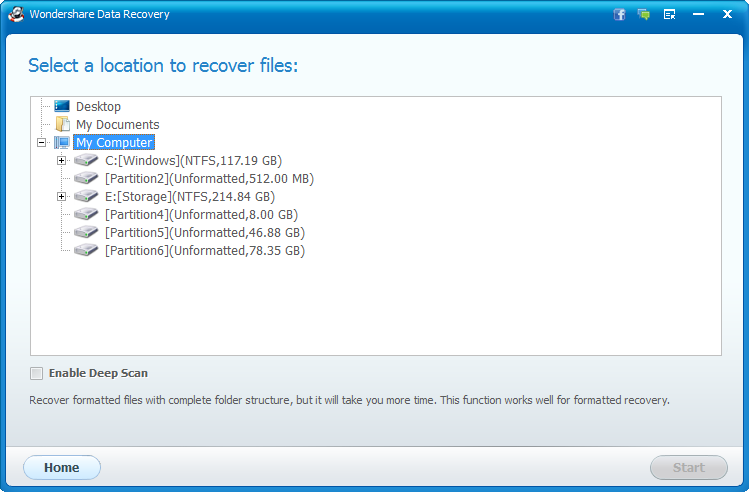
First, we’ll see the ‘Lost File Recovery’ option. It recovers those files which have been deleted from the Recycle Bin or force-deleted. Clicking the option shows the list of partitions the tool will search.
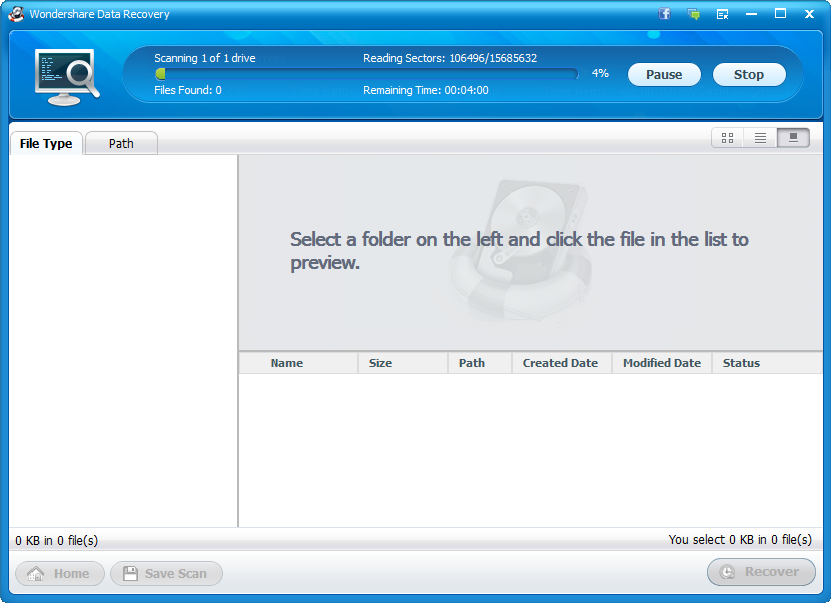
You can select one drive and the scan begins. It takes a while for the scan to complete.
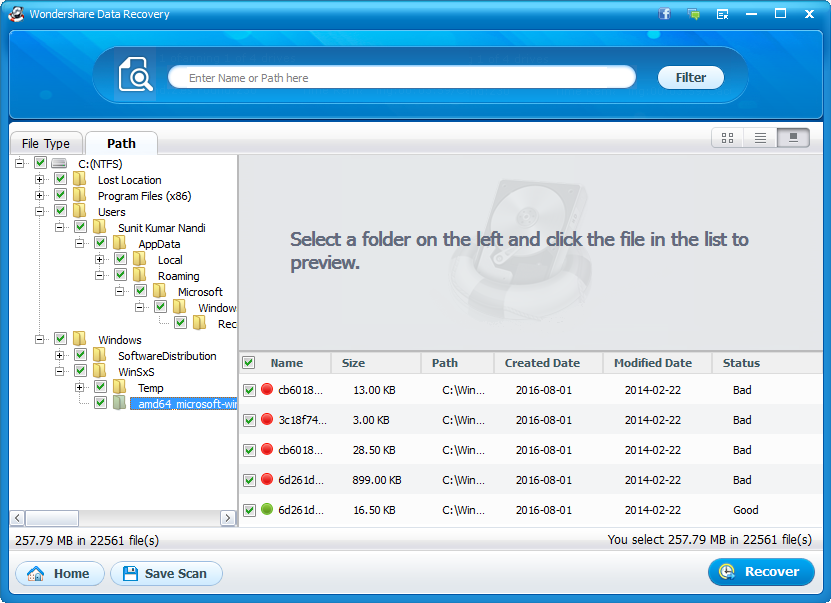
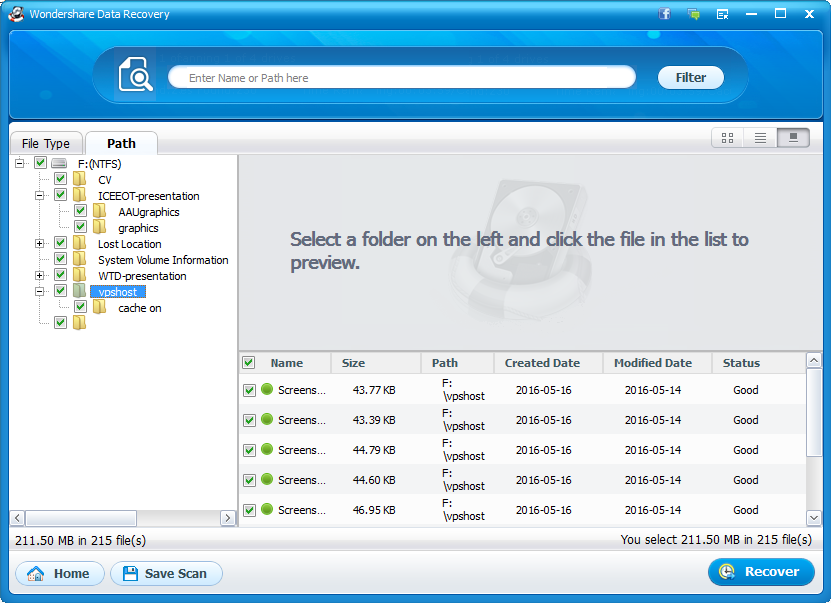
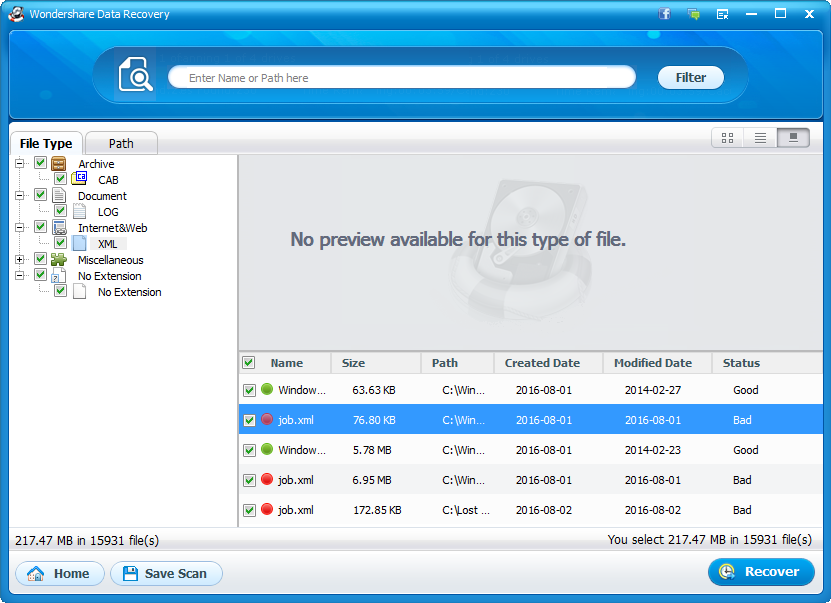
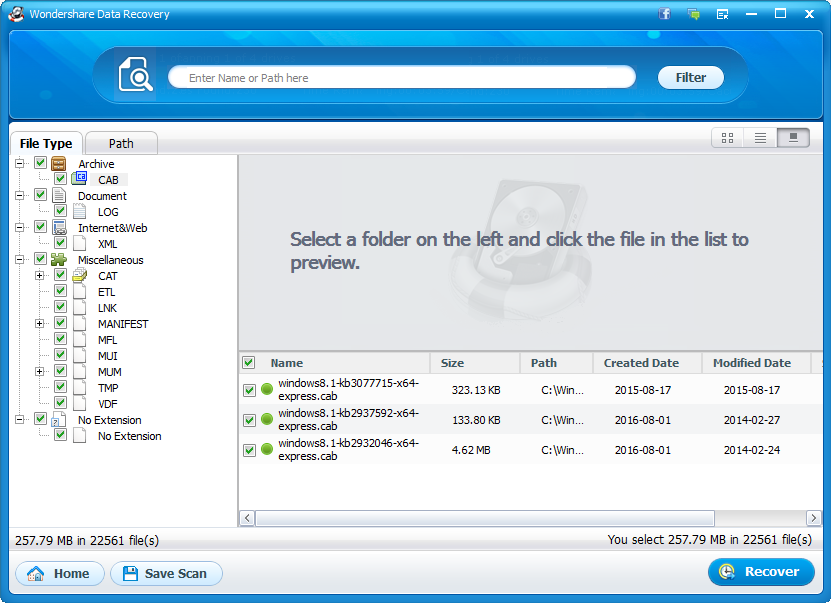
Once the scan is complete, you get to see the files that can be recovered. They are classified by two tabs ‘File type’ and ‘Path’. The ‘File type’ classifies lost files by their type and extension, while the ‘Path’ classifies according to their past location in the file system.
Next, we move on to ‘Partition Recovery’. Clicking that option, lets you choose a hard disk or a flash disk. After choosing a disk and clicking ‘Next’, the scan begins. The scan takes a while to complete. Once it ends, one can recover entire lost partitions.
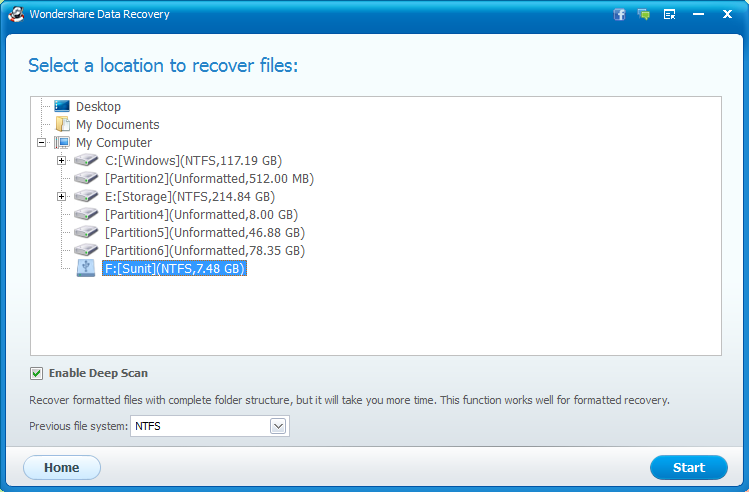
Then we move to ‘Raw File Recovery’. In this option, you can choose a drive/partition as well as set the scan option to ‘For All Files’ or ‘For Deleted Files’. On clicking ‘Start’ the scan begins. After the scan complete, the lost files are listed by file type.
The ‘Resume Recovery’ option simply resumes a previously saved recovery session.
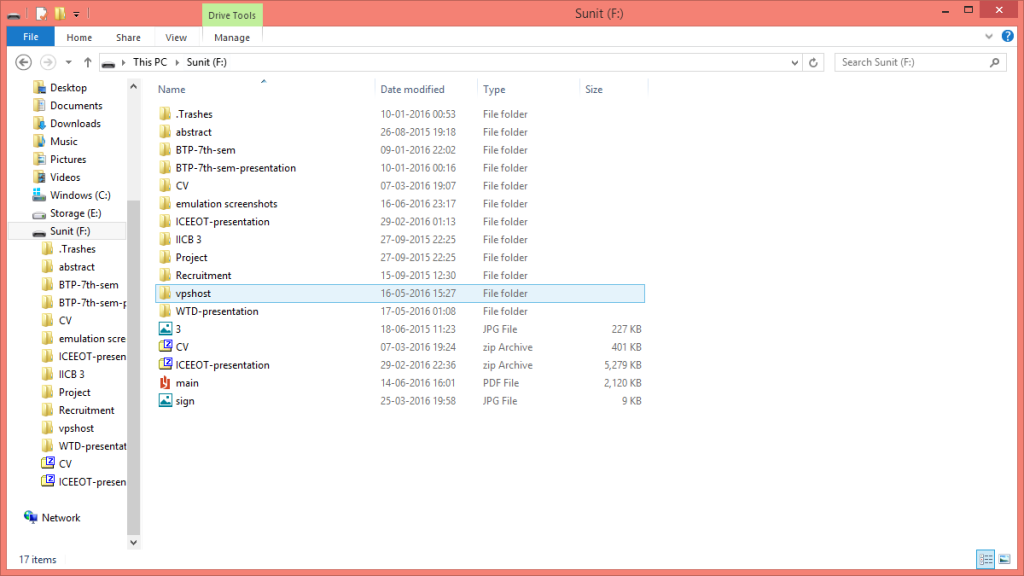
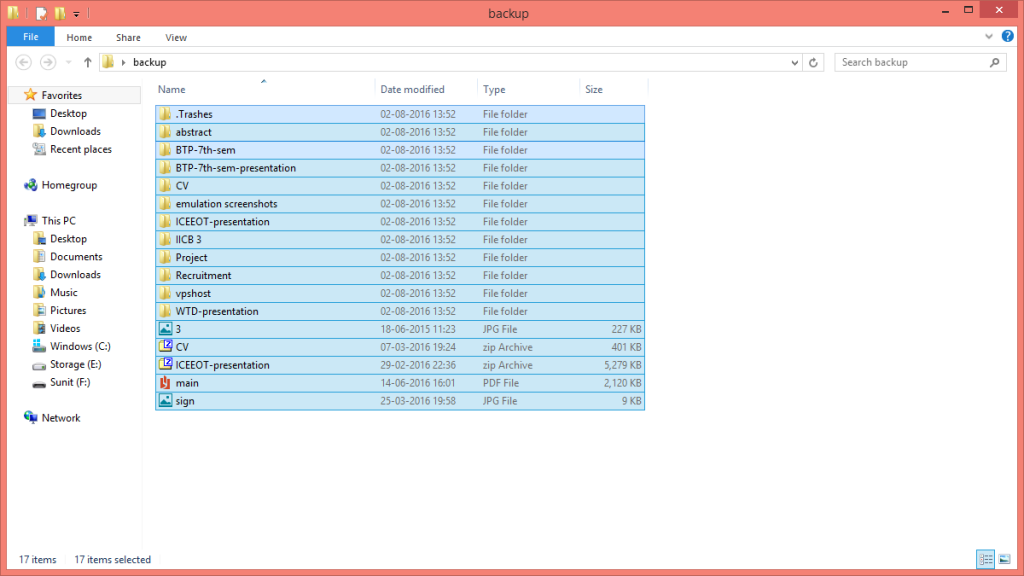
Now, we’ll test the effectiveness of the recovery tool. In this test, I plug in a flash drive that has existing data in it and back up the data safely to the hard disk.
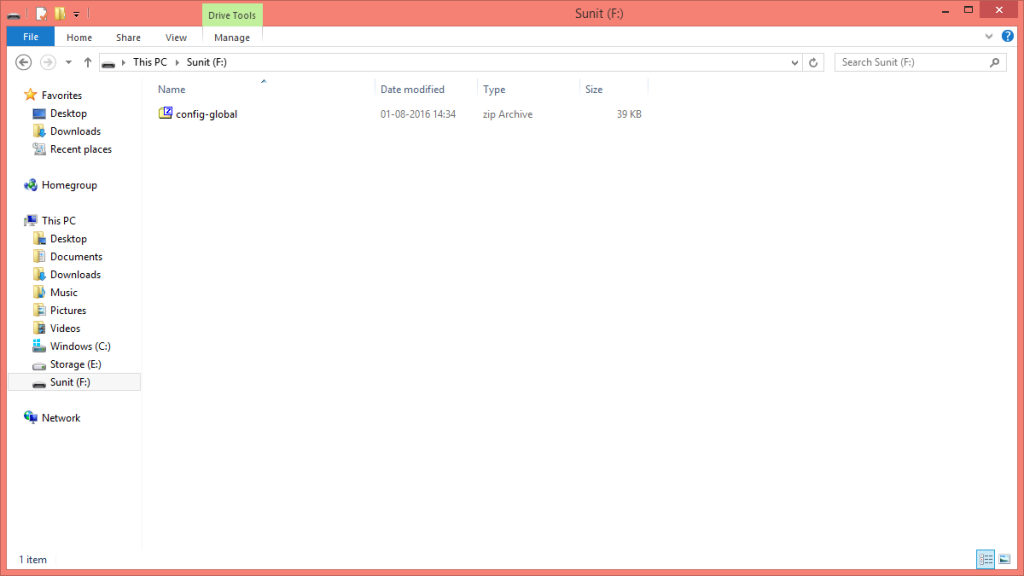
After that I format the disk. After the format, I put a random file on the drive.
After that I use Wondershare File Recovery in ‘Raw File Recovery’ mode to attempt to recover files on the drive.
The lost files on the drive show up with their folder paths.
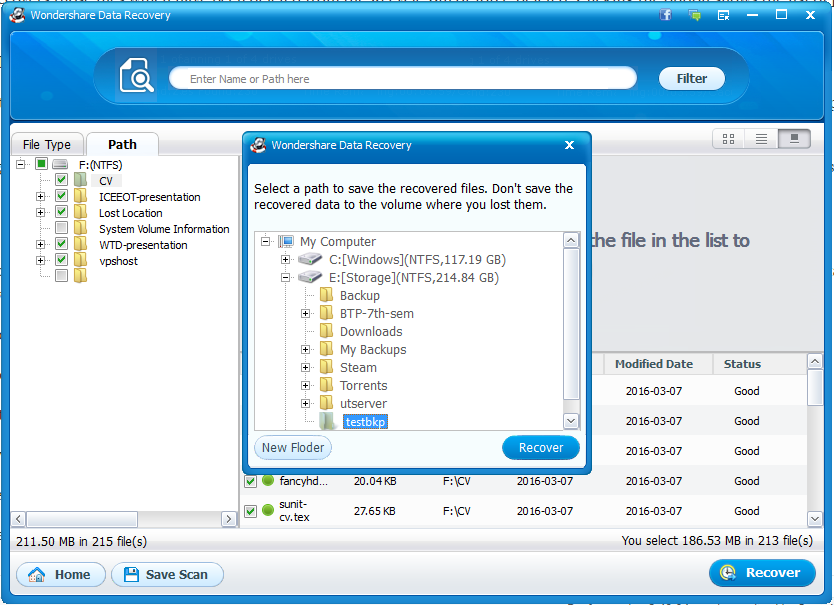
Then perform recovery of the lost files from the flash drive.
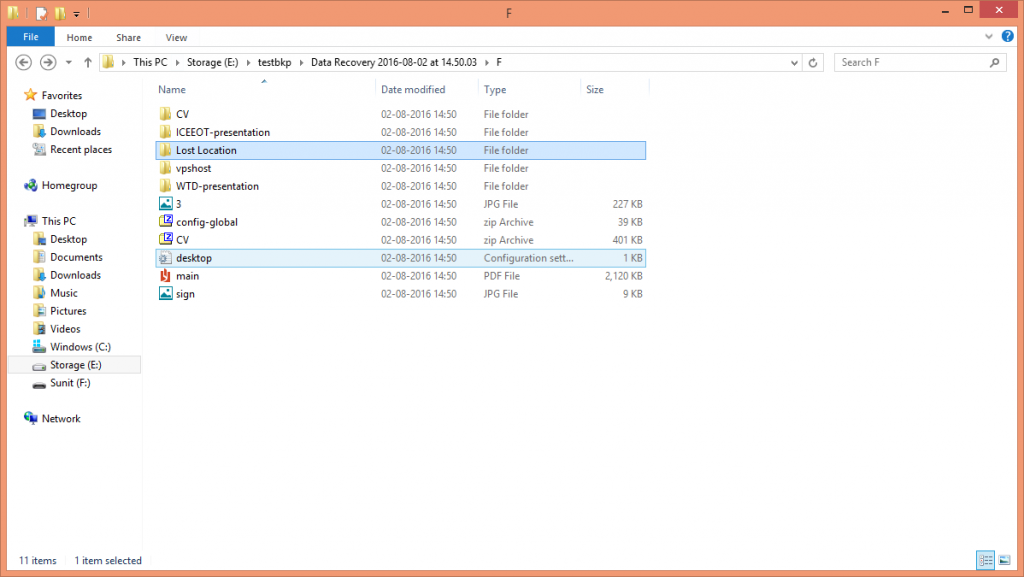
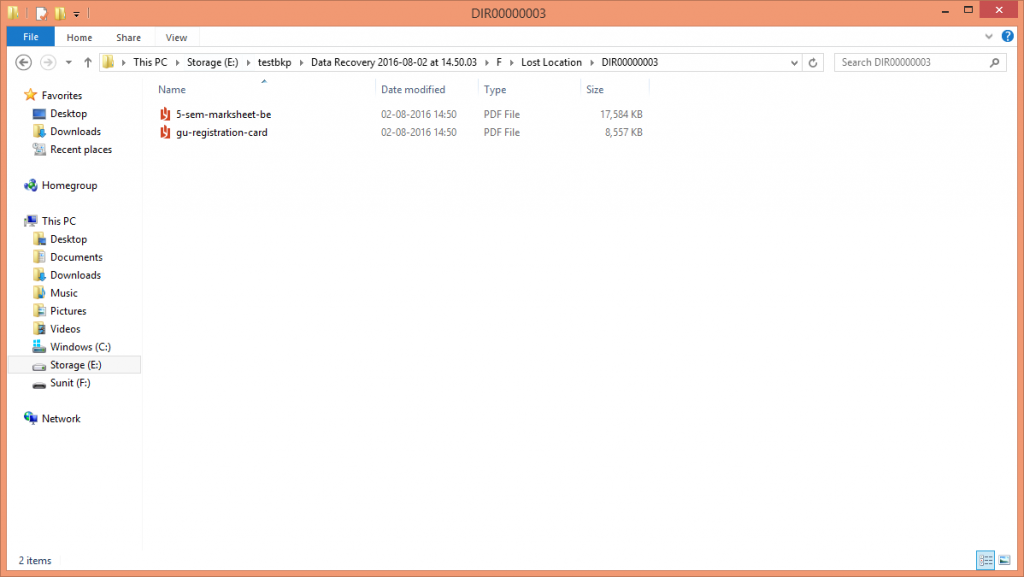
Wondershare Data Recovery manages to recover many of the files that were lost in the reformat. It also managed to recover many files whose original paths were lost.
What is also surprising is that it also managed to dig up certain files that were deleted about a year ago. But as is the case with any data recovery tool, it is unable to recover all data.
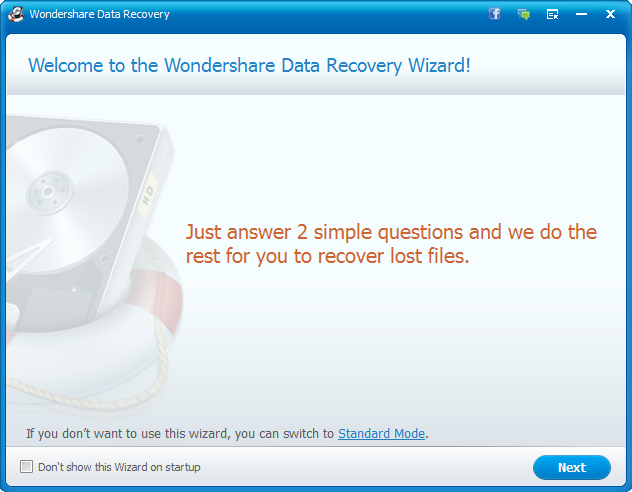
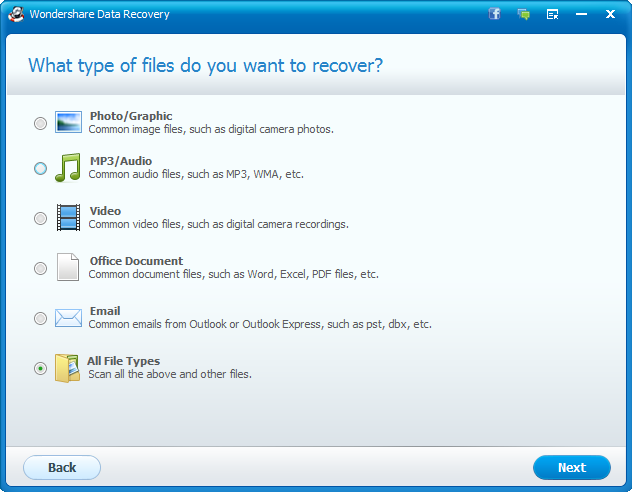
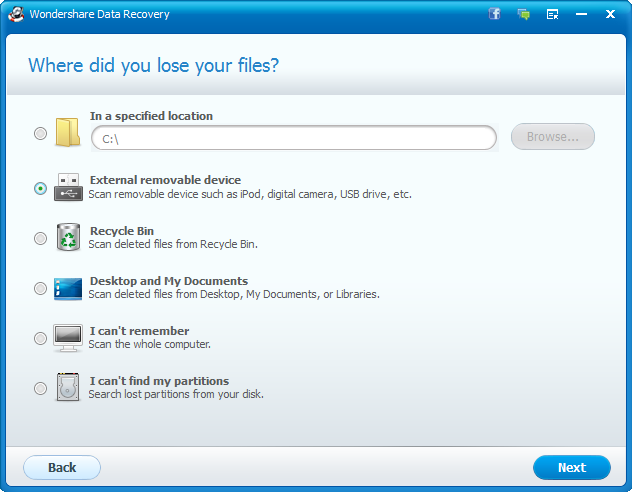
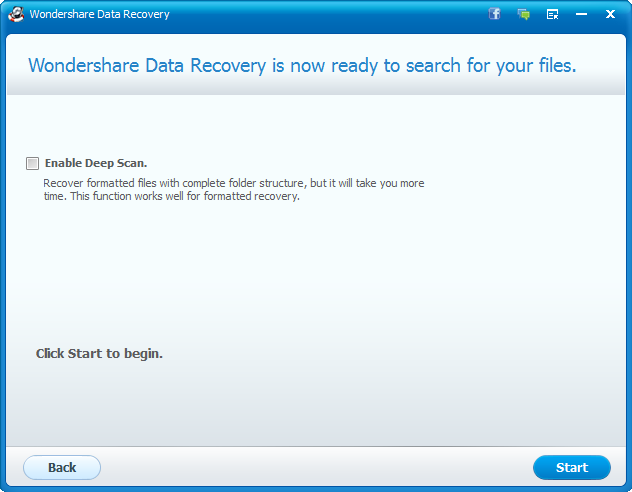
Now, we move on to Wizard mode. Below is the start screen of the wizard.
The Wizard asks you your requirements and the scanning begins.
In short, it is the Standard menu in a wizard forms. Nothing more. Nothing less.
All the while, I have noticed that Wondershare Data Recovery has a clean and a straightforward UI and UX. The UI looks and feels original and doesn’t feel like it has been adapted from Windows or some other vendor. In fact, as far as I can remember, the UI is Wondershare’s own signature standard and is also the same on their other products like Wondershare Video Converter which we have reviewed in the past.
The only feature I found missing in Wondershare Data Recovery is that text and binary (or hex) preview is missing. This tool only supports previewing images and videos before recovering. Documents, XML files or text cannot be previewed in the tool, apparently.
Also, the Windows version lacks support for recovering for HFS+ partitions, not suitable for Mac Bootcamp users. I hope Wondershare adds these features in the upcoming releases.
Apart from that, I haven’t found any glitches in the program. Everything seems fluid and consistent as far as the UX is concerned.
Summary
Pros
- Clean UI and straightforward UX
- Enough options for an average Windows user, support FAT16, FAT32, NTFS and exFAT partitions
- Can recover entire lost partitions
- Deep scan actually works well
- File recovery rates are impressive
- Pricing
Cons
- No preview support for text, documents, XML or binary files
- Missing support for HFS+ partitions on the Windows version
Getting for yourself
Wondershare Data Recovery can be downloaded from here. However, the trial version is limited to 100 MB total recovered data. To access all features without any restrictions, one needs to purchase the full version for a one-time $39.95 payment, which is cheaper than competitor products. The full version license is lifetime and also includes lifetime updates.
Conclusion
Wondershare Data Recovery is an extremely user friendly data recovery tool for Windows. It does lack one or two features compared to competitor products, but its impressive deep scan and file recovery chances more than make up for its limitations. Plus it is priced at $39.95 (which is cheaper than usual prices of $69 for data recovery products) making it a steal deal for the amount spent.
I’ll happily recommend this product to anyone looking for a data recovery solution.
Rating: 9/10

