Building your own PC for beginners can be quite a daunting task. The overwhelming fright of making a mistake or a complete screw up is entirely possible. However with proper guidance, it is fairly easy to get it done quickly and without mistakes.
Usually one of the first concerns is “How long does it take to build a PC” if you’re new to PC gaming and have opted to build a gaming PC.
Understanding how to construct a gaming PC is one thing; understanding how long this will take is quite another. Professionals can get it done in no time at all, while building a PC for a beginner will probably take you three to four hours. But nothing is written in concrete and it can very well take more time depending on the form factor of the build that you have lying in front. This however, does not account for setup or troubleshooting time.
The greatest method to extend your build time is to be meticulous and plan everything out in advance. Your build will go more quickly and easily the less faults you make in the beginning.
Can You Build a PC?
Although it’s not difficult, building a PC can take a lot of forethought. Component producers have reduced the construction process and greatly simplified installation and setup over time.
Given that the dimensions and installation techniques for cases, motherboards, and power supplies are all standardized, everything should fit together without difficulty, assuming you purchased the necessary parts. The same is true for storage, memory, and graphics cards. Additionally, if you get a modular power supply, you will be able to cut out all the cords you won’t need before you begin construction.
The only challenge should be troubleshooting in the event that something goes wrong if you have the correct parts and know how to install them. To avoid these issues later on, it’s crucial to thoroughly plan your build.
Preparation
Preparation is the initial stage in developing a PC. Even while this preparation takes time, if you’re well-prepared you should encounter fewer issues when creating, which will reduce the length of time it takes to complete. This step can take anywhere from 30 minutes to a few hours, depending on how skilled you are.
If you’re a novice, it’ll probably take you a few hours because you’ll need to compare the components and look for compatibility problems. The duration it takes for the delivery of your new components is something else to take into account.
Determine your budget first, and then choose which components to purchase based on this budget. Use a website like pcpartpicker to check if all of these components are compatible with one another.
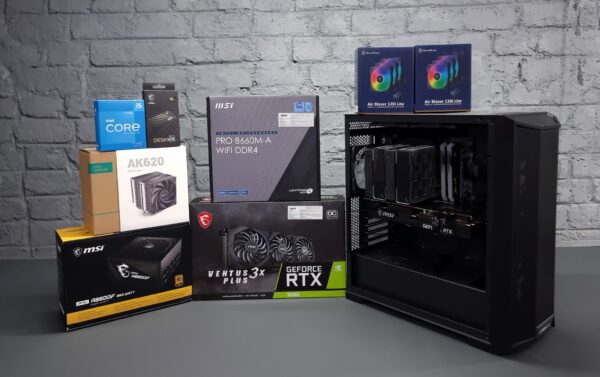
Several components are required to assemble a gaming computer like, Motherboard, CPU, RAM, Solid-State Drive (SSD) or Hard Disk Drive (HDD) (SSD), Graphics Card, Power supply, Case, etc
Additionally, A WiFi adapter, cable ties for wire management, Windows USB installation disk, screwdrivers , and an anti-static wrist strap if you wish to keep grounded are other items you’ll probably need.
Knowing what NOT to do will help you stay out of trouble and unwanted costs.
Making the computer
After making the necessary preparations and receiving all of your parts, you may begin constructing the PC.
- First check that you have all the necessary parts after unpacking your components.
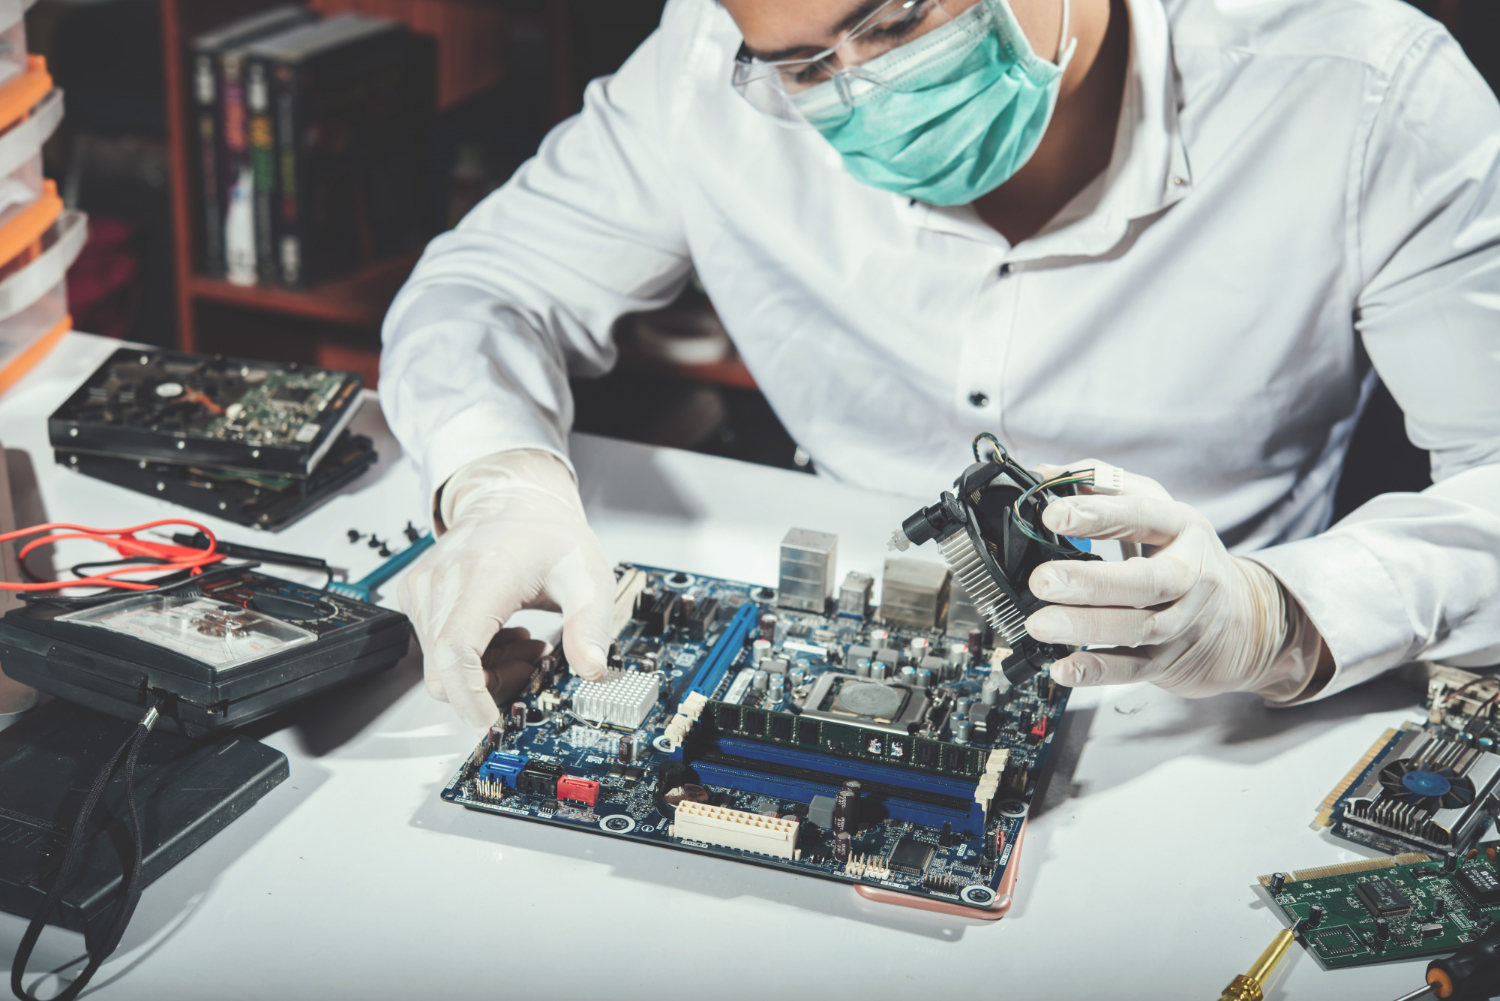
- Install the motherboard’s CPU, RAM, and CPU cooling. outside the case and try a cold boot. A cold boot is done to determine if all the parts are in working order. Usually it would boot directly to the system BIOS.
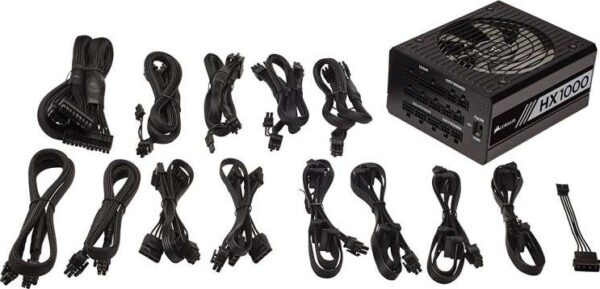
- Next install the PSU in the PC Case and if the PSU is modular, insert the cables that you maybe needing. This can include the 24-Pin cable, 4 Pin cables for the CPU, single or multiple 6 or 8 pin cable for the GPU (varies with each GPU model and vendor) and some sata power cables to power the storage and fans inside the case.
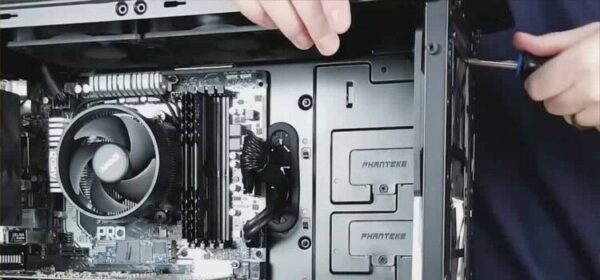
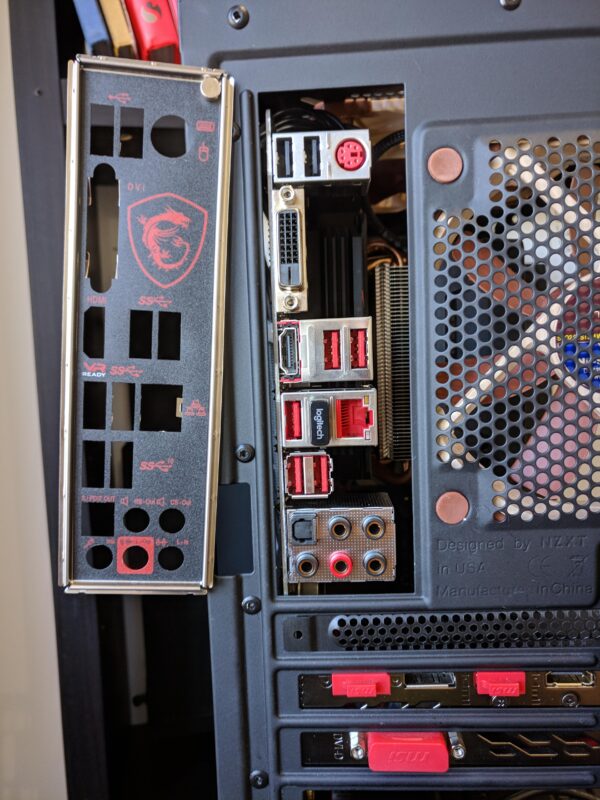
- Before you install the motherboard in the case, make sure to install the I/O shielding in the case to save yourself the regret of forgetting it later (it happens more often than you think).
- Install the storage and graphics card.
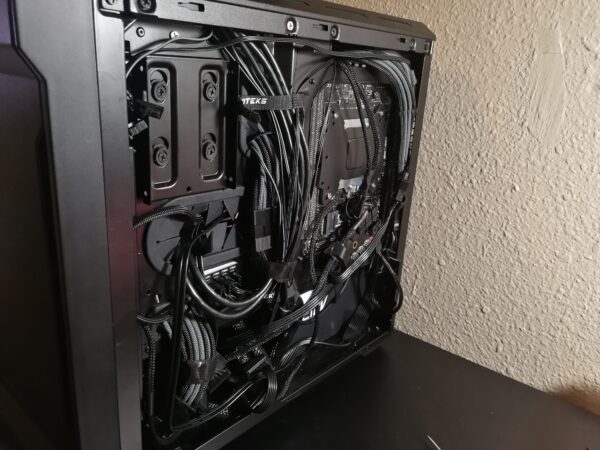
- Affix all PSU cables to the respective components.
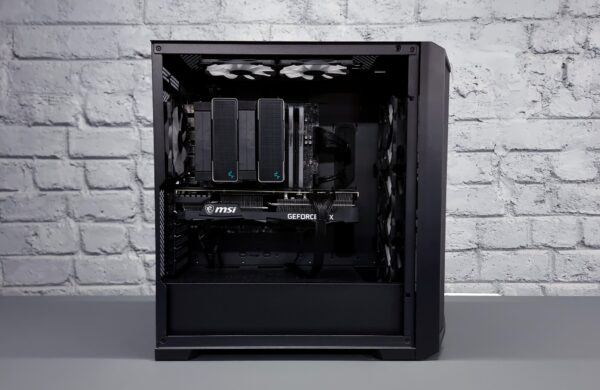
At this point the main build is complete, and you simply have to connect the peripherals and the monitor to the built computer in their respective ports.
Depending on how much cable management is important to you, connecting all of your PSU’s cables may take some time as well. If your case is smaller, managing the cables can take substantially more time, as you need to clear the airflow pathway for the CPU cooler and GPU, to prevent overheating. A pro tip here is to start the cable management, as you are setting up or installing the components inside the case. Saves a lot of time than having to do it after its done being built.
Installing the Software and Operating System
Although it’s lovely when a newly constructed PC boots into the BIOS without a hitch, a PC isn’t much use without an operating system and software installed.
Installing Windows and other software is usually what you’ll want to do once you’ve made sure that all the hardware is correctly registering in the BIOS.
With that done, you’ll need to have a stick of USB, with a copy of the latest windows version. This can be found for free on Microsoft’s website, although it won’t be activated as you need to purchase a valid and genuine license to continue using it after the trial period.
This process ought to take no more than 30 minutes on a powerful computer with a fast internet connection and an SSD.
Troubleshooting
You shouldn’t encounter any problems if you’ve done your preparation and built your computer thoughtfully. However, even the most experienced PC builders occasionally need to troubleshoot. When you discover an issue with your build, you must determine what is causing it and how to solve it.
Most problem solving will be simple and quick. If, for example, you see that only half of your memory is visible in the BIOS, you can fix the issue by re-seating both RAM sticks. Or perhaps your computer won’t boot and you discover that your CPU fan isn’t connected to your motherboard’s CPU FAN header, etc.
However, troubleshooting can occasionally require more effort and time than this. If there isn’t a straightforward remedy, you’ll need to search your manuals or the internet for a solution. In the worst-case scenario, you may have to carefully rebuild the entire system from scratch.
It’s impossible to predict how long troubleshooting will take, but if you’ve built and prepared your PC wisely, you probably won’t need to troubleshoot at all.
How to Build Your PC Faster
Although it may seem counterintuitive, the greatest method to expedite the PC building process is to meticulously plan, prepare, and construct your PC from the beginning.
Building your PC will be much easier and you won’t be as likely to encounter complications if you make sure there are no compatibility concerns between any of your parts before ordering them.
Similar to this, you’ll be less likely to encounter a problem that necessitates hours of troubleshooting if you take your time building your PC and make sure everything is connected properly.
The time it takes to troubleshoot issues can range from a few minutes to many hours. However, if you design and construct your project thoroughly and carefully, you shouldn’t need to do any troubleshooting at all—and if you do, it’ll probably be a simple repair.
Chuwi has a mission to be the world’s leading technology partner for customised Laptop, tablet PC, mini PC experiences with uncompromised quality, stability, support, and performance, Chuwi Official Store
Cover Image by Freepik