Art is everywhere, especially in adventures. Learn to grab every opportunity to show your energy and vigor in doing things.
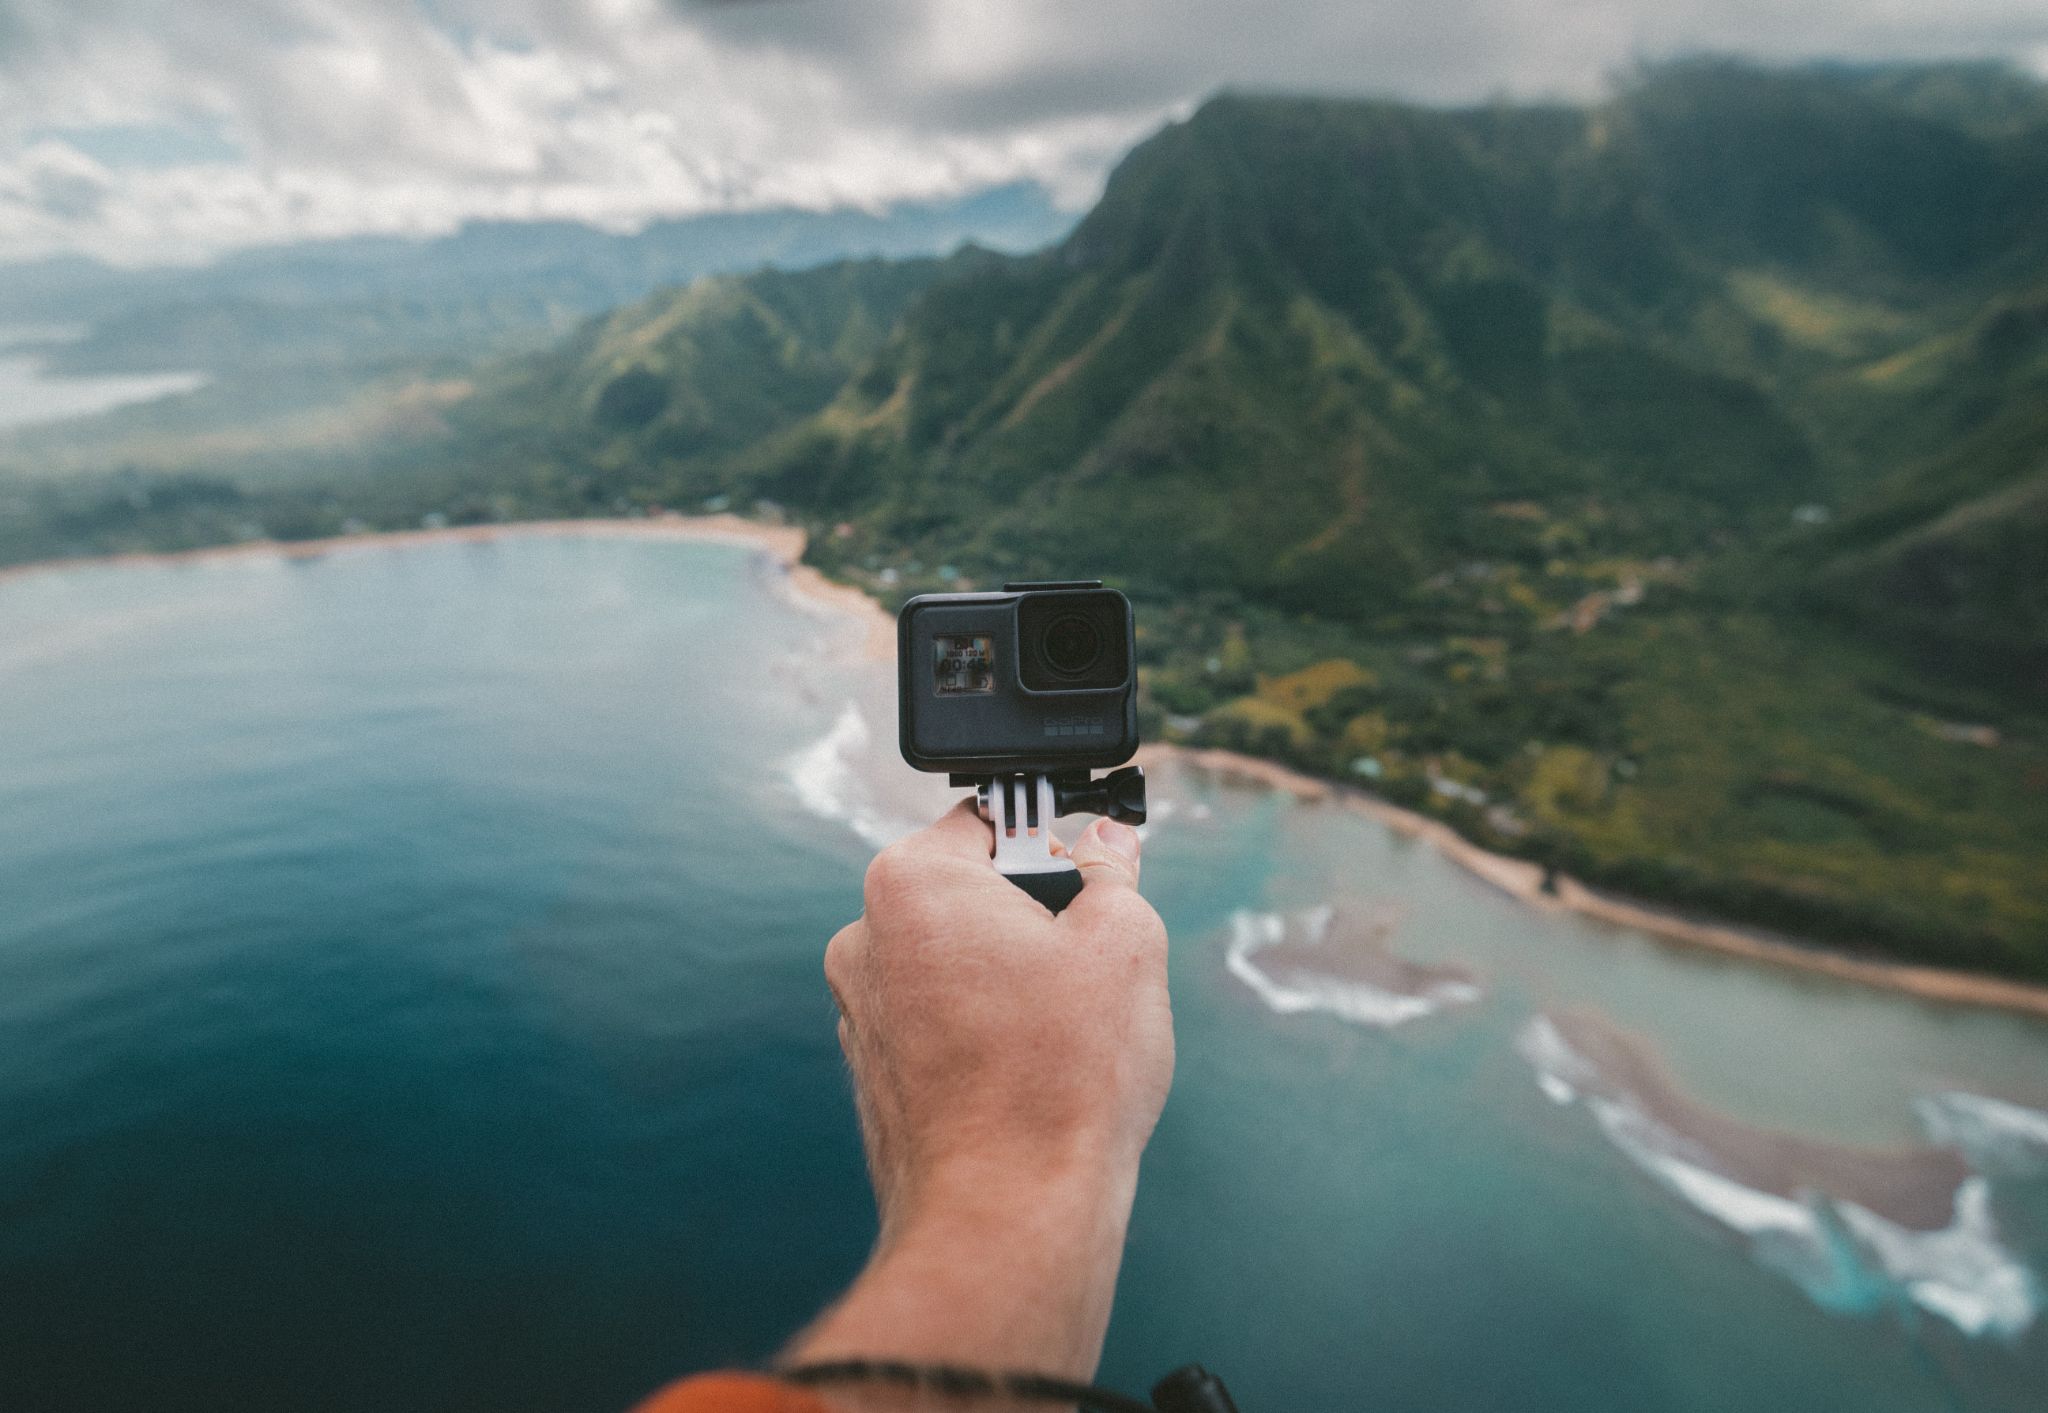
Now you are presented with an opportunity to do so: you join your friends in an out-of-town place—maybe somewhere the mountain peaks are to be marveled at, or somewhere the sun is shining, the beaches are warm, and the sands are pearly white. But, of course, you want this to be a memory that would last for a long time, so you decide to whip out your GoPro you brought with you and choose to record every single memory that is happening.
Sharing is not a problem for you, and you want the whole world to know how much fun you’re all having, but of course, you want it to be as impactful and appealing as those vlogs that you’ve been binging on YouTube and those posts that you’ve been admiring on Instagram.
If you’re no professional and don’t know how to make your videos a little better, then look no further because these Go Pro presets are here to save your day, just like Parker Arrow’s GoPro LUTs. You can check them out at https://parkerarrowpresets.com/products/gopro-luts. These cinematics LUTs (Look Up Table) are sure to make your videos stand out from every other video out there, but let me teach you first how to apply these gems to your videos.
Photo by Jakob Owens on Unsplash
How It Starts
Look Up Tables are used to enhance your footage during the post-production process. This is a big help to beginners who have a hard time understanding how to use the color grading function in video editing software. Professionals also find benefits in using LUTs as it eases the process of color grading their footage. There are free and paid LUTs out there, but it would depend on your taste and preference on which you would want to use on your footage.
To use LUTs, you should first install it from a site of your choosing (ParkerArrow is one) and make sure that it has a .cube extension. After installing:
- Open up your video editing software and put in your footage.
- Create a New Adjustment Layer, go to the window tab, and select the Lumetri Color.
- In the Lumetri Color tab, click the drop down with an Input LUT label on top (Basic Correction) and choose the LUT you installed.
- Just simply adjust it to your taste, and voila!
You are finished!
Lusting For LUTs
Do you want to make that cliff dive you did as thrilling as a thriller movie? Then make it as dark as possible. You want your simple picnic to look like the happiest day of your life? Add yellow tints to your footage. You want your video to evoke loneliness? Then introduce it to some blue color. With presets, imagination becomes your friend, and skies become the only limit for you.
With the appropriate presets, you turn the most basic of footage into an Oscar-worthy film. Of course, I’m kidding. But these presets can make you seem like you’re a professional editor.
Color Grading, Not For Beginners
Of course, some editors out there still prefer to color grade their footage manually. This is because they want to have complete control of how their shots would look. But as a beginner, manually color grading could be confusing, so these preset become your ally whenever you need to make something even better.