IP Network Scanner Guide: How to Use Angry IP Scanner
Now that your business is starting to grow, you need to learn how to manage your IP network. One of the ways businesses do this correctly is by using an ip network scanner. These scanners allow you to view what devices are on your network and remove them if they aren’t authorized.
And with this guide, we’ll show you how to use some of the basic features of Angry IP scanner. By doing this, you’ll be able to manage the IP addresses in your network and keep all of your devices protected.
Are you ready to begin? Then, let’s start!
How Can I Install It?
You don’t have to install it, all you have to do is download its precompiled binary from the site. Before you install it, you need to have a Java Virtual Machine installed. You can install OpenJDK or Oracle Java.
How Do I Use Angry IP Scanner?
Before you use it, you have to understand the following concepts:
| Concept Type | Explanation |
| IP | The IP (Internet Protocol) address is a numerical label that’s assigned to every device (i.e., printer, computer) participating in your computer network. Every computer uses the IP address for communication. |
| Subnetwork | The subnetwork is a subdivision of the IP network. Subnetting is the practice of dividing the network into two or more separate networks. |
| Port | In your internet protocol suite, the port is a communication endpoint in the operating system. While this term is used for the management of hardware devices, in software it acts as a construct that shows a specific type of network service. |
| Subnet mask | Subnet masks is a bitmask that you can use to separate bits of the host identifier from the bits of your network identifier. Also, it’s written in the same notation to show the user’s IP address. |
Now that you’ve learned the important factors, now we can help you learn how to use this ip network scanner correctly.
To start, run Angry Network IP from your applications menu or type “ipscan” in your terminal, and you can run ipscan as root. Angry IP is powerful because it lets you select a netmask or specify your IP range. To start scanning, you can discover the LAN that your computer is connected to.
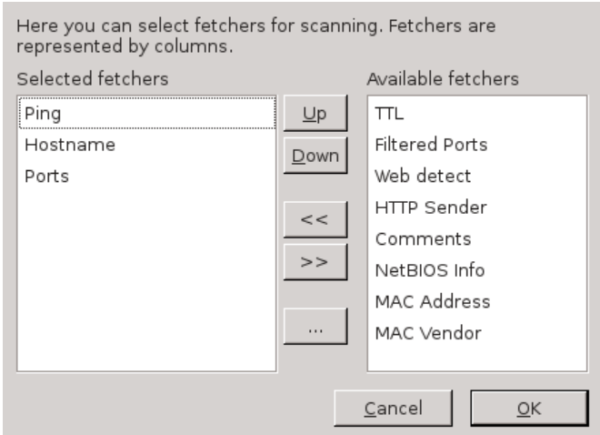
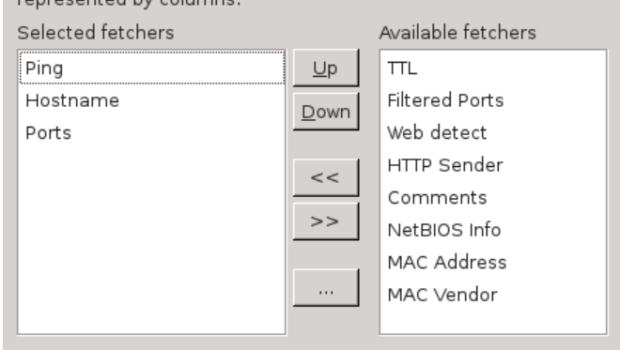
Angry IP supports multiple fetchers, and you can decide which ones you want to use. Press this button and edit the configuration.

Once you’re done, you can export your scanning by pressing ctrl + s.
Angry IP is a good ip network scanner. In this tutorial, we’ve explained some of the basic features that it has, but there are a lot more. You can use it for certain things such as a network audit and security scans.
Conclusion
Regardless of the size of your business, you’ll need an ip network scanner to help prevent future issues later down the line. You can choose AngryIP or other scanners that are available. In conclusion, find one that suits your business needs the most and learn how to use it effectively.
Sources:
- http://www.linuxandubuntu.com/home/how-to-use-angry-ip-scanner-network-scanner
- https://cdn.kyostatics.net/dlc/eu/documentation/installationmanual/ns-fs-1118mfp-ig-uk.-downloadcenteritem-Single-File.downloadcenteritem.tmp/NS-FS-1118MFP-IG-UK.pdf
- http://docs.jamf.com/9.9/casper-suite/administrator-guide/Network_Scanner.html
Images:
http://www.linuxandubuntu.com/home/how-to-use-angry-ip-scanner-network-scanner


![Cool office conversion [Infographic]](https://technofaq.org/wp-content/uploads/2017/06/cool_office_conversion-150x150.jpg)


