How to Deal With Your Very Popular YouTube Channel on a Tight Budget: A Beginners’ Guide
Once I searched “How to wear a tie?” on Google, but got answered back with a long list of steps. I was so confused with the results, so that evening I had to go without a tie. It was a sad story.
But after YouTube got popularity, a lot of our problems got solved. Now I do not need to relive a sad story of not being able to do something. I can wear a tie step by step and with ease by watching a video.
YouTube’s popularity is growing day after day; millions of creators across the world publish videos, from tech to comedy, from pranks to self-motivation, and so on.
On top of that new creators are joining daily. So if you are planning to join, here are a few tips to start your first channel.
First, ask yourself: What can you do? What do you want to do on YouTube?
Maybe you are a tech enthusiast but being only a tech enthusiast not sufficient to start a tech channel. Just like, if you know how to cook, it is not sufficient to start a cooking show. I don’t mean that you need to be professional. You should choose that category which you know enough about to run for a long term. Do whatever you want to try out but do it differently because there are thousands of creators already doing what you plan to do. So try to make some effort to use your creativity and make it different.
The gear
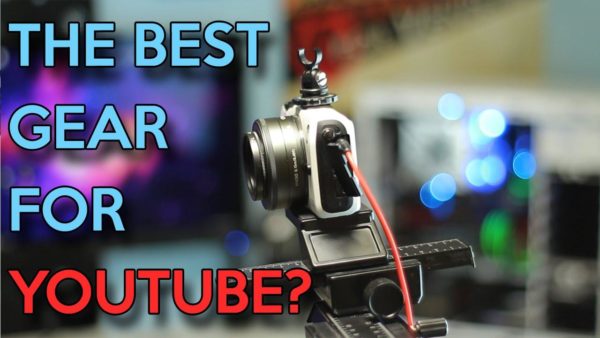
Many newcomers believe that high quality equipment would bring audience and subscribers on channels. But it is a misconception. Most of the successful YouTubers started with a very basic setup. An example is BB ki Vines whose host still uses a phone to shoot his videos. There are many more such examples. But I will not dwell over them as I should talk about how to get things done with basic equipment instead of people who already attained success.
Camera/Videography: The most important device is the camera which we already have in our pocket. I’m talking about our smartphone camera. Nowadays almost every phone comes with a good camera and most of them can record videos in 4K resolution. So, for beginners, the smartphone camera is more than sufficient. All you have to learn is to shoot your videos in manual mode and set the exposure level perfectly. Some default camera apps don’t allow setting the exposure manually so you need to use third party camera apps like FV-5, or Open Camera available on Google Play.
Microphone/Audio: The second most important thing is audio. The built-in microphone in our smartphone is not enough to capture good audio: the output is usually noisy and low. One of the methods of recording good sound does not require investing any additional money: using your headphones’ microphone. Alternatively, you can get an external microphone from Amazon or Flipkart for ₹400 to 500. Avoid buying a microphone which consumes more power as phone would be unable to deliver enough power and you will end up capturing horrible sounding and feeble voice. You can solve this problem to some extent by purchasing an amplifier which will set you back by ₹600 to 2000. And for cleaner sound you can post-process the audio track on your PC using Audacity and on Android using Lexis to reduce the background noise from your vocals.
Editing: At the end of shooting you have to edit your video with many effects like pop-up cards if you explaining any product. You might be thinking about using Adobe Premiere or Final Cut Pro X but for running them you need a computer with powerful hardware. So let me explain to you how to do video editing on a phone.
I mostly use Kinemaster. It is one of most featured apps on the Google Play Store. It comes with useful features like chroma key, layers and online music library. It is free to evaluate and use but for unlocking additional features or removing the watermark you have to subscribe which costs ₹2800 to 2900 per year. If you need even more flexibility and additional choices, you can use PowerDirector and FilmoraGo.
Additional equipment: Some other equipment also helpful for shooting a video include a tripod which is helpful for recording video without shaking and vibrations. You can also use your selfie stick which costs less than ₹100.
For some wide angle shots, you use a mobile camera lens kit from any online retailer for under ₹300. However, I recommend everyone to buy from Amazon or Flipkart.
So, now you can go ahead and launch your YouTube channel on a tight budget.
About the author:

I’m Biplab Das, a technical writer, tech YouTuber, blogger, ICT tutor and a part time website developer. People say smartphones are boring these days, but I think everyone is beginning to take this wonderful technology marvel for granted. Please don’t forget to subscribe to my YouTube channel MoboMotion.


