Introduction
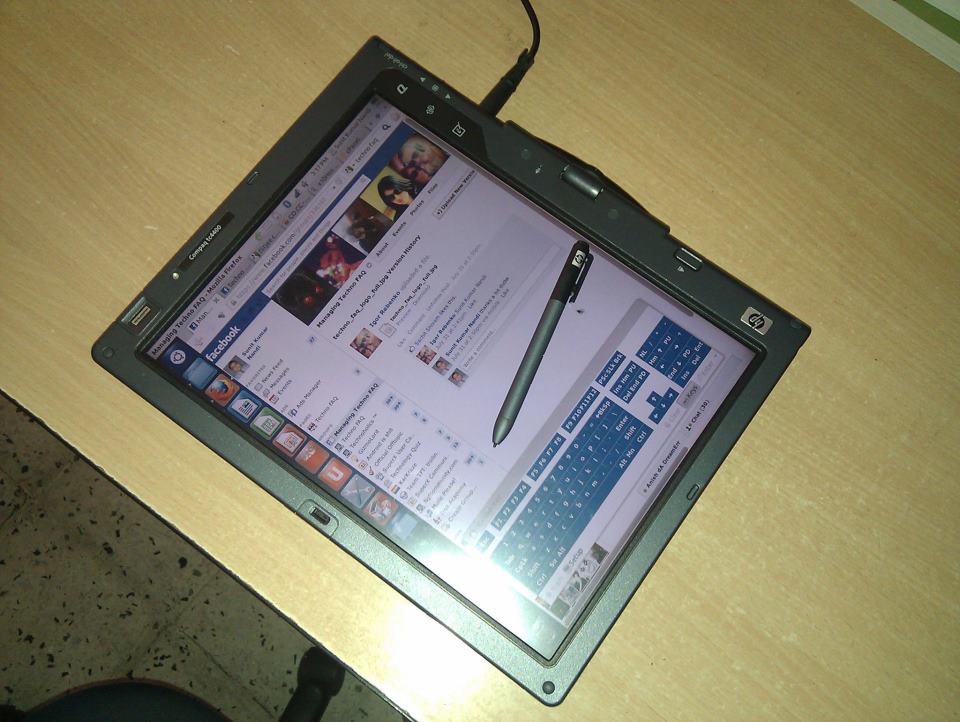
I am one of those quirky guys who happen to own a tablet PC. Quirky in the sense that no one around me except my dad happens to like tablet PCs. Most of my friends are big fans of ARM tablets like the iPad or the Samsung Galaxy Tabs. On the other hand, there’s me that prefers tablets to be high-end performance devices (running a powerful x86 processor). Even though I have a Samsung GT-P3100, my HP tc4400 still never ceases to amaze me with a 13″ display and an amazing Wacom input pen, with which I can write notes and sketch diagrams. It originally came with an 80 GB HDD and 512 MB of RAM with Windows XP Tablet PC pro preloaded. But to keep up with the increasing requirements, I had the RAM upgraded to 4 GB and HDD to 500 GB, which is good enough for dual-booting Windows 7 and any good Linux distribution of my liking. For now, it’s my preferred device at home, until I upgrade to a newer tablet PC.
I’ve read many guides on the internet that have helped me install Windows 7 with the proper drivers. Another couple of guides helped me install Ubuntu and Fedora with fully working tablet hardware. Of late, I have grown averse to GNOME 3. The reason being that it doesn’t really make me feel comfortable any more. The controls in GNOME 3 are not suited for keyboards and mice, and neither is it fully touch-friendly. (Fedora comes with GNOME 3 by default. Ubuntu’s Unity 3D is based on GNOME 3. ) Being stuck halfway in the mess, I decided to switch to another desktop which has a layout similar to GNOME 2.
As if that wasn’t enough, I found that Ubuntu’s packaging system broke in 12.10, which made my device freeze and crash randomly after I did a software update. The 3.5 Linux kernel that came with Ubuntu was buggy as well, with many features not working. I had to compile a 3.7 mainline kernel to get everything working, but my happiness was short-lived. Ubuntu got buggier after every software update and then came a time when one of my external drives went kaput (got corrupted). I switched to Fedora 18, only to find that it was filled with bloatware and ran slowly (and was ugly too).
Having gotten frustrated, I decided to take the plunge and try a random new distro. I came across Manjaro Linux which is based on ArchLinux. It seemed an interesting new distro with Linux kernel 3.9, a rolling release model; and all my favourite apps like Firefox browser, Thunderbird mail, LibreOffice suite, VLC media player, Pidgin internet messenger, Flash Player and even Steam preloaded. Impressed, I gave it a shot.
Downloading and installing
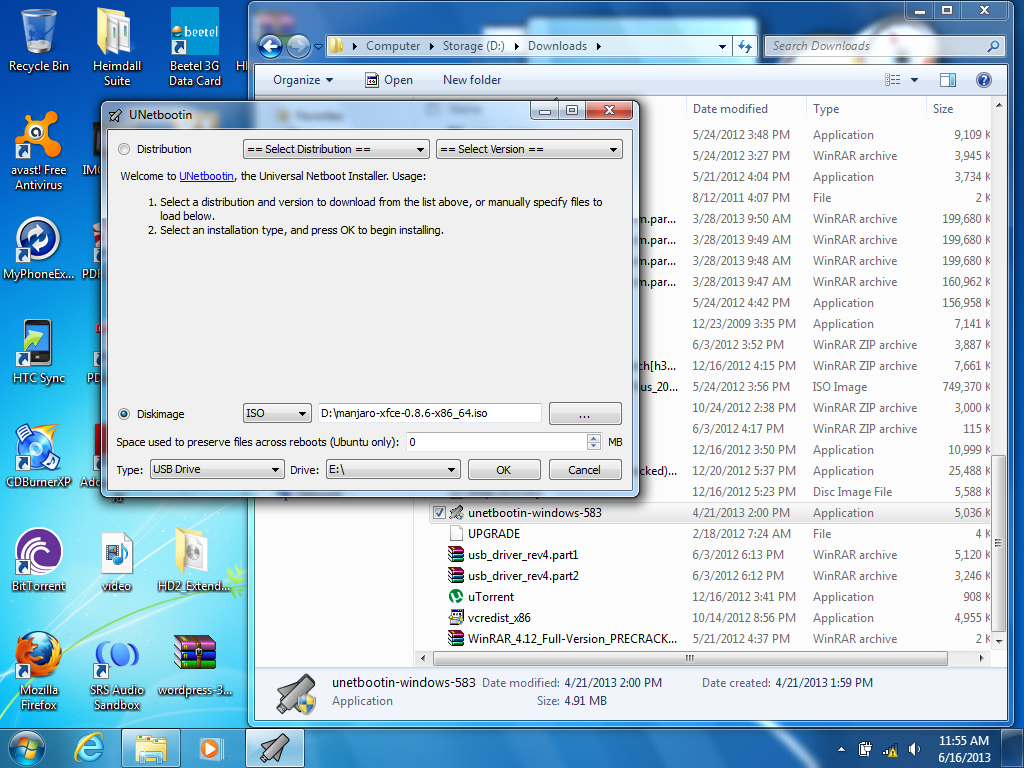
As of now (while this article is being written), the latest Manjaro release is 0.8.6 which can be downloaded from here. I booted to Windows 7, grabbed the XFCE ISO image and saved it to a memorable location on my PC. Using UNetBootin, I created a bootable USB drive from the ISO image.
The process is pretty simple. Just run UNetBootin.exe, select Diskimage, press the 3-dotted button (…) and choose the downloaded Manjaro ISO from that location. Then in the bottom dropdown, choose USB drive, select the correct drive letter (be extremely cautious about choosing the correct drive) and click ‘OK’. Then wait for the wizard to complete the process.
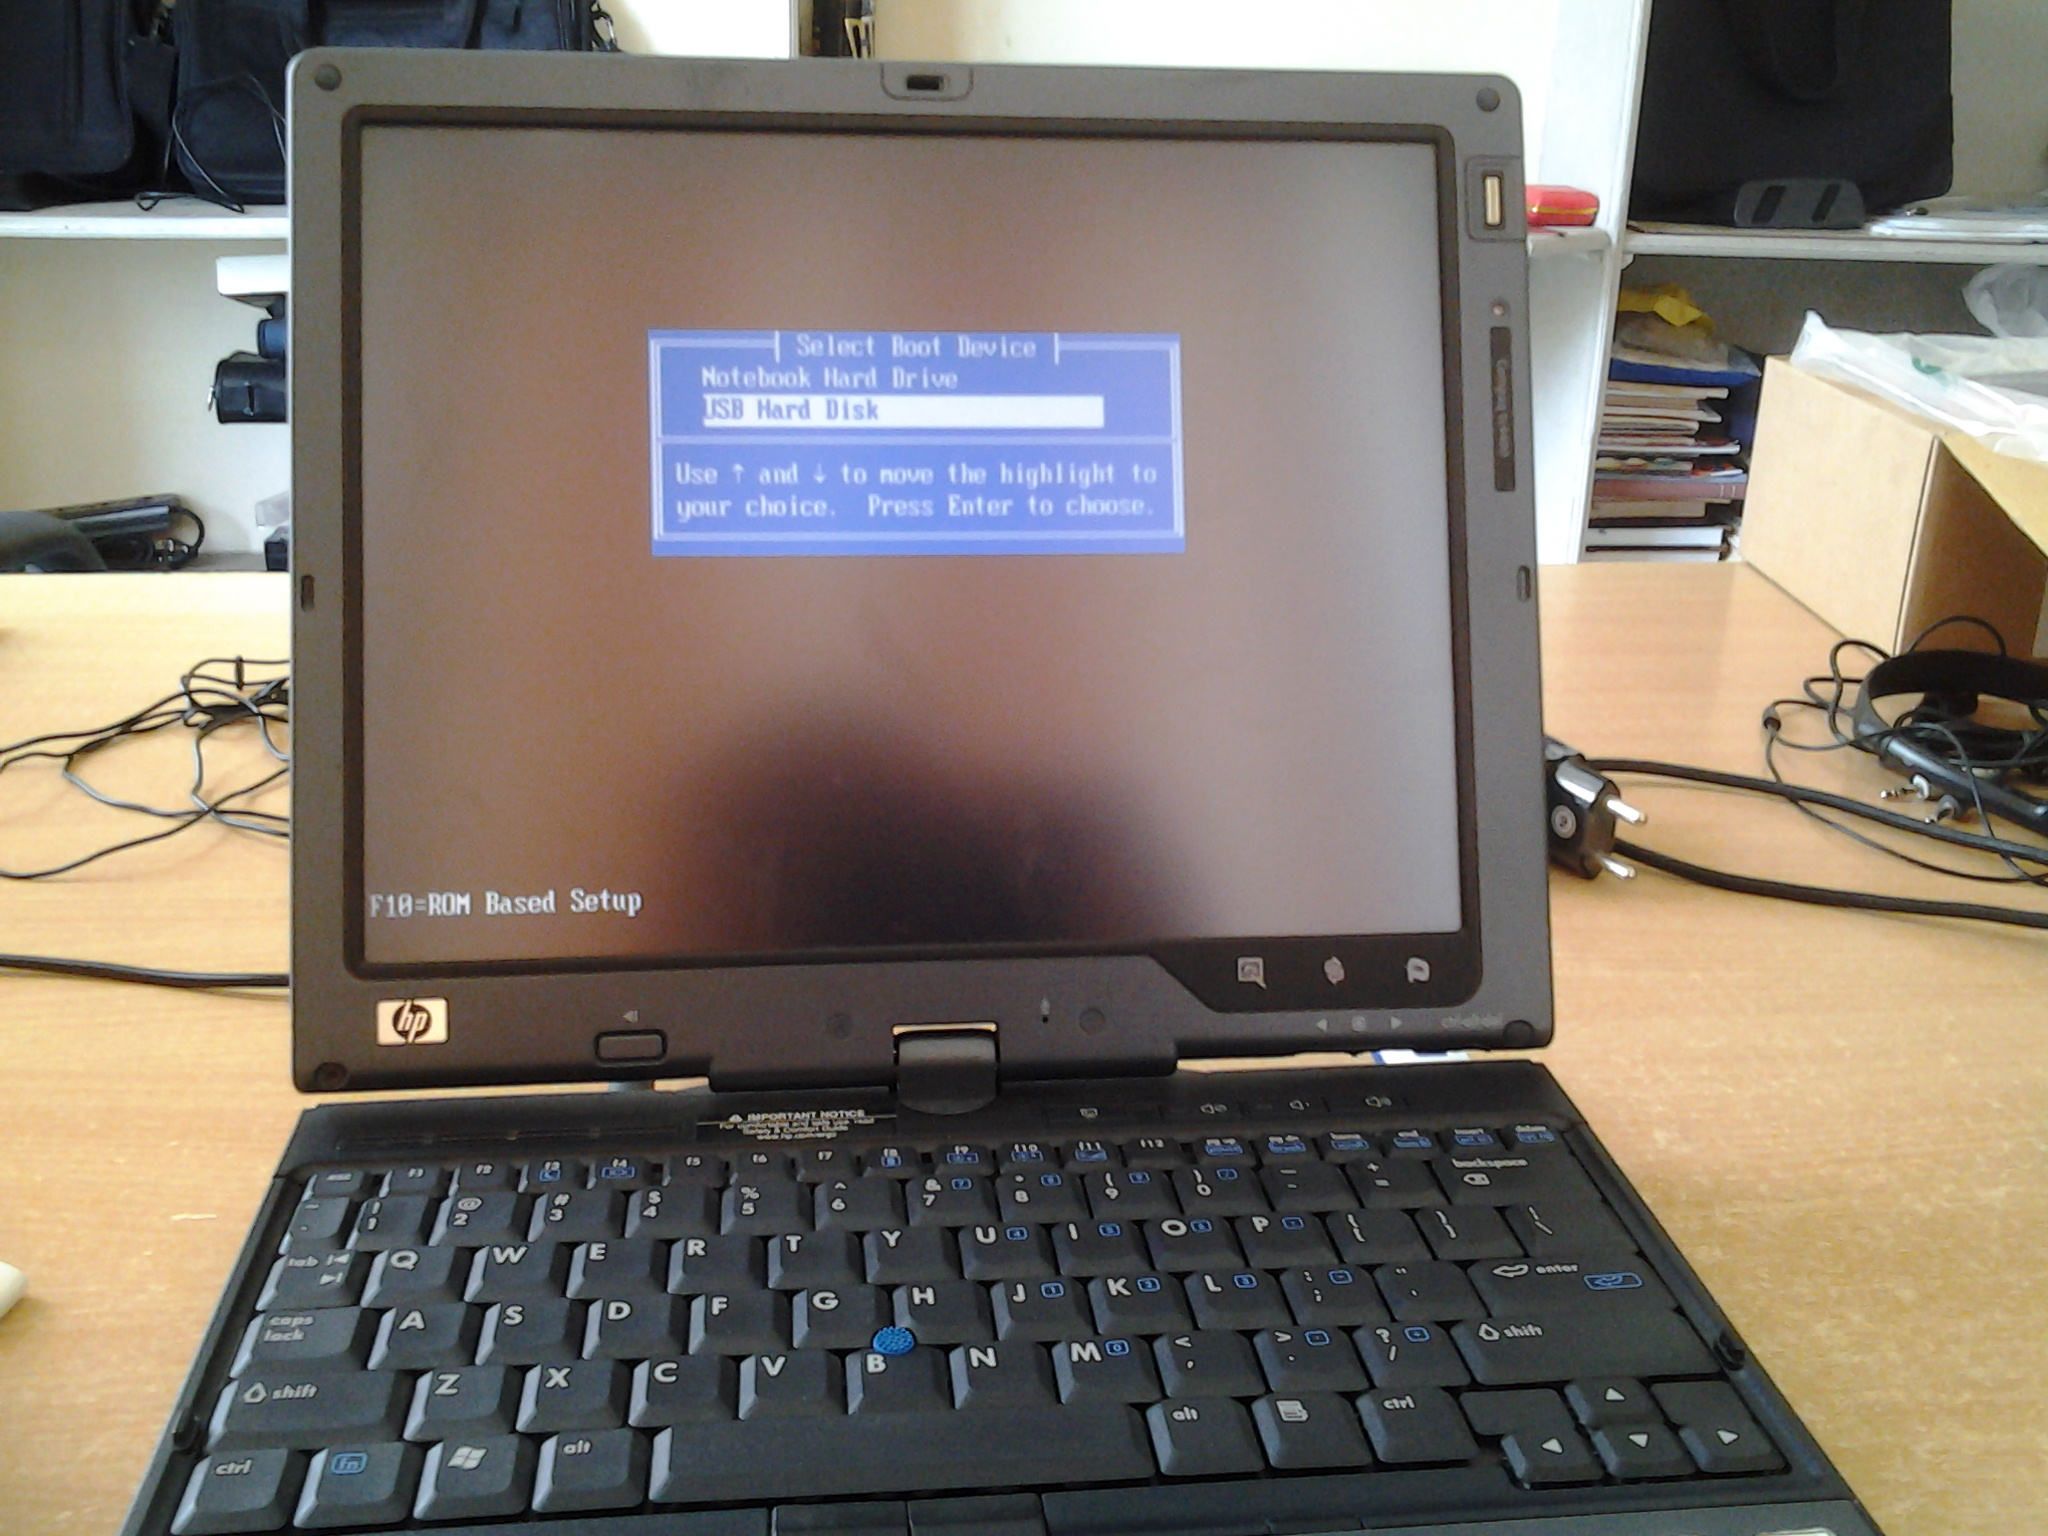
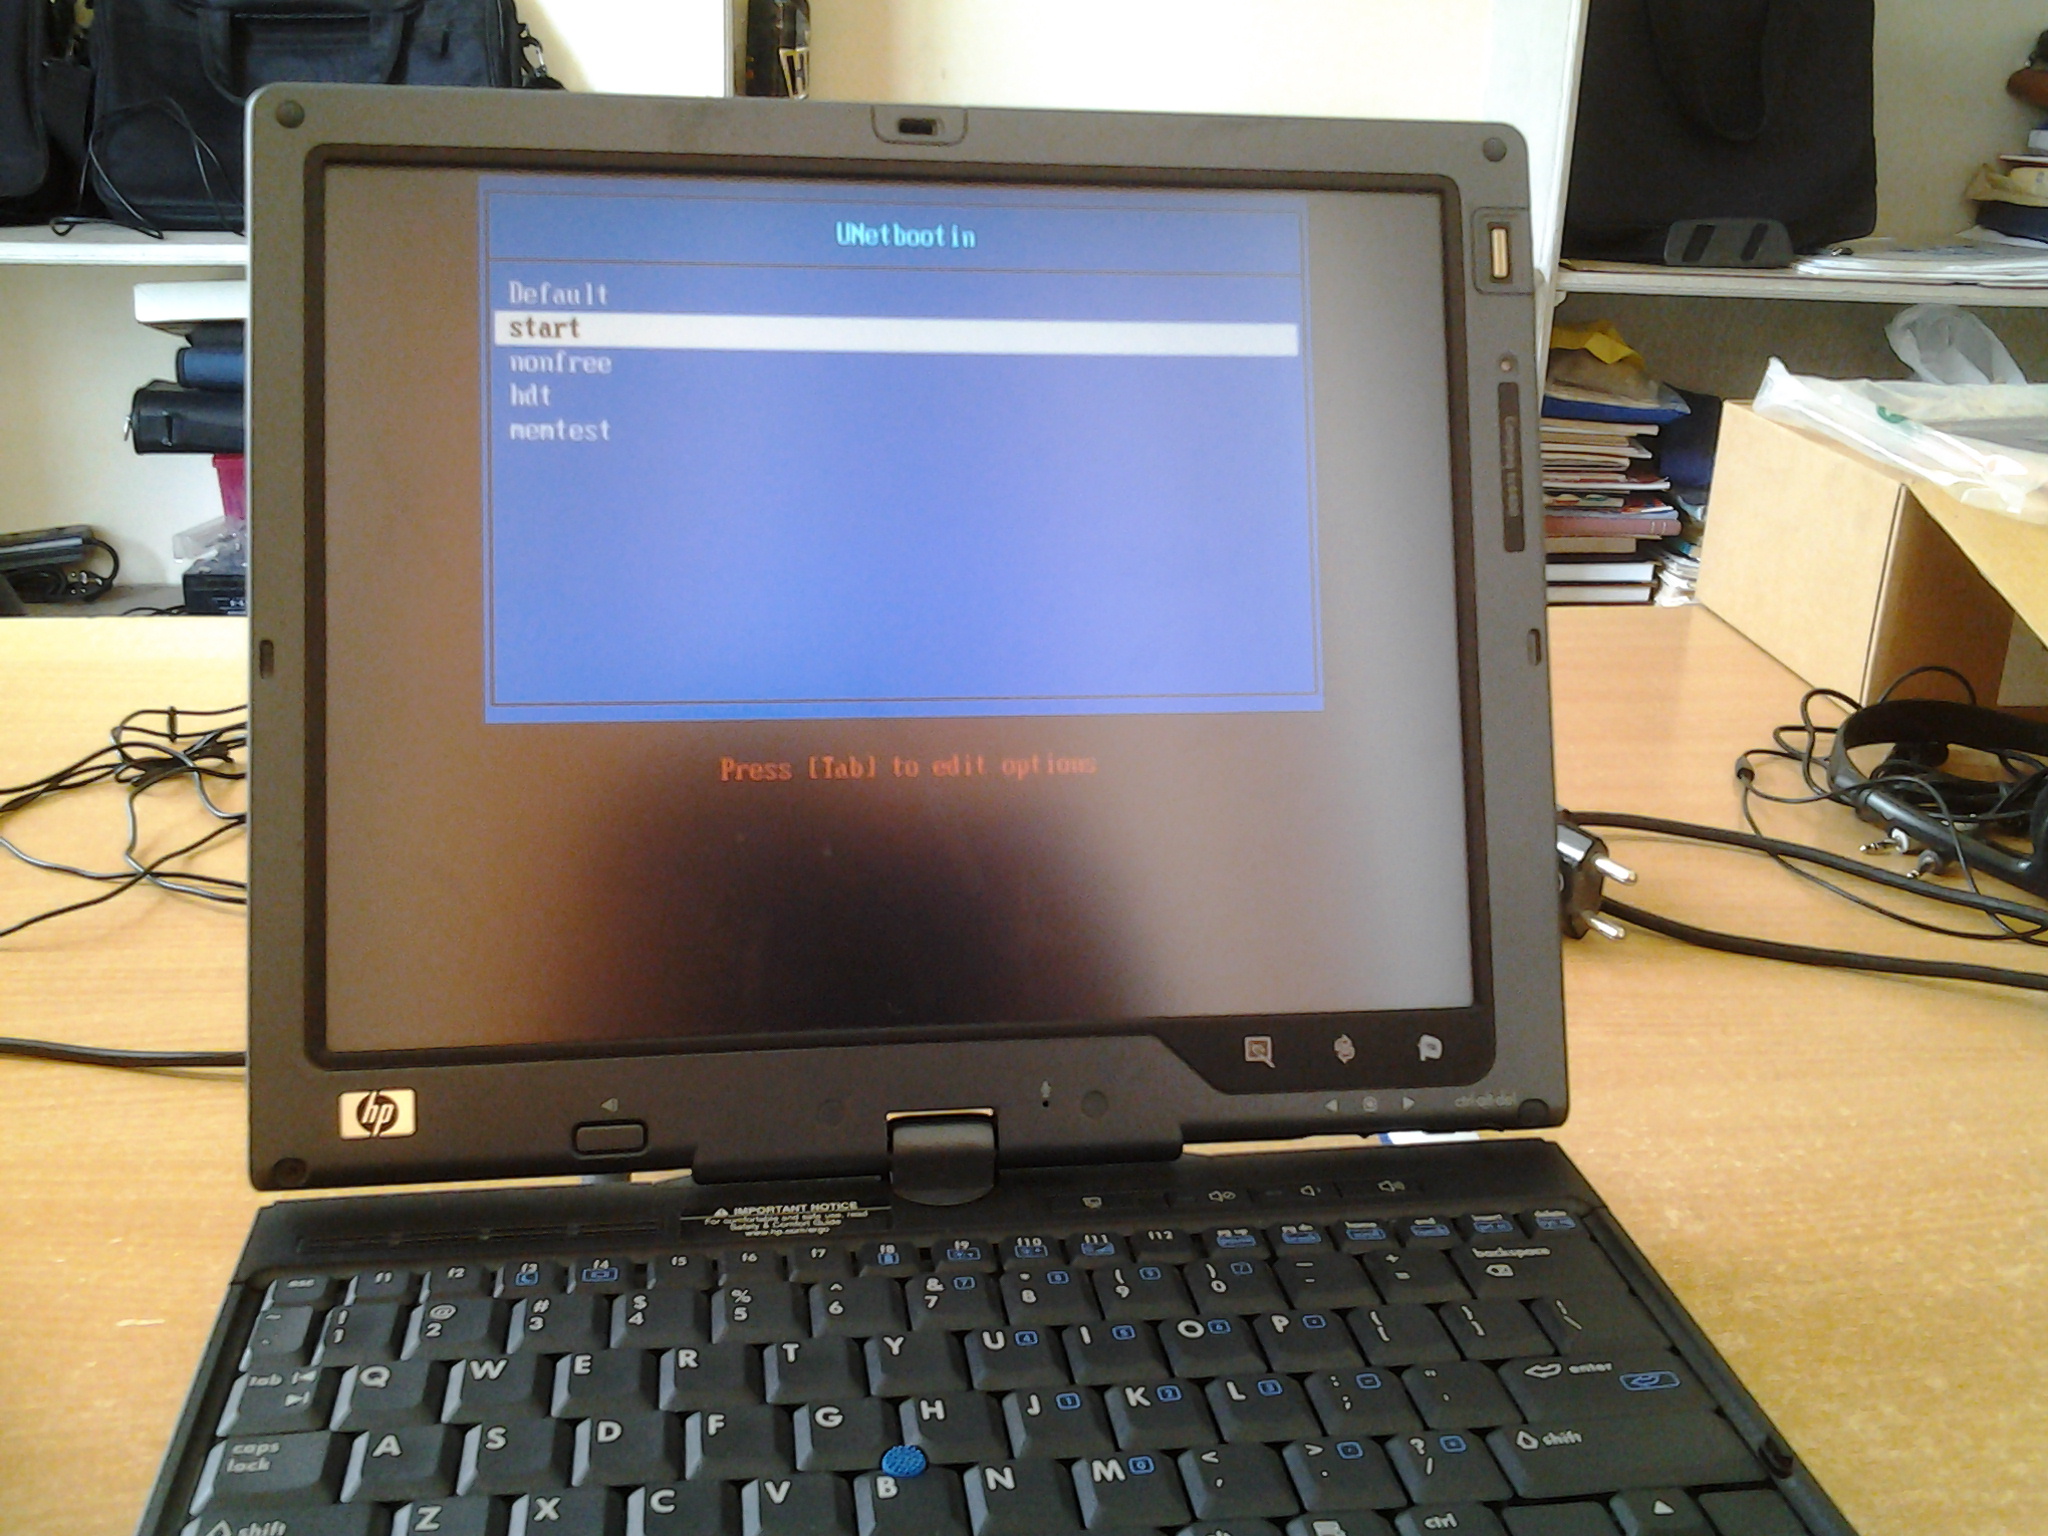
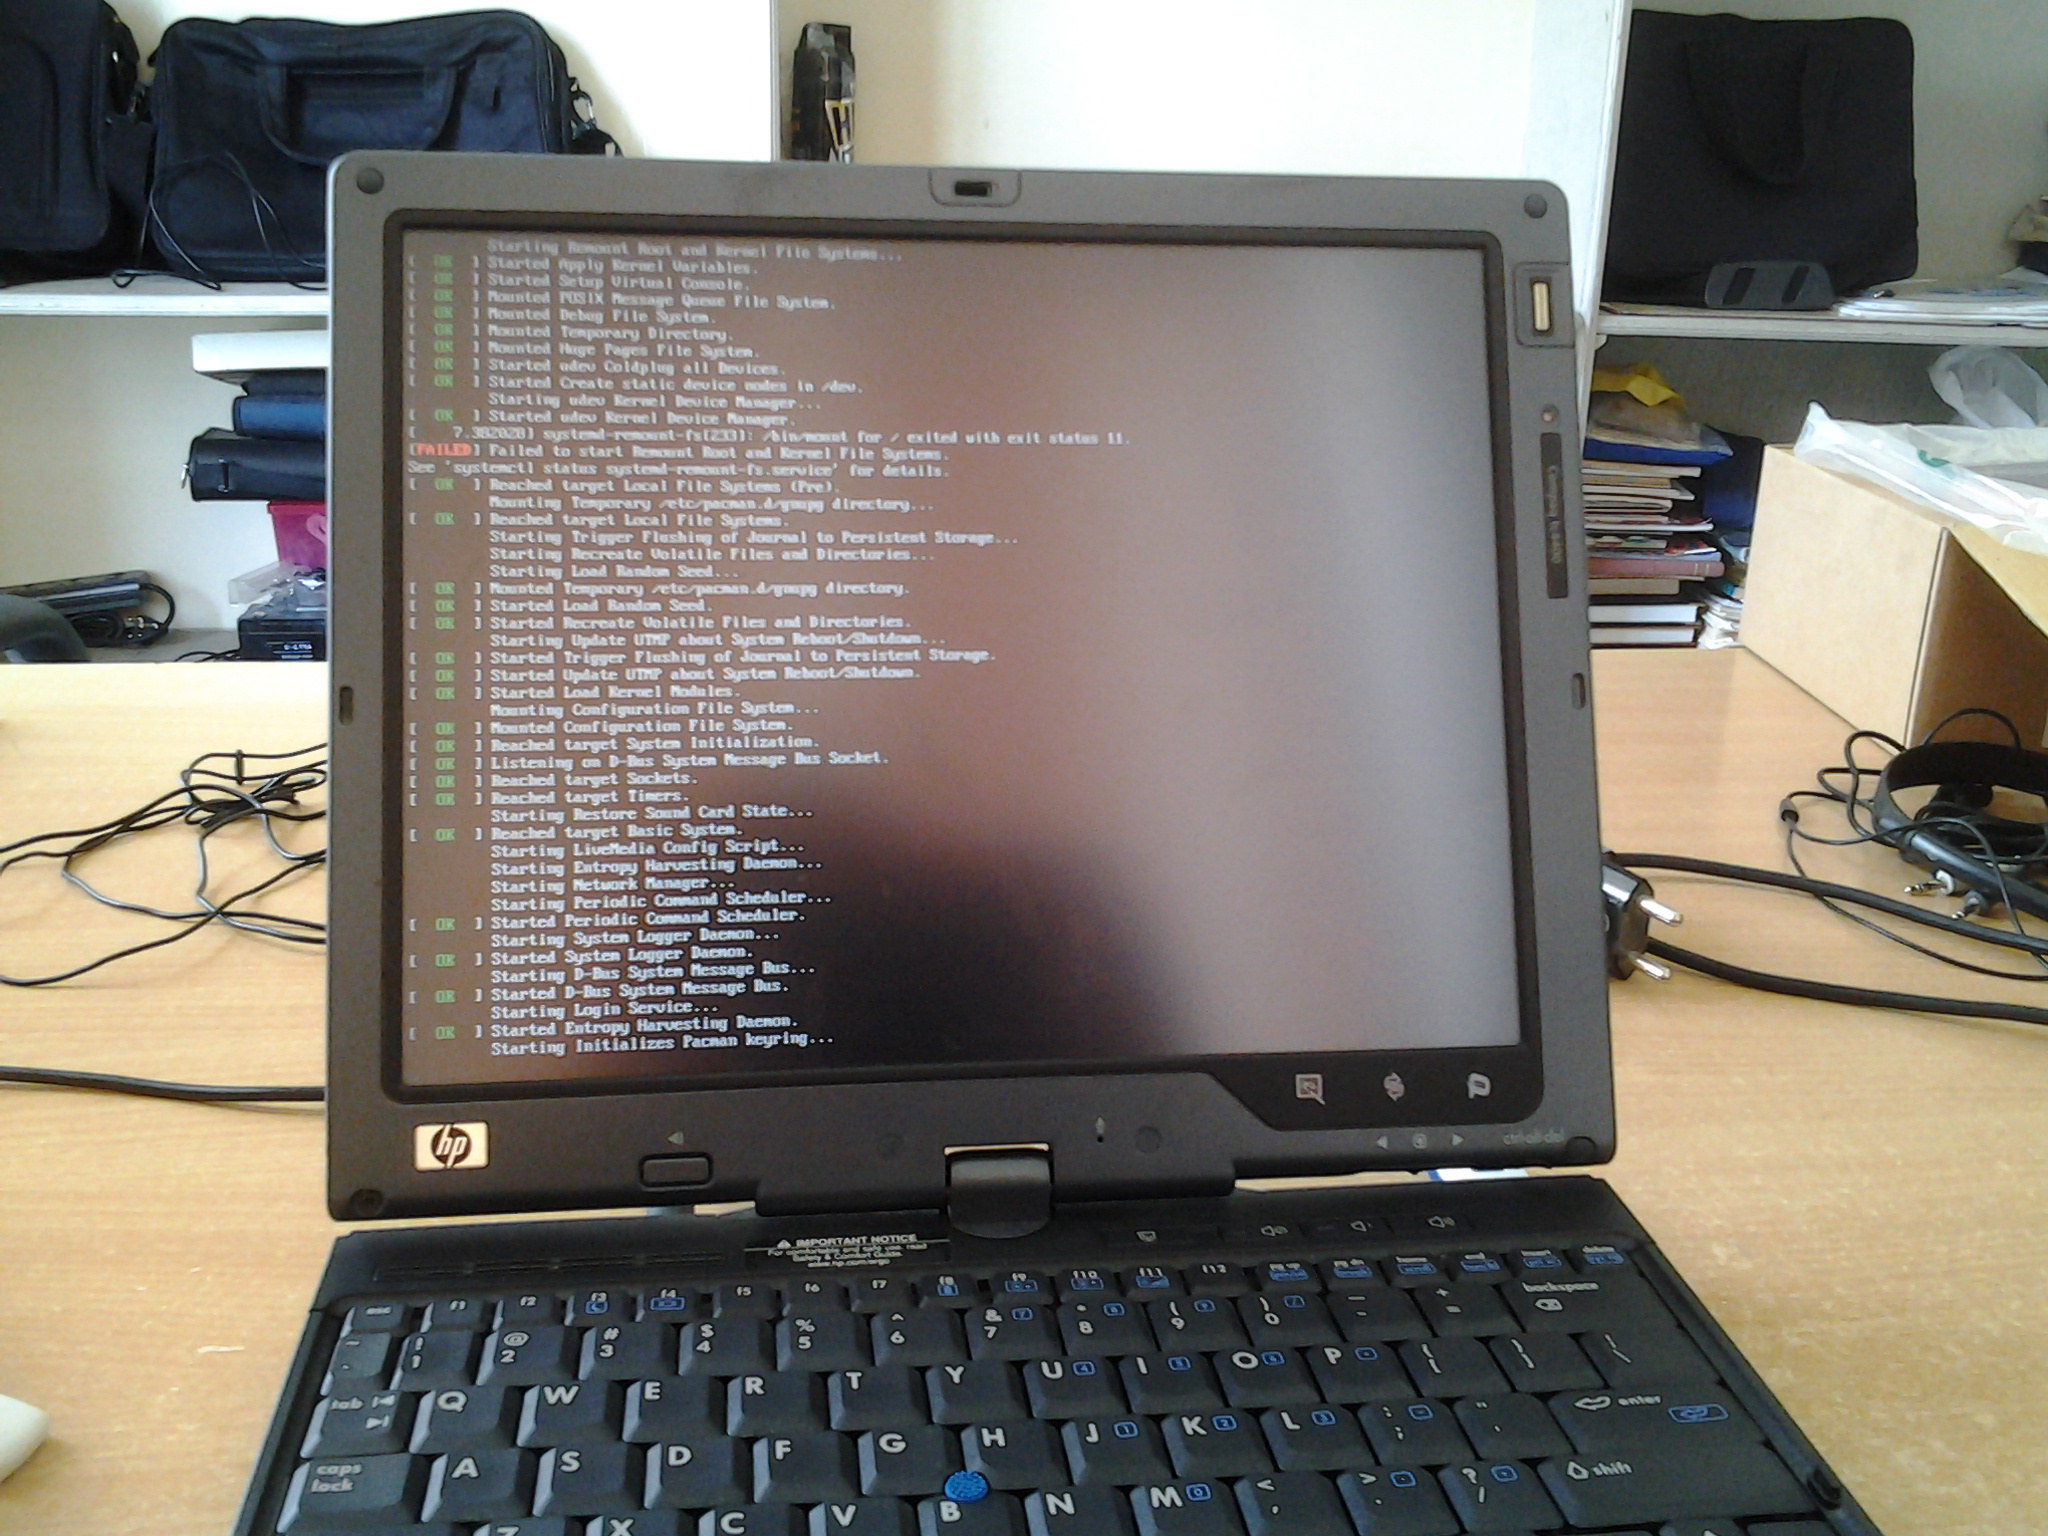
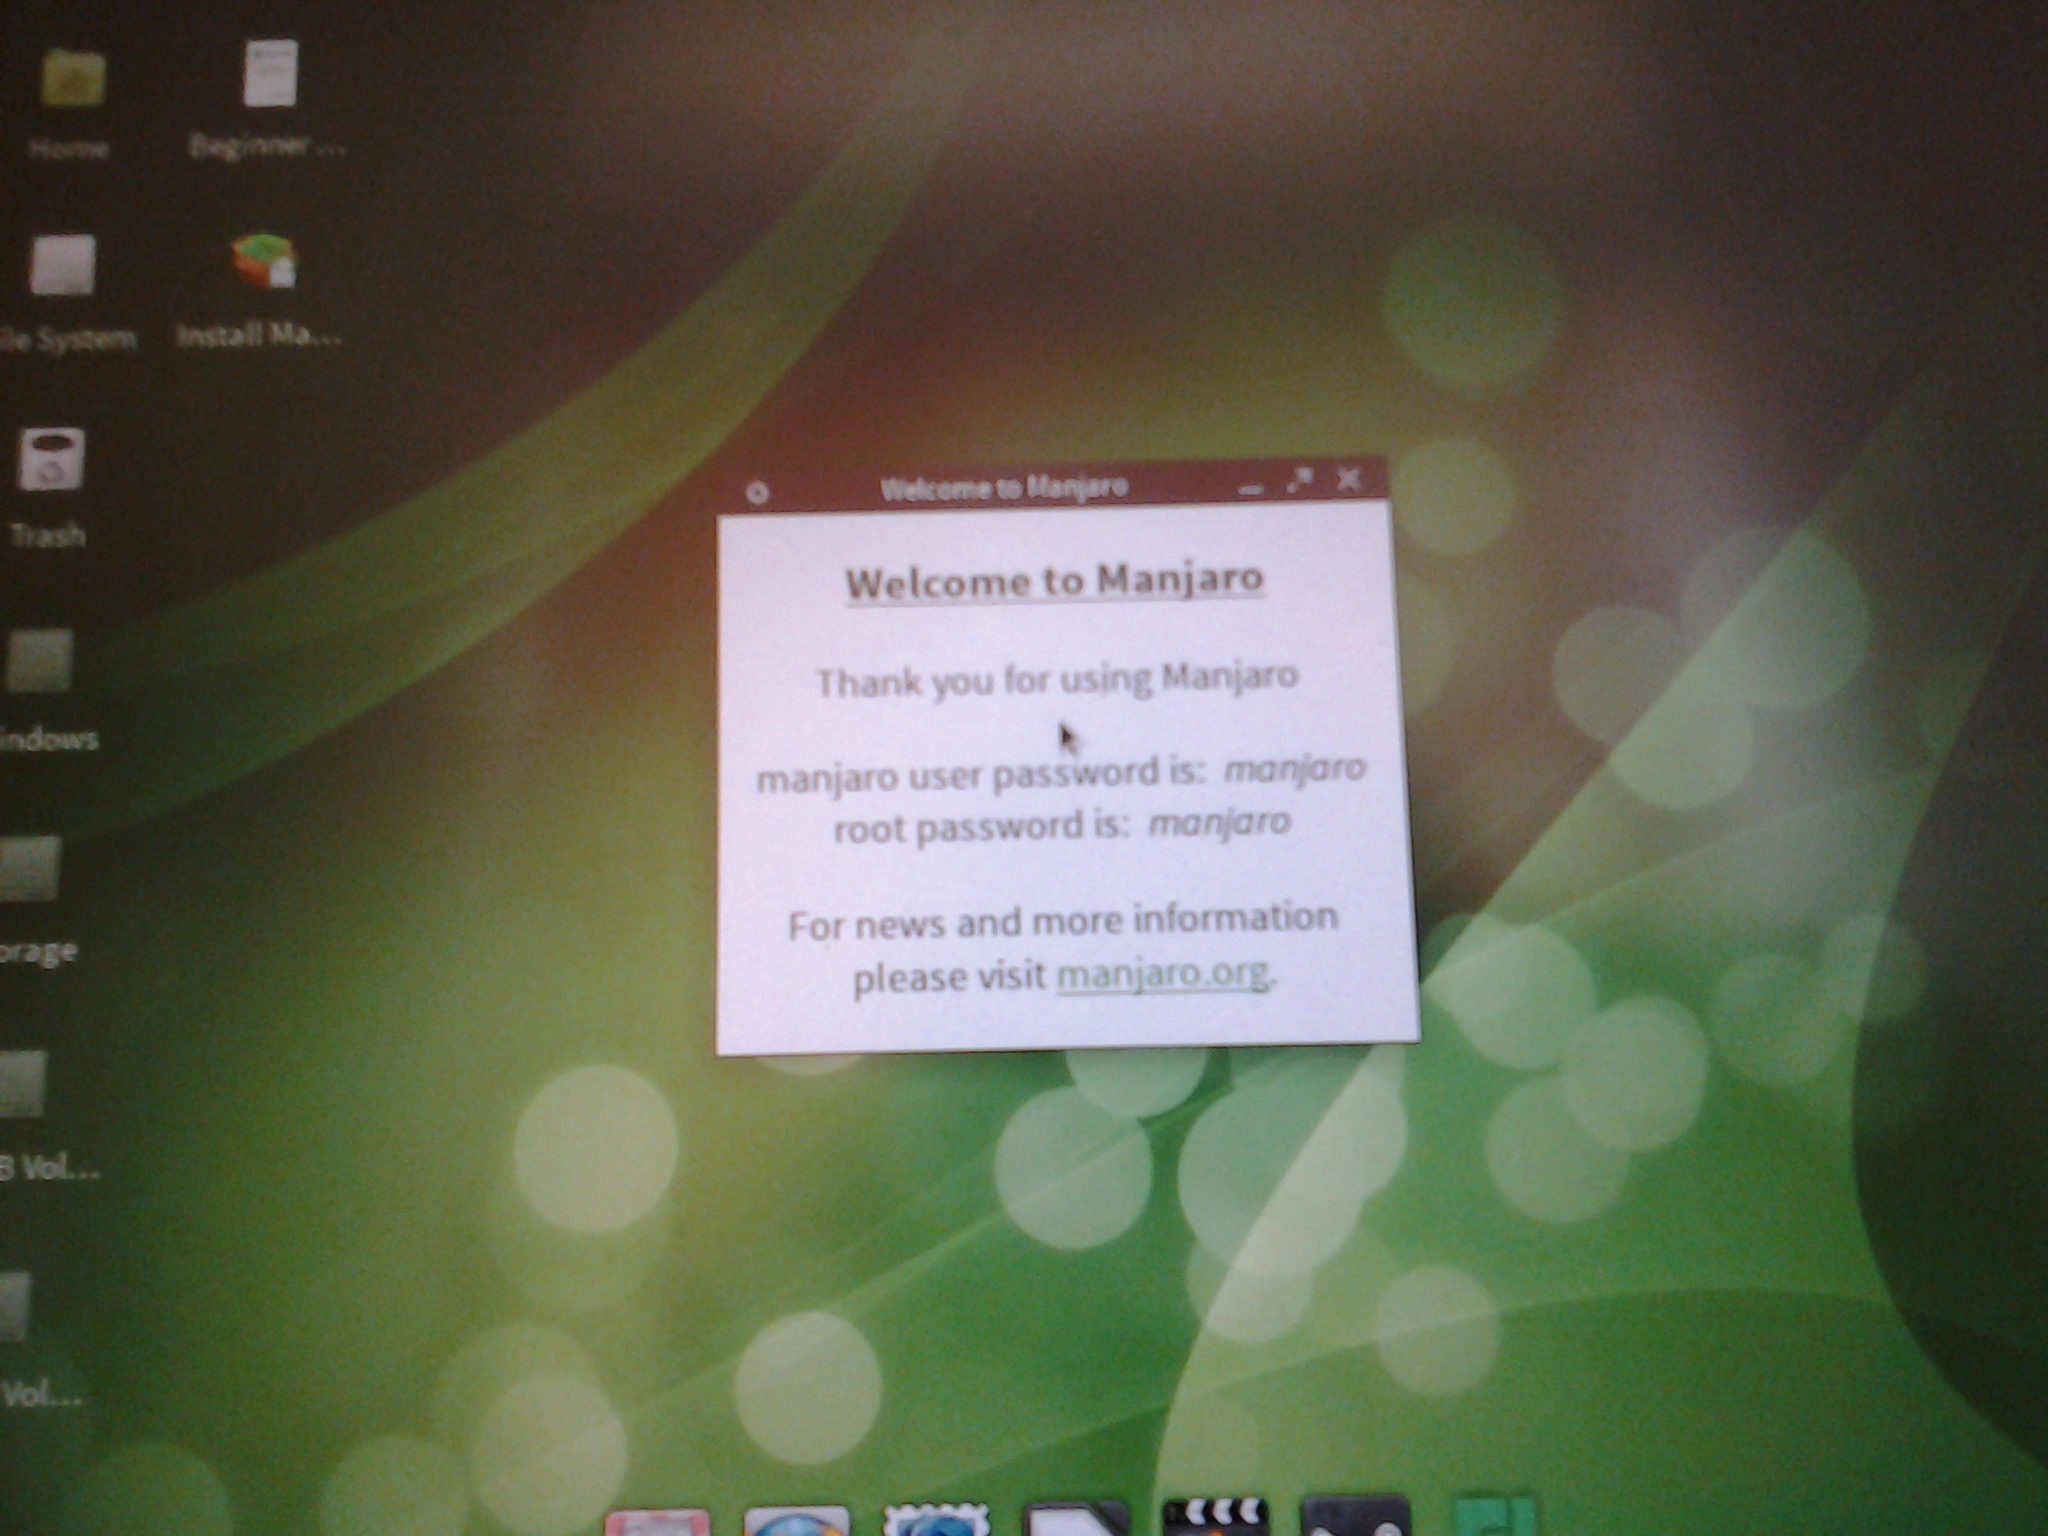
Once finished, I shut down the PC. Then I made sure the USB drive was plugged in and pressed the power on button. Once the BIOS screen appeared, I hit F9 to load the boot devices list, and then chose to boot from ‘USB Hard Disk’. A menu appeared asking about the further course of action. I chose ‘start’ and hit Enter. The Manjaro live session began to boot. A welcome message appears mentioning the password of the live session user.
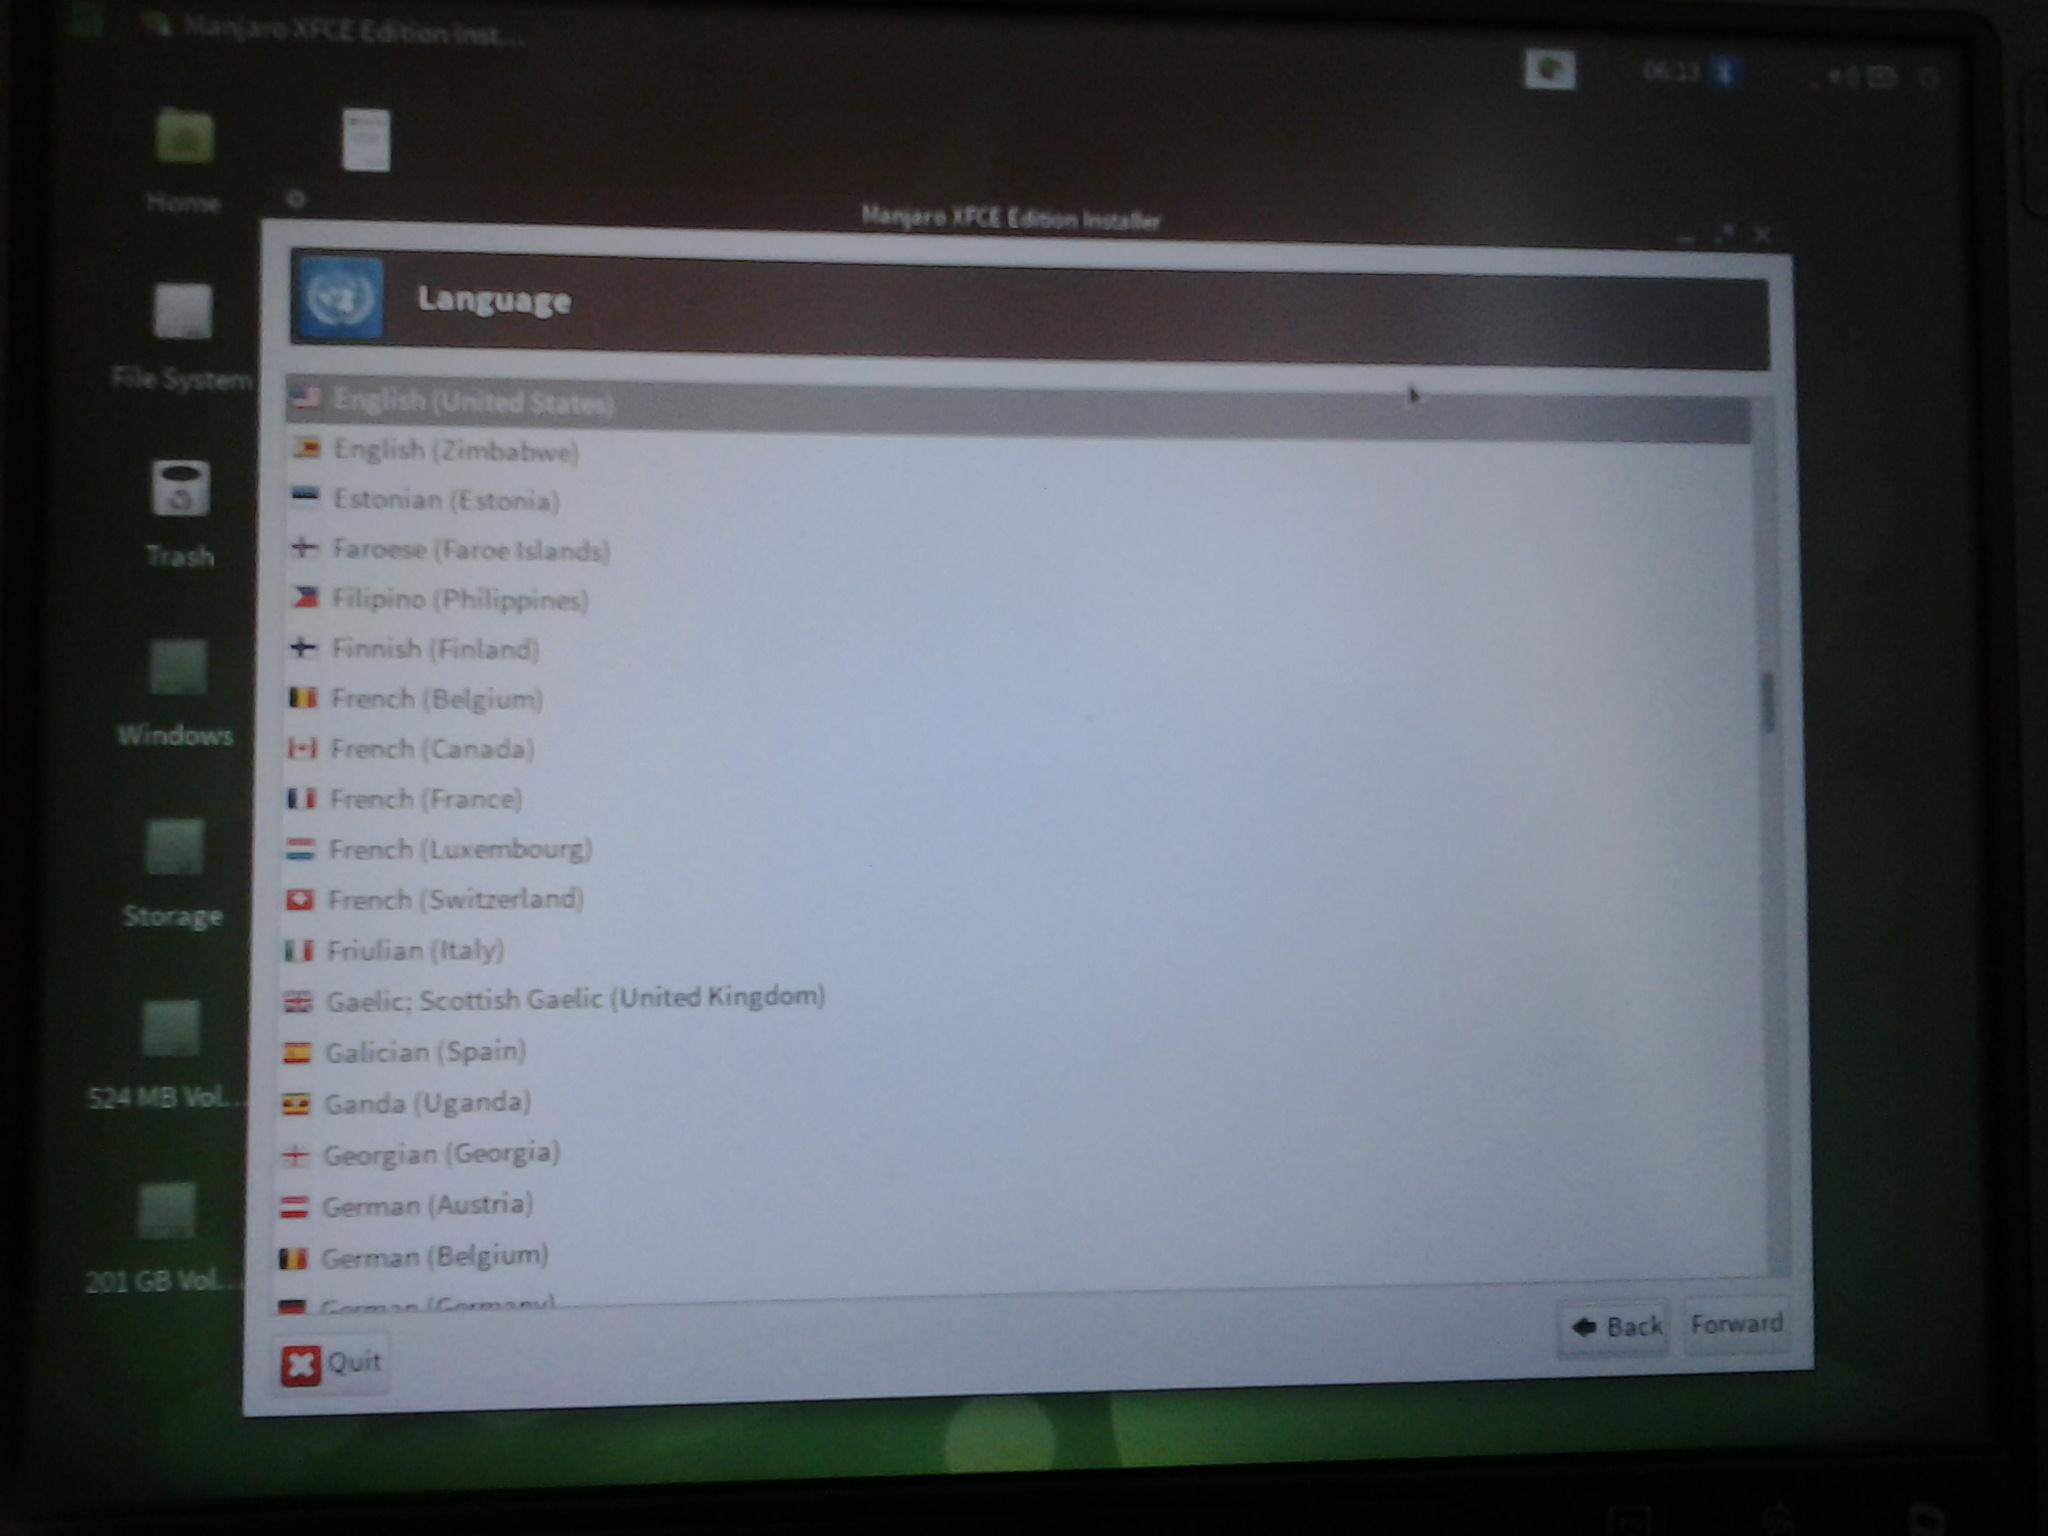
From here, I clicked ‘Install Manjaro Linux’. The installation process is pretty simple with the GUI installer. First it asks you to set up some defaults like keyboard, time zone, initial user, then it asks for choosing drive partitions. Once that’s done, all I needed to do was just wait for it to copy files and install my new system.
For any assistance regarding installation, please do give this a read.
Getting ready after the first boot
Once the installation was done, I booted my PC by choosing Manjaro on the GRUB boot menu screen. I logged in with the username and password I created.
If you reside in a college or university campus and the only way to access the internet is via a proxy, have a look here.
If you have problems setting the date and time, or the clock is incorrectly set, see here.
Before installing any new software, I did a software update. It was as simple as opening a terminal and typing:
sudo pacman -Syu
Enter your password when asked.
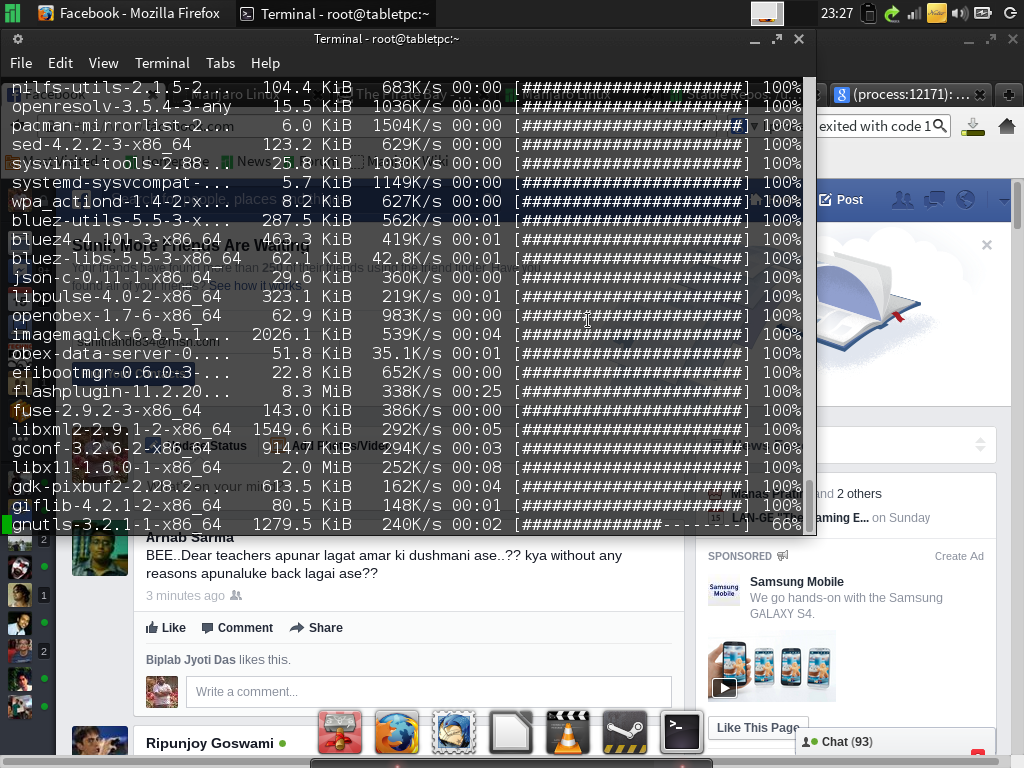
I waited for the update to get over. Then I rebooted my system.
Pacman is ArchLinux’s package management system, and obviously Manjaro’s as well. This article on Pacman on Manjaro’s wiki provides enough details about installing, removing and updating software.
Getting Wacom tablet drivers to work
Wacom pen drivers usually work out-of-the-box on Manjaro, but in case, if the pen isn’t detected, you can install it by typing the following command in the terminal:
sudo pacman -S xf86-input-wacom
and then rebooting the PC. The pen should henceforth be detected.
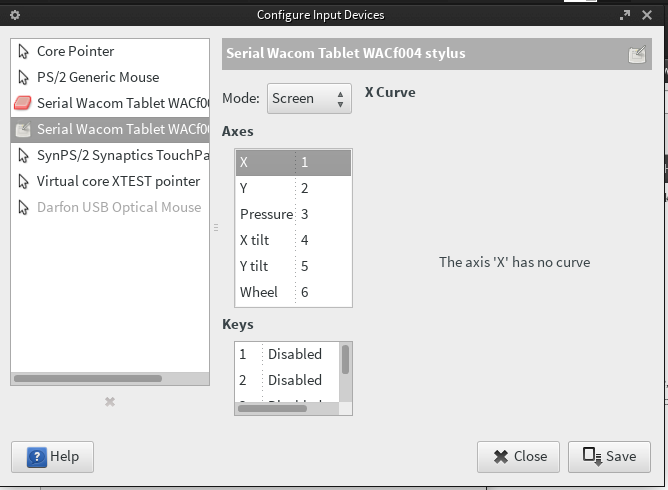
XFCE desktop, unlike GNOME and KDE, does not have a GUI utility to configure the Wacom pen. So the only way to configure it is to use the xsetwacom command.
Issuing
xsetwacom --list
returns the following:

which means that the device has been detected properly. The button and the eraser work as they should, like in Windows or Ubuntu. Remapping is not needed, but in case you need to change something, see this article on Linux Wacom Project.
Enabling auto-rotation
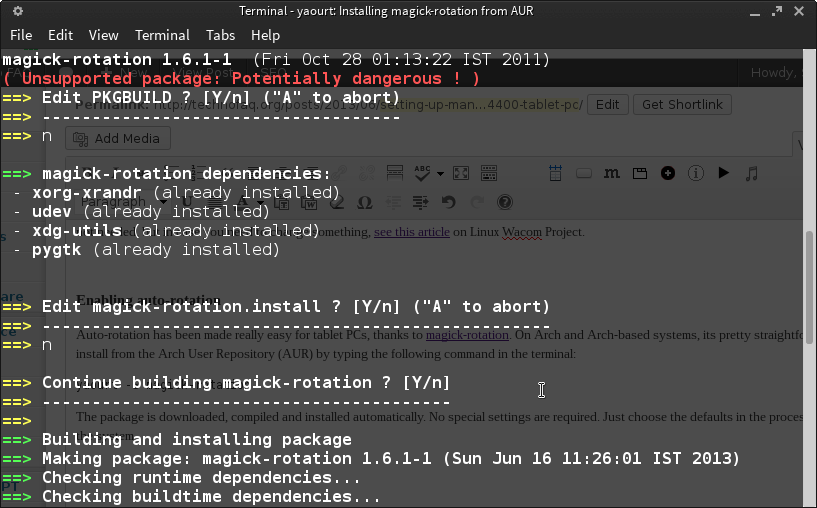
Auto-rotation has been made really easy for tablet PCs, thanks to magick-rotation. On Arch and Arch-based systems, its pretty straightforward to install from the Arch User Repository (AUR) by typing the following command in the terminal:
yaourt -S magick-rotation
The package is downloaded, compiled and installed automatically. No special settings are required. Just choose the defaults in the process and follow any extra steps if mentioned, like adding your user to the ‘magick’ group. The process is self-explanatory. Reboot the system once the process is complete.

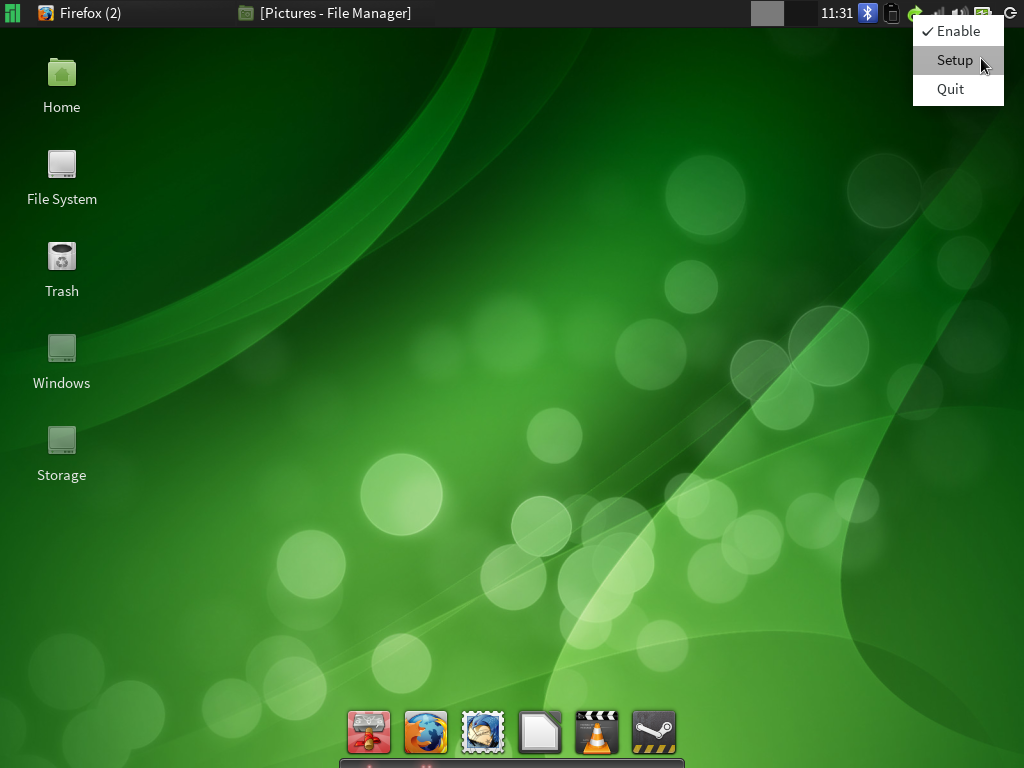
Once back into the desktop, you will see a arrow icon on the applet tray. Right click it and click setup. Checkmark ‘BIOS hinge switch values reversed’. Click ‘save’ and then ‘close’.
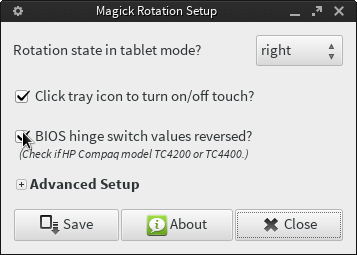
Flip the screen and lock it in tablet mode, the screen should rotate automatically to the right in portrait mode. Flip it back up and it should return to normal. That’s it!
Working with tablet apps
Now that the tablet hardware was finally working, I needed to get myself some tablet apps, like an onscreen keyboard, a painting/drawing tool, a gesture recognition system and a journal for note taking.
What I installed was
- GIMP: the very popular open source image manipulation program.
- Inkscape: open source vector graphics designing
- CellWriter: onscreen keyboard with handwriting recognition
- easystroke: gesture recognition
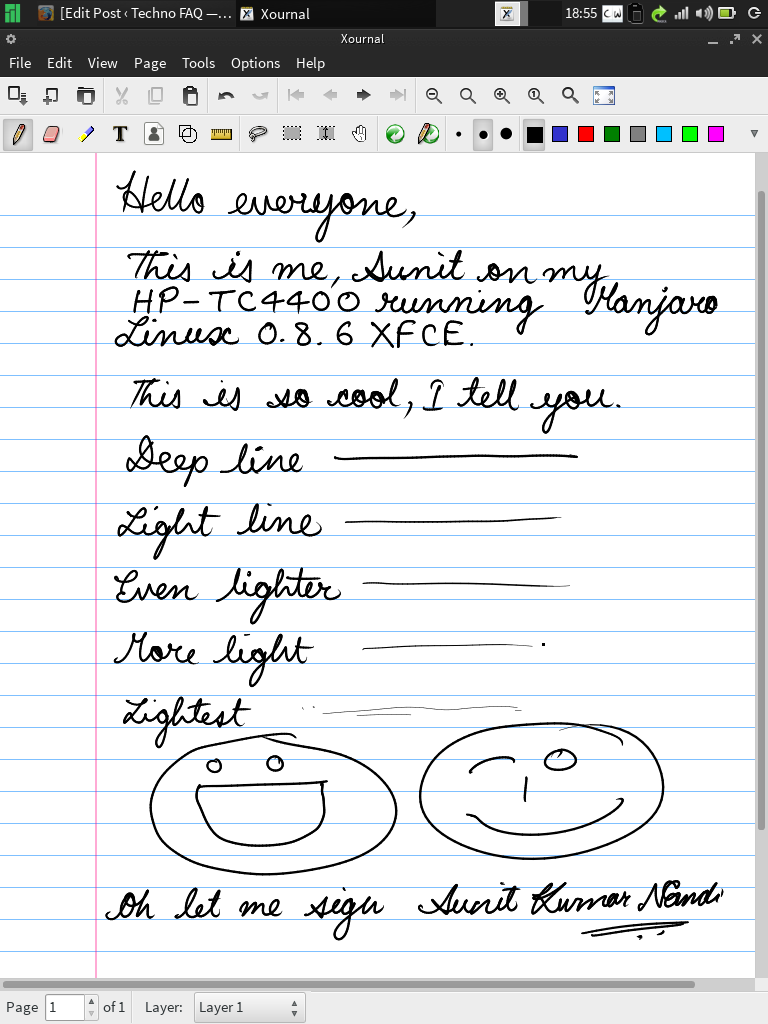
- Xournal: a program for taking handwritten notes
To install all the above, I typed in the terminal:
sudo pacman -S gimp inkscape cellwriter easystroke xournal
Done!
Now we need to get pressure sensitivity and eraser working in GIMP and Xournal to make the tablet emulate pencil and paper sketching.
Getting GIMP to work with the Wacom pen
1. Launch GIMP using the pen tablet. Don’t use the mouse to launch GIMP. If you do, GIMP won’t detect it.
2. In the menu click Edit > Preferences.
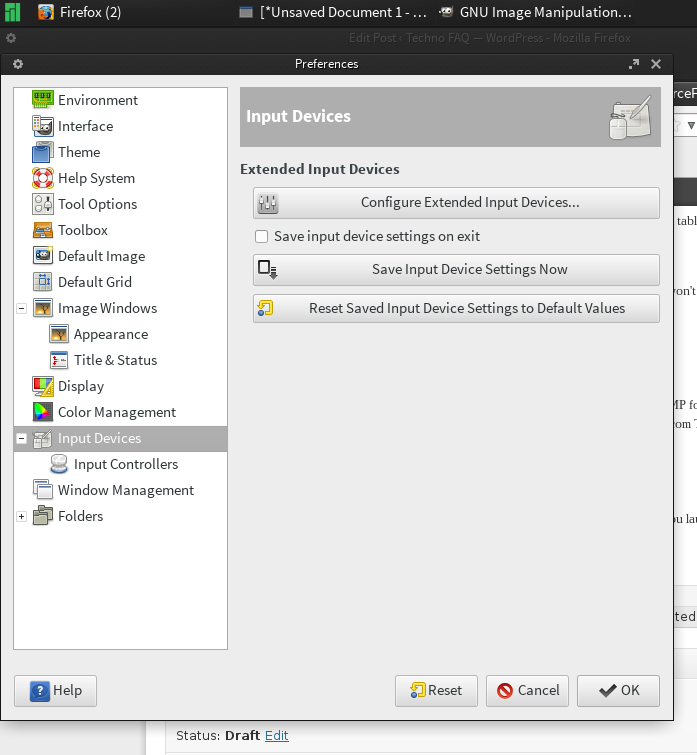
3. On the list click ‘Input Devices’.
4. Click ‘Configure Extended Input Devices’. Here is where GIMP gets weird. If you started GIMP for the first time using a mouse, it will say there are no available input devices. But if you launched it using the pen tablet, you will see ‘Serial Wacom Tablet Stylus’ and ‘Serial Wacom Tablet Eraser’. Select each of them and set mode to ‘screen’.
5. Click the Close Button.
6. Click ‘Save Input Device Settings Now’ so that the pen tablet will still be supported when you launch GIMP next time.
Begin sketching and see the pressure sensitivity work.
Getting Xournal to work with the Wacom pen
1. Launch Xournal using the pen tablet.
2. In the menu, click Options. Checkmark ‘Eraser tip’ and ‘Pressure sensitivity’.
3. Click Options and then ‘Save preferences’.
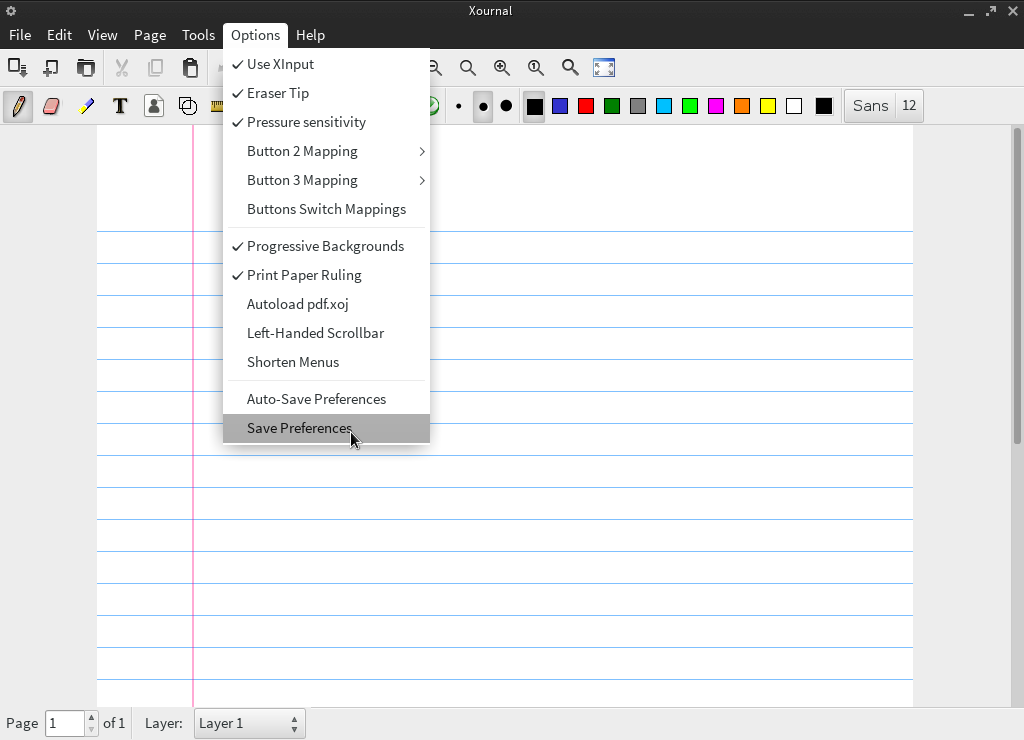
Begin taking notes, and you’ll notice that it works flawlessly.
Conclusion
After going through the entire process, I decided to call it a day. Everything I needed was working. The only thing that didn’t work is: the 3 touch keys on the sides of the screen. I cannot suggest anything to get it to work because the HP Quick Launch buttons driver is not available for Linux. This isn’t really a very big deal, as the rotation controls and CellWriter shortcuts are always present on the applet tray. Nevertheless, a full-fledged tablet mode was working perfectly on a non-tablet OS.
I must thank my friends Aisheng Miso (DoomKookie), Wrishiraj Kaushik (Wrix) and Varun Priolkar for answering my never-ending questions on Linux and FOSS. I would also like to thank Sachit Shivam for giving me company and never letting me feel alone while being in the midst of any trouble.
I hope you all liked this guide. If you have a TC4400 or a similar tablet PC, I hope this guide was helpful. In case you have any problems setting up your tablet on any Linux distribution, do post on our Facebook group or forum, and I’ll try my best to assist you.

2 Comments
Sachit Shivam
16 June, 2013Always glad to help in any way that I can, brother
=D
Dayara
16 June, 2013Thank you for the tutorial.