Artificial intelligence has completely transformed the landscape of digital creativity, making advanced visual manipulation accessible to everyone from casual hobbyists to seasoned professional designers. Gone are the days when achieving studio-grade photo enhancement required hours of tedious masking, intricate layer adjustments, and months of complex software training. Today, modern creators can bring their wildest imaginations to life using intelligent models that understand natural language commands and deep visual context.
Among the most exciting breakthroughs in this rapidly evolving space, text-to-image and image-to-image generation frameworks have gained massive popularity for their lightning-fast processing speeds and unprecedented, precise control. Entering this dynamic, highly competitive environment, new platforms and generative models are continually pushing the boundaries of what is possible on a digital canvas. Whether you want to fix lighting issues, completely swap out background elements, seamlessly blend concepts, or generate stunning graphic assets from scratch, mastering these next-generation utilities opens up a world of endless creative opportunities.
This beginner’s guide will walk you through the essential strategies, foundational steps, and practical applications needed to elevate your digital imagery safely and efficiently. By understanding the core mechanics of AI-assisted creation, you can confidently turn basic ideas into breathtaking, campaign-ready masterpieces.
Getting Started with the Interface and Basic Navigation
Navigating a modern artificial intelligence graphics platform for the first time can feel slightly overwhelming, but layout structures are designed with maximum simplicity in mind. When you open your editing dashboard, you will generally find a clean workspace featuring a central visual canvas, a primary text prompt box, and a sidebar for adjusting aspect ratios and creative settings.
To begin your editing journey efficiently, you can either upload an existing reference photograph or start entirely with a blank canvas by utilizing a descriptive text command. For those utilizing the Nano Banana 2.5 GemPix tool, it is important to familiarize yourself with where the specific generative menus are located. Take a few minutes to explore the dashboard components, test out default settings, and understand how the system handles file uploads and formats like JPEG or PNG. Building this initial familiarity ensures a much smoother workflow for your creative projects.
Mastering Prompt Engineering for Precise Photo Modifications
The true secret behind achieving professional-grade results with smart photo editors lies in the developing art of prompt engineering. Unlike traditional tools where you manually drag sliders to change exposure or saturation, text-driven systems rely entirely on how clearly you phrase your instructions. When formulating a prompt, always start with the main subject, followed by its specific physical attributes, the surrounding environment, lighting conditions, and the overarching stylistic mood.
For example, instead of typing “a dog in a park,” instruct the AI to generate “a golden retriever sitting on bright green grass during a golden hour sunset, highly detailed.” Furthermore, when editing an existing image, specify exactly what needs to be changed and what must be preserved. If you want to alter a model’s shirt color, explicitly state the new color while instructing the software to maintain the original facial features. Practicing these techniques immensely speeds up your workflow.
Transforming Reference Images with Image-to-Image Generation
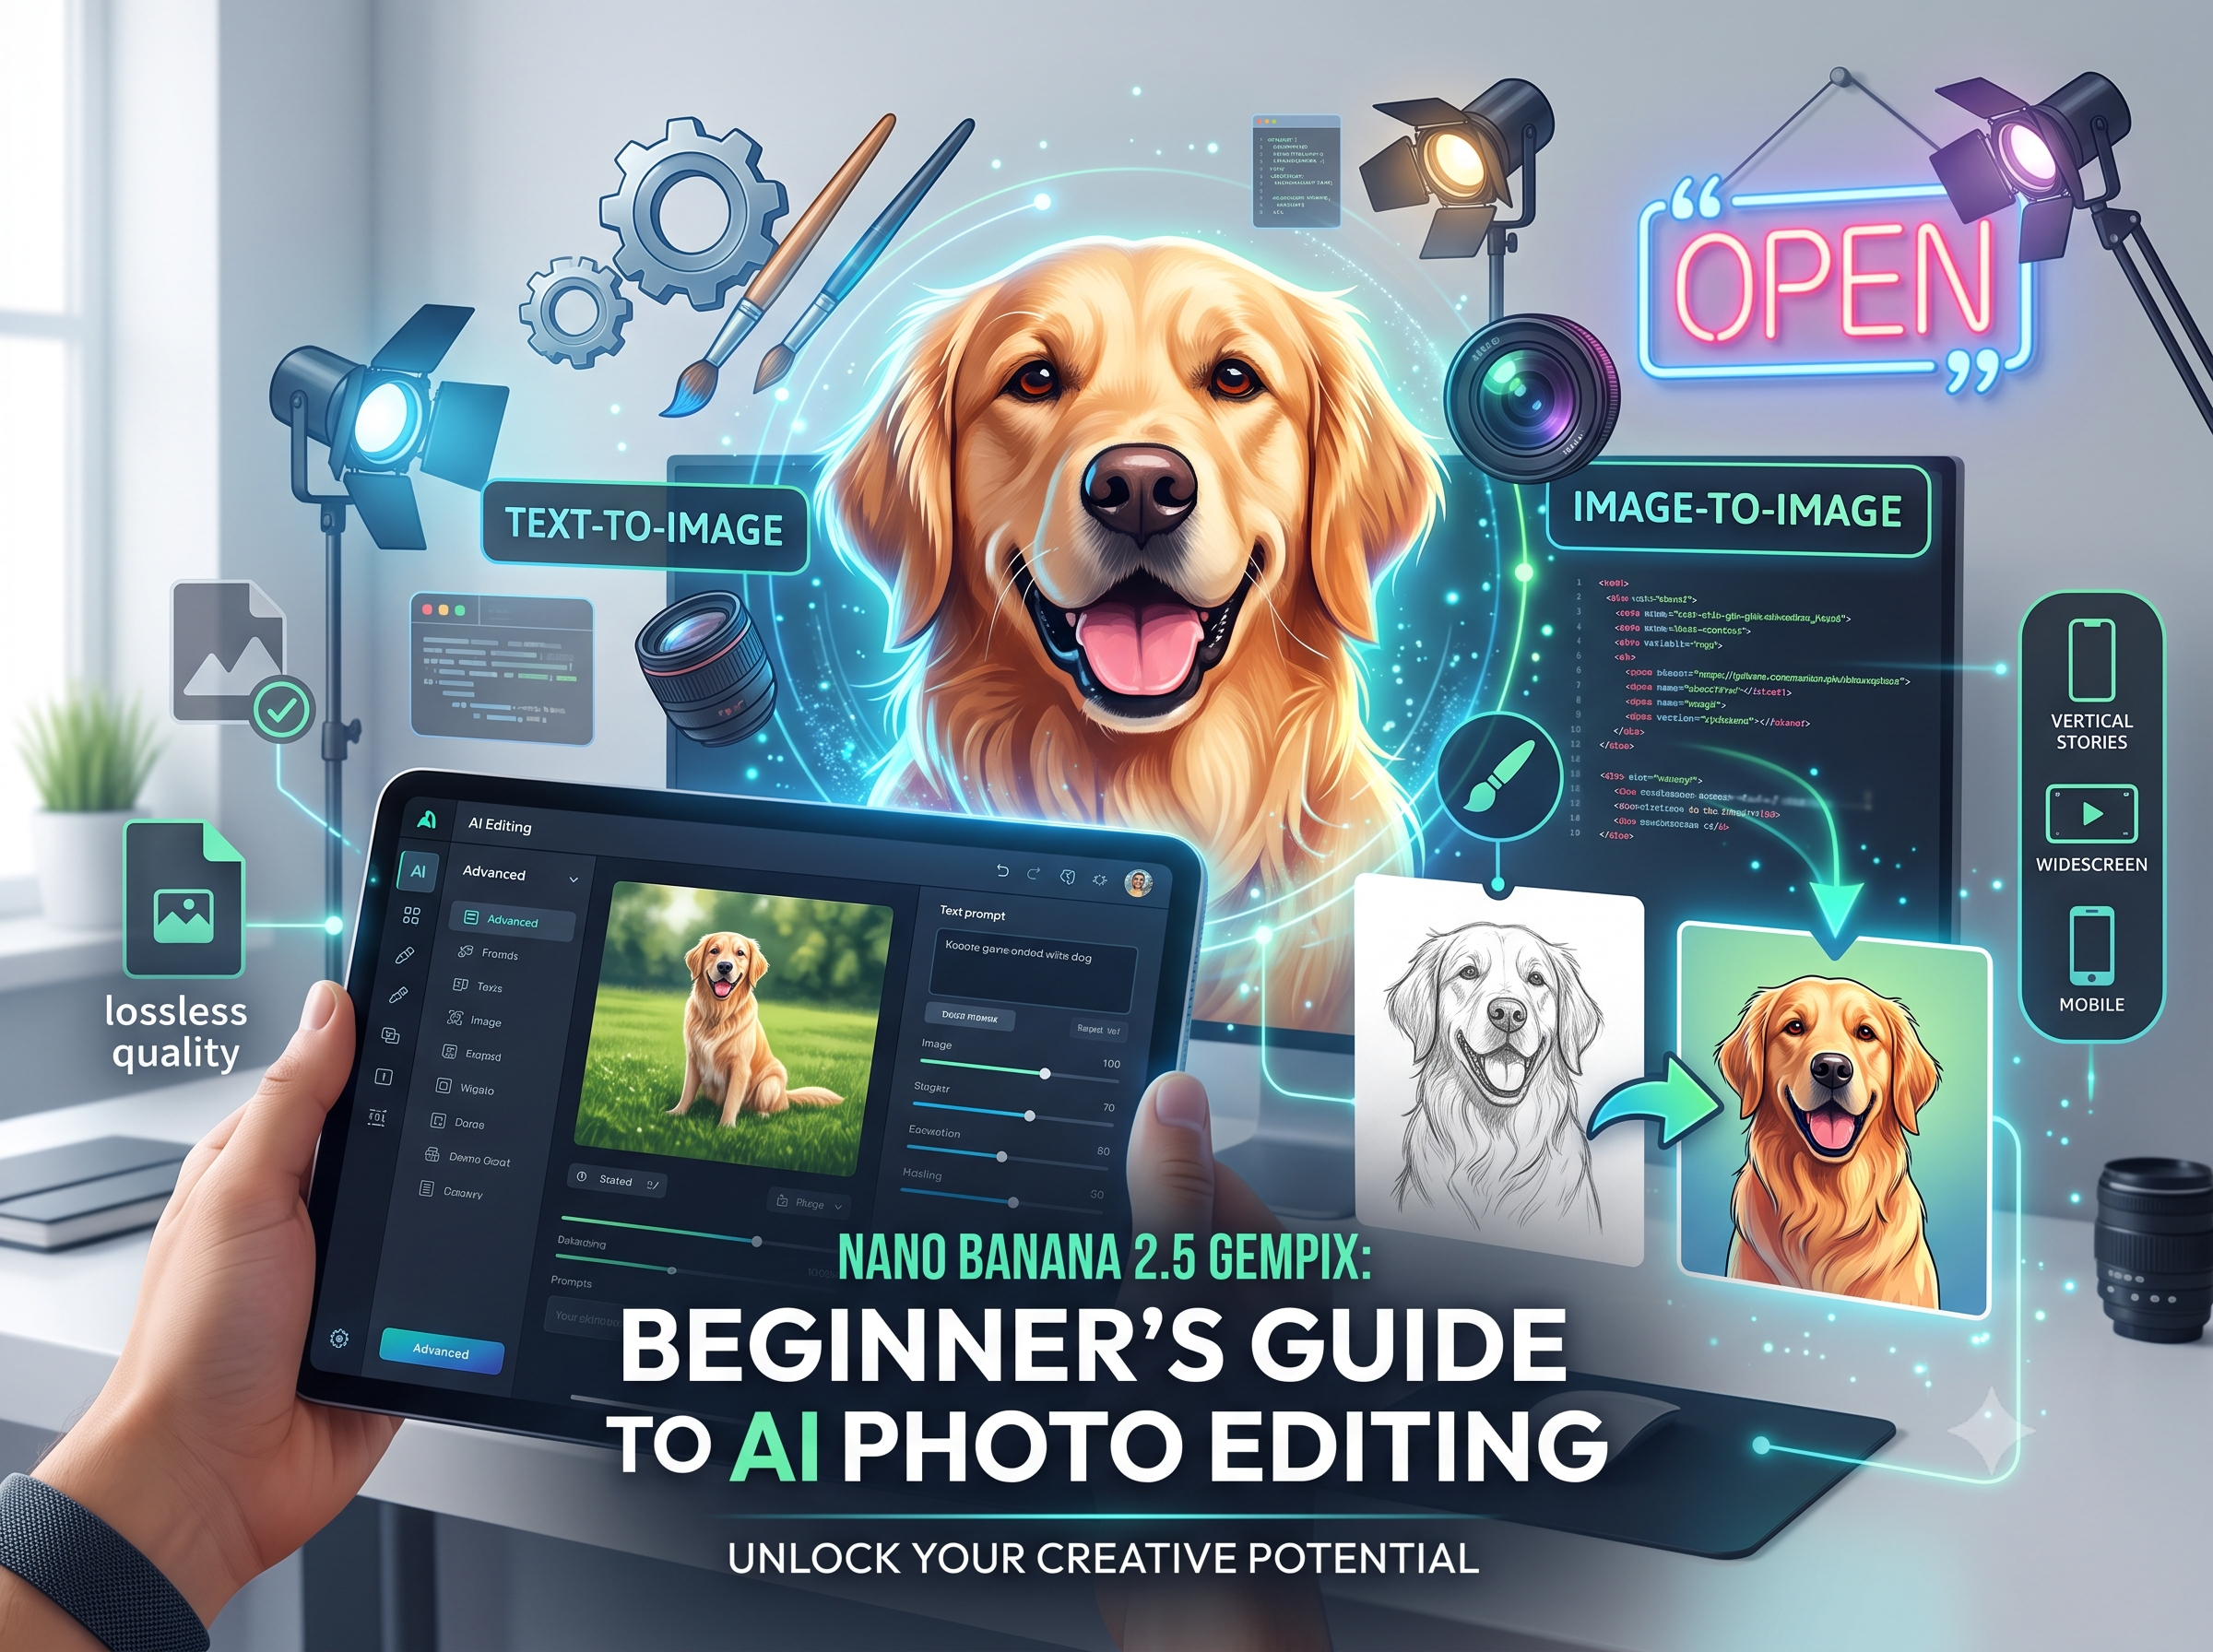
One of the most powerful features available in advanced AI photo editing suites is the ability to perform image-to-image transformations. This technique allows you to upload a base photograph or a rough digital sketch and use it as a foundational structure for your newly generated artwork. By blending your uploaded reference with targeted text commands, you can fundamentally alter the visual style without losing the core composition or the original subject’s identity.
This is particularly useful for digital artists who wish to convert a simple pencil drawing into a fully rendered, three-dimensional masterpiece. When using this feature, pay close attention to the style strength sliders, which dictate how much the AI should deviate from your original reference image. Lower settings will yield subtle enhancements and basic color corrections, whereas higher settings will prompt the AI to completely reimagine the scene while vaguely adhering to the original shape.
Adding Readable Text and Typography to Your Visuals
Historically, AI image generators have struggled notoriously with rendering legible, coherent text inside generated visuals, often producing scrambled letters or nonsensical symbols. However, modern iterations of these tools have made significant strides in typographic accuracy, allowing creators to embed specific headlines, slogans, and labels directly into their generated compositions. To achieve the best typographic results, enclose your desired text in quotation marks within your prompt and clearly describe its intended placement, hierarchy, and font style.
For instance, you might request a neon sign in a cyberpunk city street that clearly reads “OPEN LATE” in bright pink glowing letters. Even with these advanced capabilities, it is always recommended to review the generated text carefully before finalizing your export. If the AI slightly misspells a word, you can easily pull the image into the platform’s standard editing timeline to erase the flawed text and manually overlay vector fonts.
Preparing Your Assets for Export and Multi-Platform Campaigns
Once you have generated, refined, and perfected your visual content, the final crucial step is preparing your masterpiece for export and cross-platform distribution. AI photo editors provide an array of aspect ratio options tailored for specific social media channels, print layouts, and digital presentations. Before hitting the download button, always ensure that your canvas size aligns with the destination’s requirements, whether it is a vertical layout for mobile stories or a widescreen format for video thumbnails.
Additionally, intelligent platforms often offer built-in AI upscaling features that enhance the clarity and resolution of your finished asset, ensuring it remains crisp even on large desktop monitors or printed marketing materials. Make it a habit to check the final file format, saving as a PNG for lossless quality or a JPEG for web-optimized loading speeds. Carefully managing your export settings guarantees your artwork retains its striking visual impact wherever published.
Frequently Asked Questions
1. What exactly is AI photo editing?
AI photo editing involves using artificial intelligence models to generate, alter, or enhance digital images through natural language prompts and automated algorithms, bypassing the need for manual, pixel-by-pixel adjustments.
2. Is this editing technology suitable for absolute beginners?
Yes, modern generative algorithms are specifically designed with intuitive, user-friendly interfaces. Beginners can achieve professional results simply by typing descriptive text commands, completely eliminating steep traditional software learning curves.
3. Can I use AI-edited images for commercial purposes?
In most cases, yes. However, it is highly recommended to review the specific terms of service and licensing agreements of the platform you are using to ensure full commercial compliance and avoid any copyright issues.
4. How do I maintain visual consistency across multiple AI-generated images?
To maintain consistency, use the exact same core descriptive keywords for style and lighting in your text prompts. Additionally, utilizing image-to-image features with a consistent reference photo helps lock in specific visual identities.
5. Why is the text in my generated image misspelled?
While newer AI models are much better at rendering text, they can still occasionally scramble letters. If this happens, use the platform’s standard overlay tools to manually type and correct the lettering.
Final Thoughts
Embracing artificial intelligence in your creative workflow does not mean sacrificing your personal artistic touch; rather, it empowers you to execute complex visions with unprecedented speed and precision. The rapid evolution of generative models has democratized high-level graphic design, allowing novice creators and marketers to produce stunning visual content effortlessly.
By mastering basic prompt engineering, leveraging reference images, and understanding export optimization, you can unlock the full potential of these revolutionary platforms. As you continue to experiment with new digital environments, remember that the software is a collaborative partner designed to amplify your imagination. Dive in, start typing your creative ideas, and watch as your concepts instantly transform into breathtaking realities.