

Troubleshooting Hacks For Your Camera: Tips and Tricks When You’re On The Go
Imagine you are travelling to a foreign country and there are so many sights to see. Of course you want to make a memory of this trip so you brought along your trusty camera. As you set your camera to take a photo, it suddenly conks out and you don’t know what to do. Your camera couldn’t have chosen a more perfect time to malfunction but alas, a camera, just like any other electronic device can and will usually malfunction at times you won’t expect. Fear not! I have gathered basic troubleshooting steps for every situation possible that you may encounter. The next time your camera decides to break down when you need it the most, you’ll know what to do!
- “My camera isn’t working!”
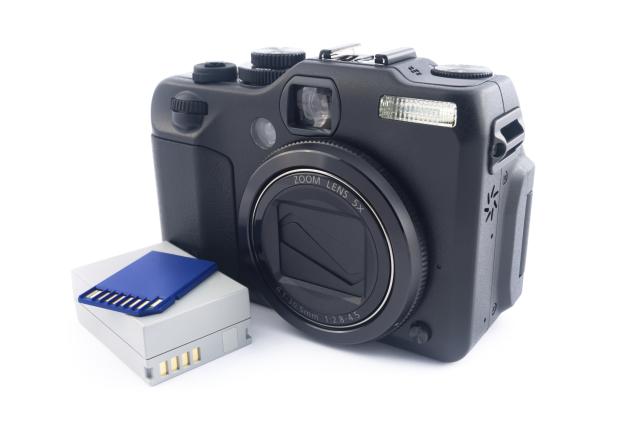
Your camera is an electronic device that needs a battery to function. Almost always, the culprit for cameras not powering on is probably just a battery problem. Make sure the battery is not drained or inserted incorrectly. If you’ve dropped the camera, there’s also a possibility that you have loosened the battery compartment latch. Take a good look at your battery and its placement to make sure everything is okay. Remove and reinsert your battery in its correct place. If this is the cause of the malfunction then your camera should power on once you’ve fixed the problem.
Now, if you’ve figured out that it’s a battery problem and you’re trying to charge it only to find out that the battery isn’t charging, this could be a tricky problem. It’s either an actual battery problem or the charger that’s at fault. How do we know which one is causing the problem? According to About Tech,
- “If your battery just isn’t charging correctly, it could indicate a problem with the charger, although it’s more likely that the battery needs troubleshooting. If the problem lies with the charger, you might smell an odor of burning plastic when the unit is plugged in, or you may see a physical problem with the unit. Keep in mind that the first time you use the charger, it may have a bit of an odd smell, but it should dissipate quickly and should not be repeated in further uses of the charger.
- You also may notice a malfunctioning battery charger if the indicator lamps on the unit seem to be behaving oddly. Check your camera user guide for information on how the indicator lamps should behave for various functions, including the color of the lamps and whether they flash or remain solidly lit.
- If you have a malfunctioning battery charger, unplug it from the wall immediately. Don’t try to charge the battery or plug into the camera if you suspect that the battery charger or AC adapter for your camera may be malfunctioning. It just isn’t worth the risk.”
Important Tip: Using faulty batteries or chargers can cause power surge to your camera, which can completely damage its hardware. Also, using these faulty items can also cause electrical fires so watch out!
A common problem with usually a simple solution: check the cord you are using to connect your camera. Also, make sure that your camera is turned on. Some cameras require a specific setting so that the computer will recognize the camera input. If this still does not solve the problem and this is your first time transferring photos from your camera to your computer then it’s possible that a specific driver must be installed for your computer to recognize your camera. Read your camera’s manual!
- SD card not reading
An SD card is the memory card of your camera. Most cameras may already have a built in internal memory but an SD card is there when we need extra memory space for all our selfies. If your camera is not reading your SD card, make sure that this is the SD card brand that is required by your camera. Do not purchase an SD card that is not compatible with your camera. Make sure that it is inserted correctly and that the slot is free of dust and other particles.
- LCD is blank or black
According to camera expert, Kyle Schurman, “Some cameras contain a “monitor” button, which allows you to turn the LCD on and off; make sure you haven’t inadvertently pressed this button.
If your camera’s power saving mode is enabled, the LCD will go blank after a certain period of inactivity. You can lengthen the amount of time before the camera enters power saving mode — or you can turn off power saving mode — through the camera’s menus.
It’s also possible the camera has locked up, leaving the LCD blank. To reset the camera, remove the battery and memory card for 10 minutes before trying to power up the camera again.
There you have it! 5 Tips and tricks you can use next time you’re traveling and you encounter camera malfunctions. We hope this list has helped you and if you have any tips and tricks to add, sound off at the comments section below!
Author’s Bio:

Joel Ekstein is an eCommerce retail expert with over 12 years experience in the industry. He has had experience in buyer and inventory forecasting, marketing, and expanding customer base in new markets. Instead of the notion that offering 100% customer satisfaction hurts 20% of profit, Joel has proved that 100% customer satisfaction increases customer engagement and customer base which leads to 25% profit increase. www.protect-o.com | twitter.com/Protect_O
Related Posts

10 Tips for More Intuitive KPI Reporting →

Top Tips for Staying Safe at Online Casinos →

Gain the Unfair Advantage in Escape from Tarkov with SkyCheats →


