
Geek Speak: Configuring a Router for P2P Networking
You’re new to this whole file sharing thing. Sure, it’s been around for a while, but you’ve never taken advantage of it. But, now, you have a reason to be interested. What you may not know is that you cannot just download a software program and start downloading. You need to configure your router first. Here’s how to do that.

Consult The Owner’s Manual
The obvious first step is to consult the owner’s manual. What you’ll need is the default IP address, your user name, and the password for the router. On many routers, the password will be printed on a sticker that’s fixed to the side of the router. For example, AT&T installs routers with the password set as the “Wireless Network Key.”
Type The IP Address Into The Web Browser
Now that you have your router’s IP address, it’s time to enter it into your browser window. Press “Enter” on the keyboard or “Go” in the browser. For example, if your IP address is 192.145.0.7, you would enter this into your browser like this: http://192.145.0.7.
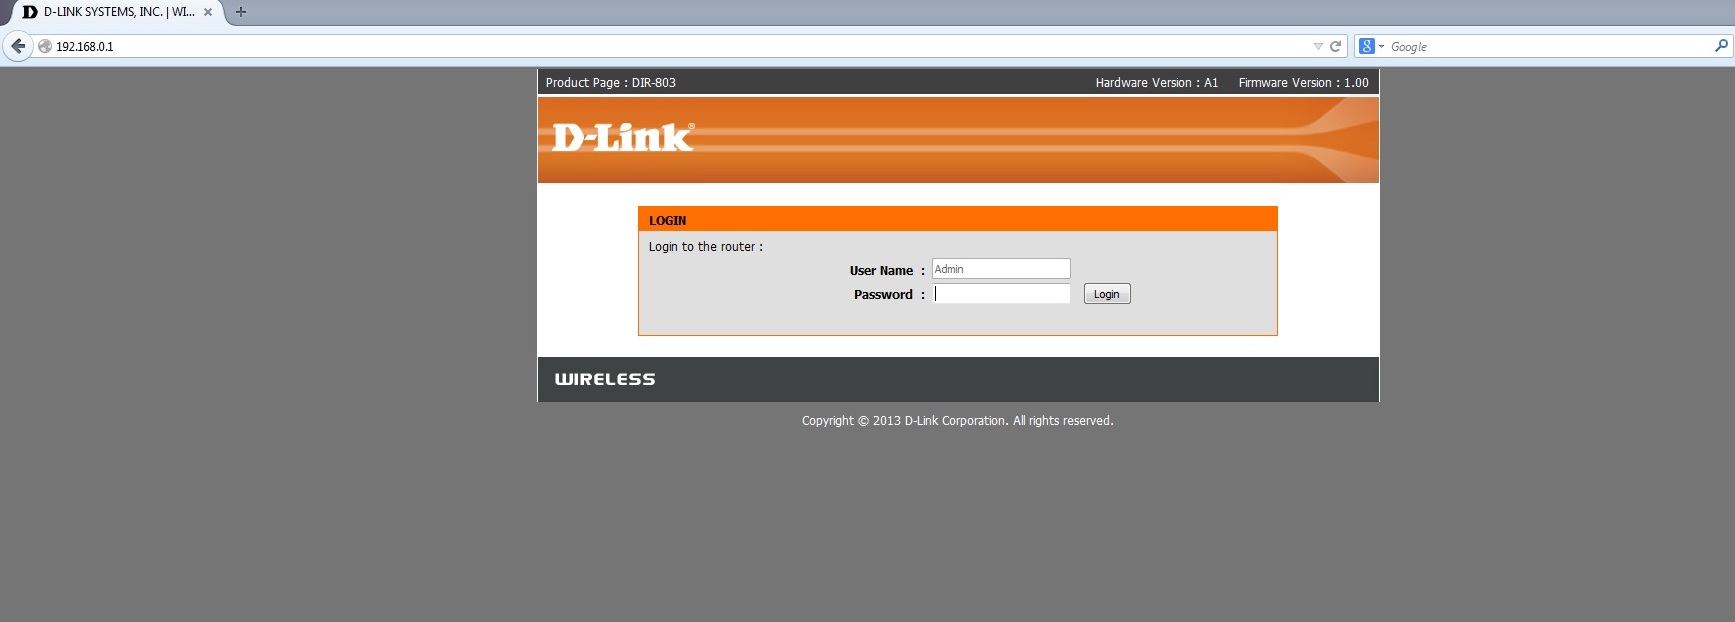
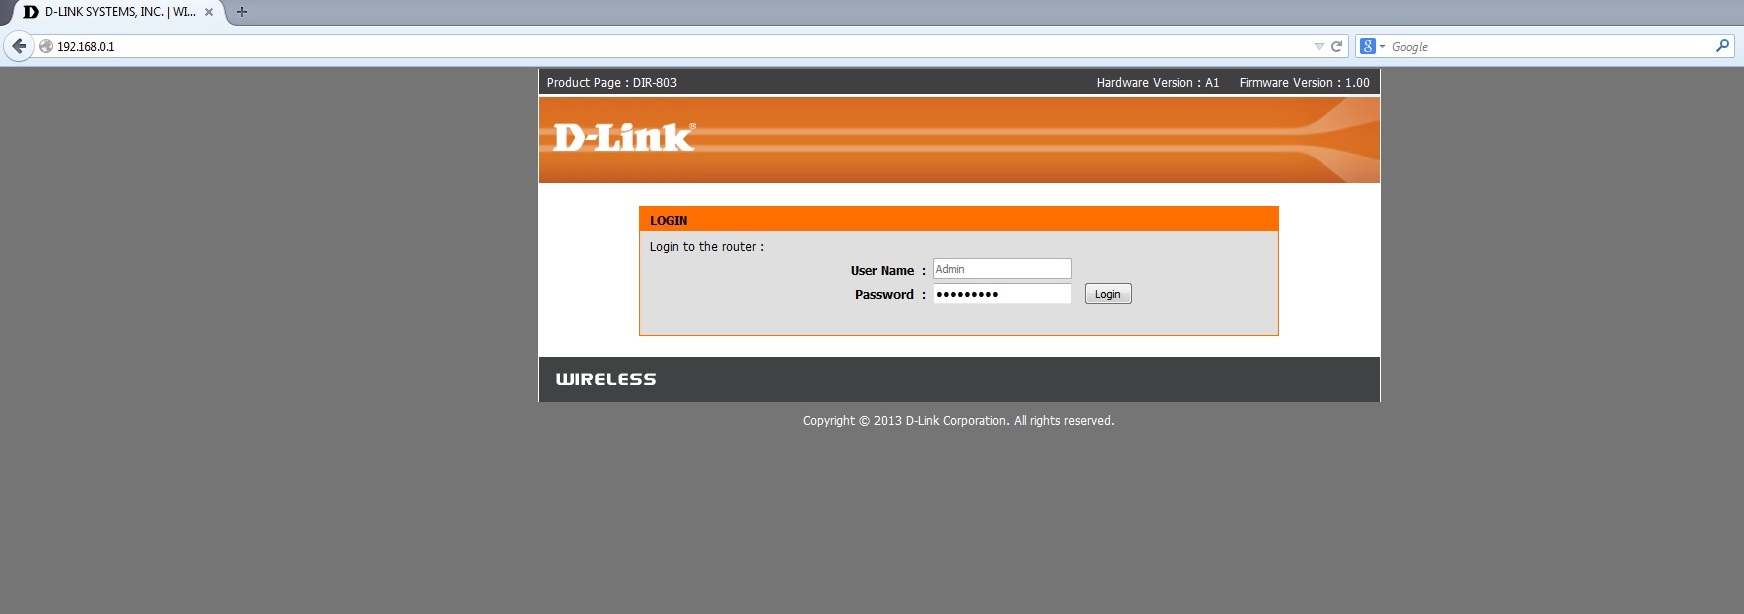
Enter The Username and Password
Now, enter the user name and the password of your router into the boxes that appear on the web page. Many routers have the user name “Admin” as the default. Unless you’ve changed it, this is probably what your user name is. Hint: before you go any further, it’s probably a good idea to change the default user name for your router.
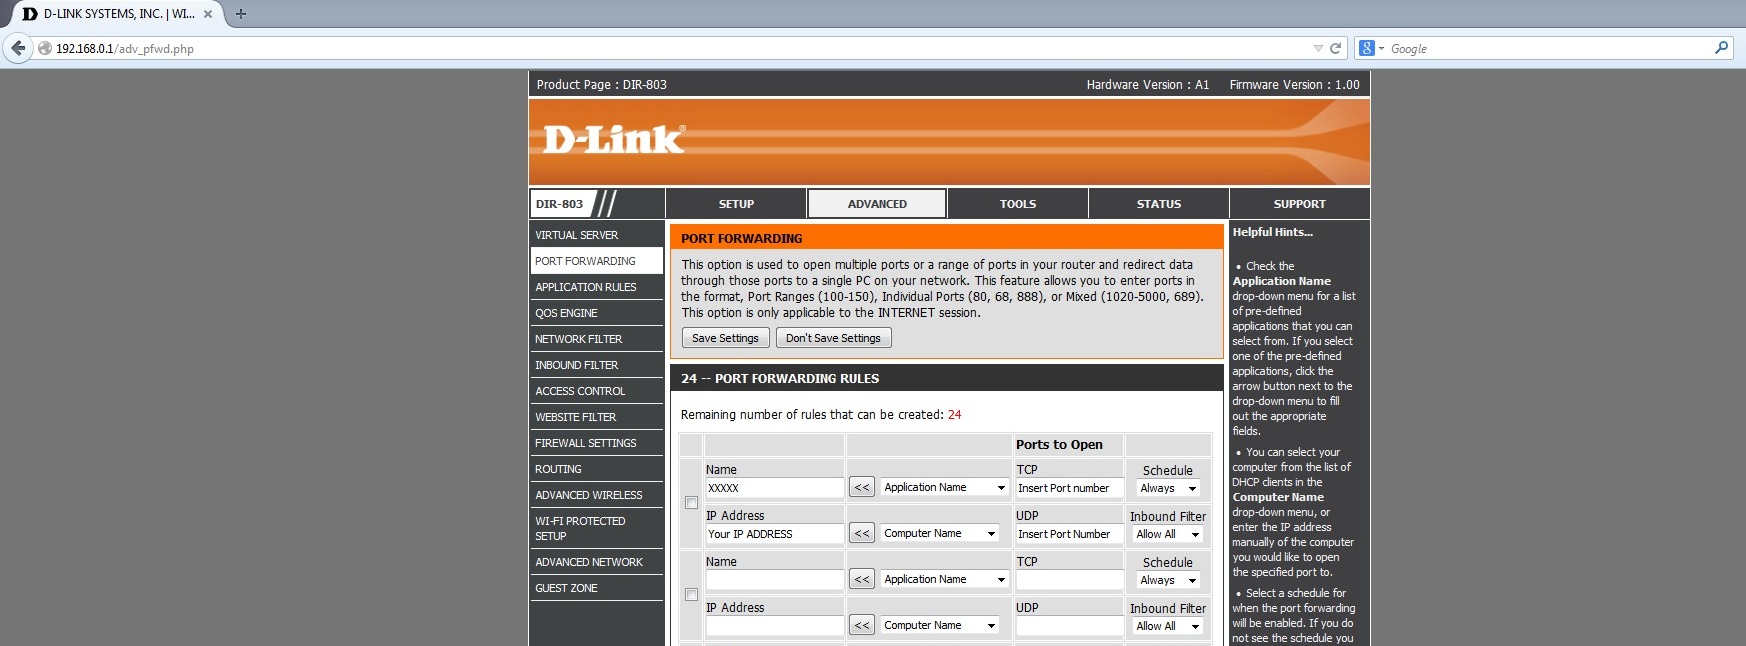
Locate Port Forwarding
Next, find the “Port Forwarding” section in the router’s configuration interface. Each router has a different interface, so where this is located depends on your specific router. Some routers tuck this area under the “Applications” section while others might hide it in the “Gaming” section. It all depends on your router. Consult your user manual. It should tell you where it is.

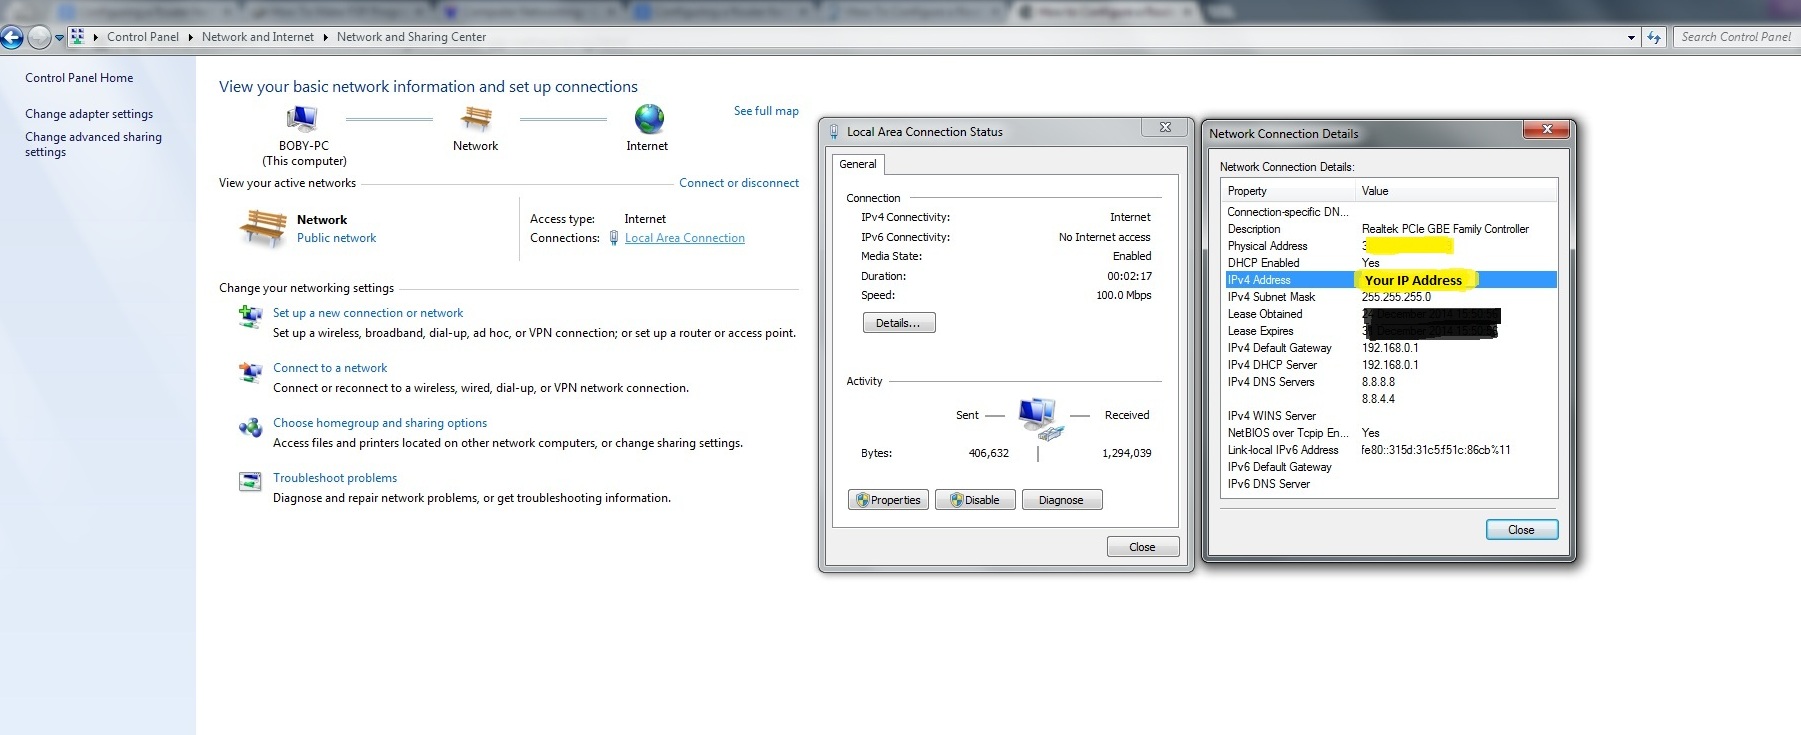
Enter The IP Address Into The Software
Now it’s time to enter the IP address of the computer with the P2P software installed on it – presumably this is your own computer. If you’re using a P2P client like Vuze, then the software you’ll be using your machines “IP Address”. The IP address on a Microsoft Windows machine will be located in the Start menu under “Settings”and then “Control Panel.”
Once you’re in the control panel, select “Network Connections” and then right-click on “Network Connections.” From here, select “status” and then “support” and take down the IP address in the field box.
Open The Port
Once you have the IP address, type the port number that you want open in the “port” section. This is important. When using P2P file sharing software clients, you need to designate a port that will be used to transfer files. Usually, this is a dedicated port used only for P2P file sharing.
Select The Right Networking Protocol
The P2P software you’re using should tell you what networking protocol to use. You’ll fix the settings for your software and then you’re almost ready.

Save Everything And Reboot
Save all changes and reboot the router. Once you’re reconnected, fire up your P2P software and take it for a spin.
About the author:
Cindy Case is known as the geek in her family. She enjoys researching digital technology and sharing her ideas and research online. Her articles are mainly found on tech blogs.
Related Posts

Making the switch to Zone Telechargement →

10 Ways To Improve The Speed Of Your WiFi Router →

What Are The Best TPB Alternatives in 2019? →


